A scenario for Tomorrow's War...
MISSION BRIEF
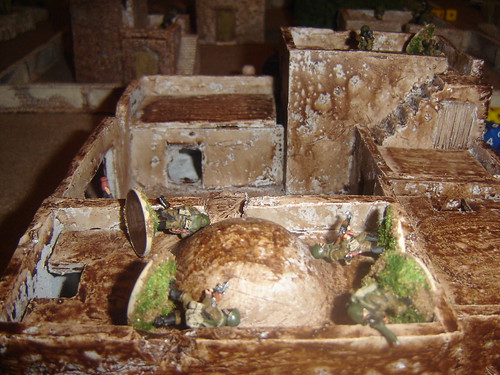
The Sakhan Liberation Army (SLA) in the Anabar region have been planning their first major strike for some time now. A large dropship has been shot down and has crashed near an out-of-commission processing facility. The incident has drawn in a nearby HCPS patrol and the SLA intend to do it some serious damage before escaping with any high value targets or equipment which has survived the crash.
HCPS MISSION OBJECTIVE
Secure the crash site and destroy the rebel force responsible for this outrage
SLA MISSION OBJECTIVE
Capture if possible or eliminate any high value targets at the crash site. Bloody the nose of the relieving column.
TABLE SET UP
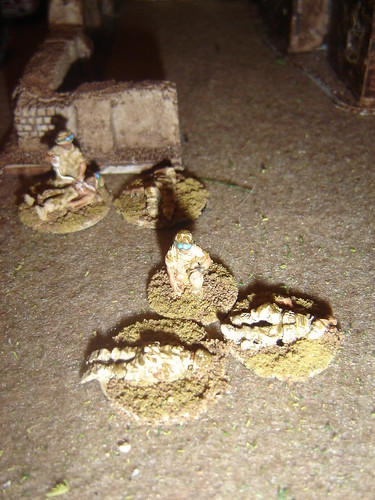
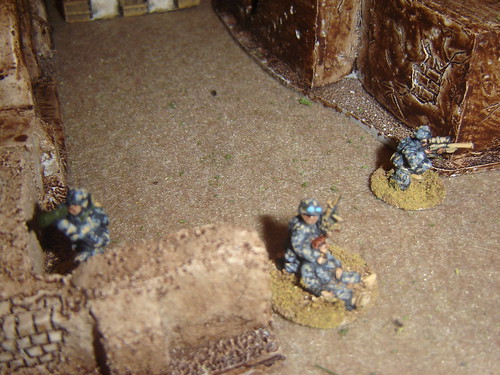
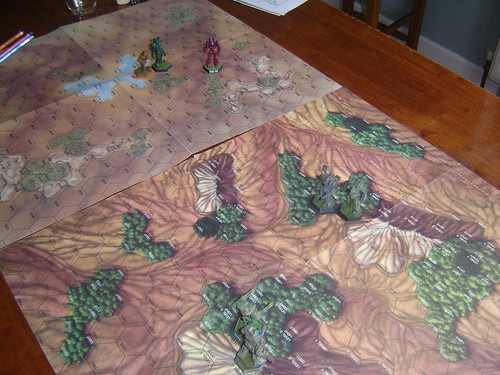
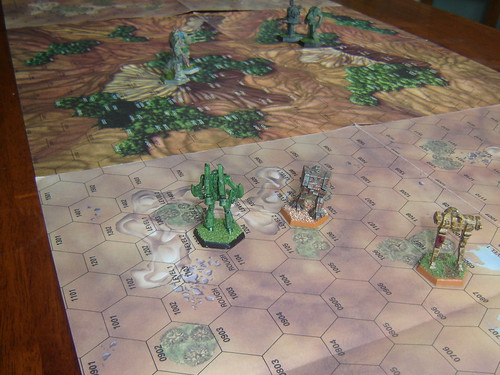
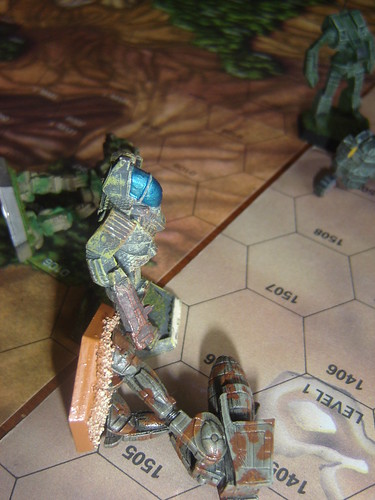
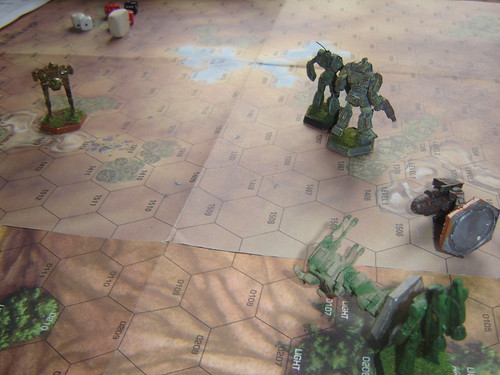
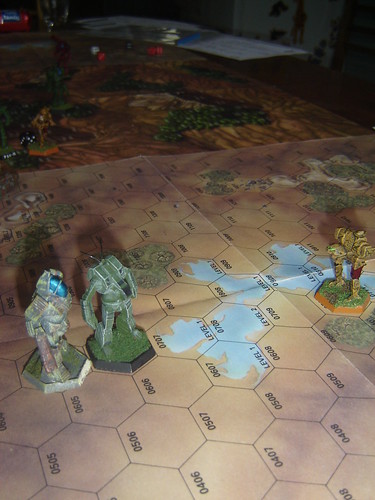
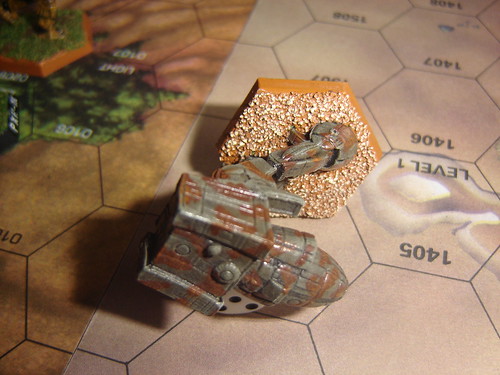
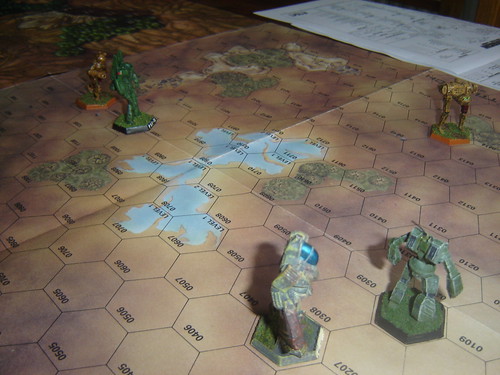
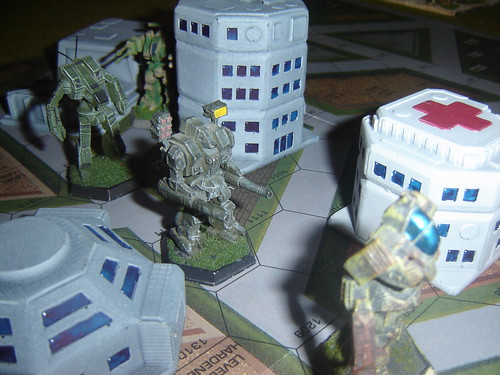
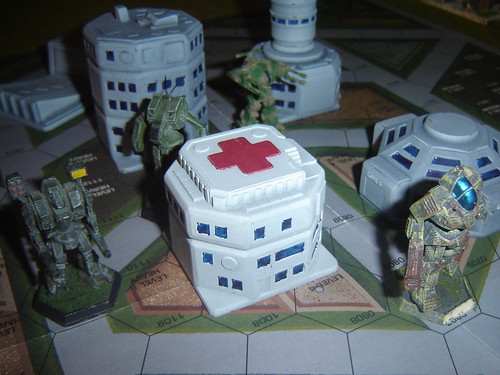
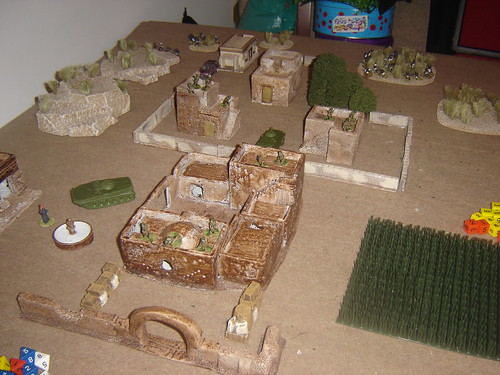
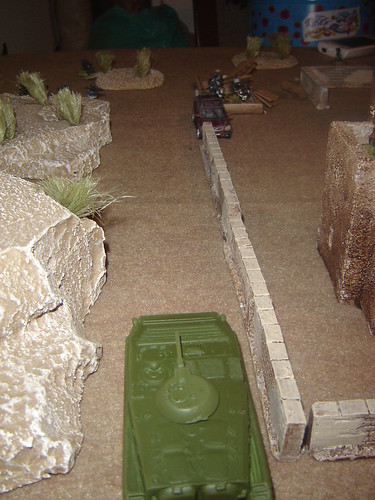
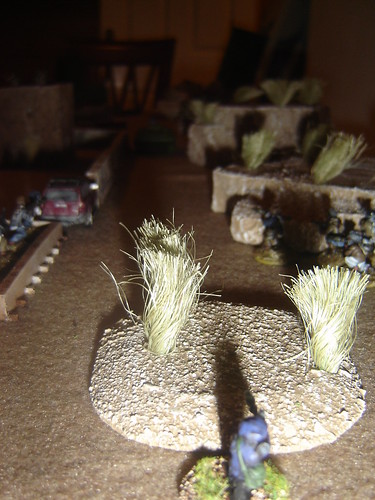
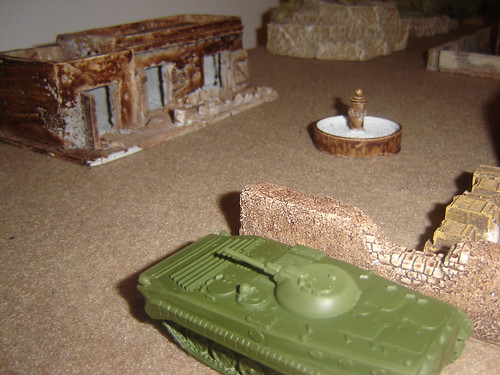
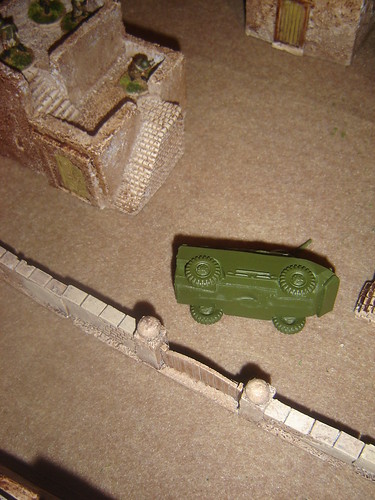
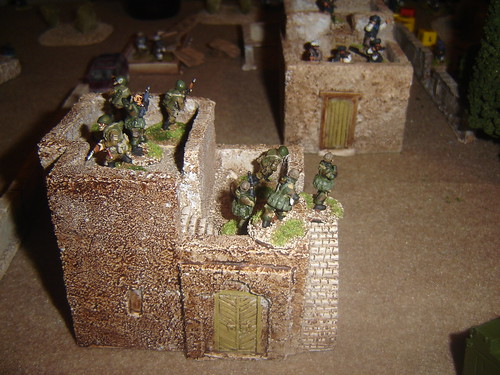
A large factory complex dominates the battlefield. The crash site is located near the main office. The factory complex has a perimeter fence, but this is badly maintained and has several fallen sections.
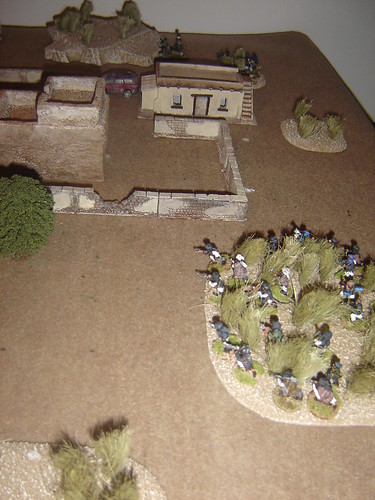
The complex is surrounded by some rocky ground, fields of a wild wheat analogue and further north there is the beginnings of a hilly forest. A rough road leads from the forest edge to the compound.
Deploy the HCPS on the road to the north of the fields
Deploy the Sakhans in the forest near the compound perimeter
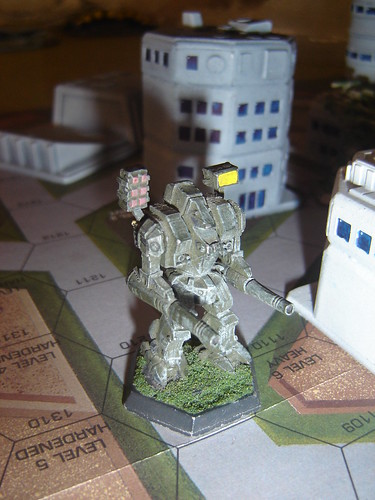
HCPS FORCE COMPOSITION
Human Co-Prosperity Sphere
Type: Regular
Confidence Level: OK
Supply Level: Well-Supplied
Tech Level: 2
Networked Command (Grid): Sometimes (TL2)
Body Armor: Light Body Armor (+1)
Troop Quality/Morale: D8/D8
*****
Patrol Force
ZSL-12 (Armoured Personnel Carrier)
1st Squad is commanded by an NCO and comprises two fire teams (2xIWs, 1xSAW), (2xIWs, 1xAT)
Weapons Team (1xHMG, 2xIWs)
ZBD-39 (Infantry Fighting Vehicle)
2nd Squad is commanded by an NCO and comprises two fire teams (2xIWs, 1xSAW), (3xIWs)
ZFB-35 (Light Tank)
Quick Reaction Force
Z-22 (Utility VTOL)
Power Armour Squad is commanded by an NCO and comprises two fire teams (2xIWs, 1xGPMG), (2xIWs, 1xAT)
SLA FORCE COMPOSITION
Sakhan Liberation Army
Type: Irregular
Confidence Level: High
Supply Level: Normal
Tech Level: 2
Networked Command (Grid): None
Body Armor: Light Body Armor (+1)
Troop Quality/Morale: D6/D8
1st Squad is commanded by a leader (6xIWs, 1xSAW, 1xMarksman) and also includes a medic
2nd Squad is commanded by a (5xIWs, 1xSAW, 1xAT)
3rd Squad is commanded by a leader (6xIWs, 1x SAW, 1xMarksman)
Anti-Armour Team (2xAT, 1xIW)
Sniper Team (TQ D8) (1xSniper Rifle, 1xIW).
Sakhan Mercenaries
Type: Regular
Confidence Level: High
Supply Level: Normal
Tech Level: 2
Networked Command (Grid): None
Body Armor: Light Body Armor (+1)
Troop Quality/Morale: D8/D10
1st Squad is commanded by a squad leader and comprises three fire teams (3xIWs, 1x SAW), (3xIWs, 1xAT), (4xIWs)
2nd Squad is commanded by a squad leader, and comprises two fire teams (3xIWs, 1x SAW), (3xIWs, 1xAT). Elusive. No Body Armour
Drone Team comprises three tracked Smart Bots. These are typically integrated with the fire teams of 1st Squad.
Sakhan Sniper Team (TQ D10) (1xSniper Rifle, 1xIW)
FOG OF WAR
Fog Of War cards are generated by reaction tests as normal.
SPECIAL RULES
The Grid
Due to the distance from the regional capital, the HCPS force does not have access to The Grid.
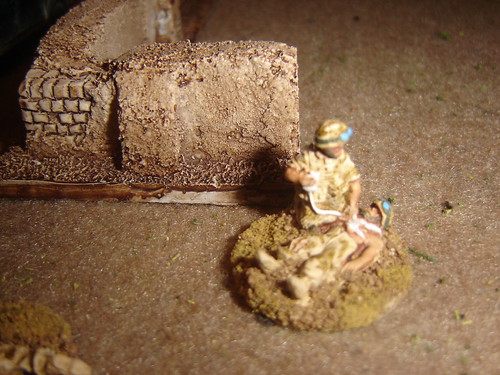
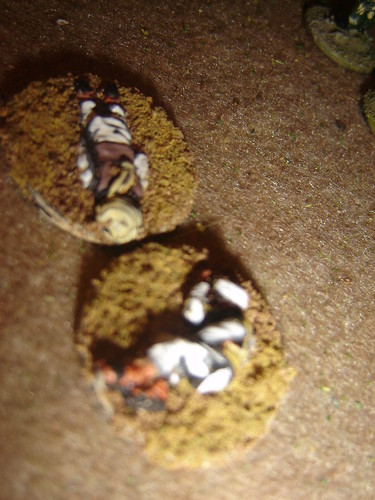
At the Crash Site
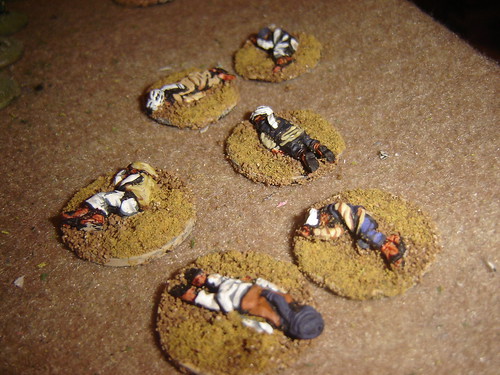
Each figure on board must make a successful Troop Quality check to avoid becoming a casualty.
Crew: Pilot, Co-Pilot, 2xTechnicians (TQ D6)
VIPs: Colonel, Chief of Staff (TQ D8)
Security: NCO, 3xIWs, 1xSAW (TQ D8)
*Crew and VIPs are only armed with Pistols.
Quick Reaction Force
The QRF can be called for when the Patrol Force has lost a man KIA, had a vehicle disabled or destroyed, or had two units pinned down.
A successful TQ test by a unit leader (like calling in an airstrike) will result in the QRF coming on board two turns later.
VICTORY CONDITIONS
HCPS
Each Regular Unit reduced below half strength +1
Each Irregular Unit broken +1
No POWs in enemy hands +5
SLA
Each HCPS Unit reduced below half strength +1
Each HCPS Vehicle destroyed +3
Each HCPS Vehicle disabled +2
Each VIP captured +3
Each VIP killed +1
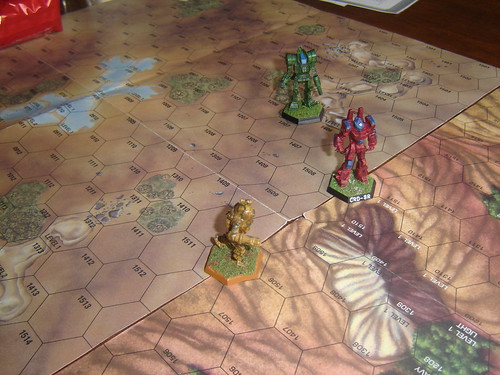
VEHICLES