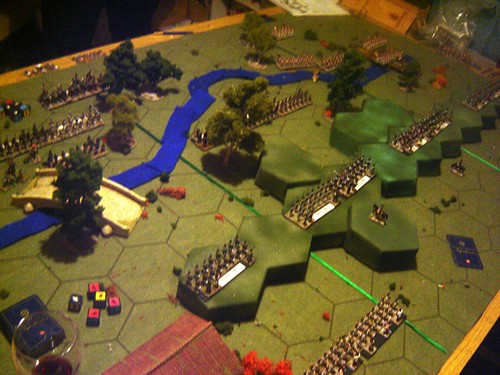
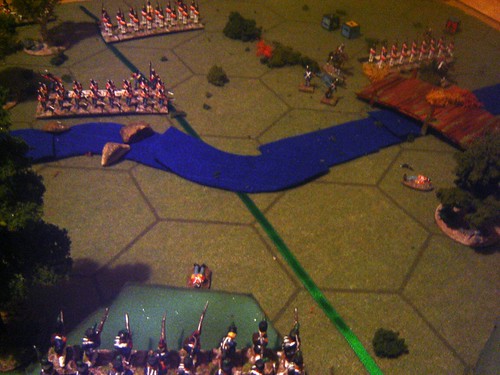
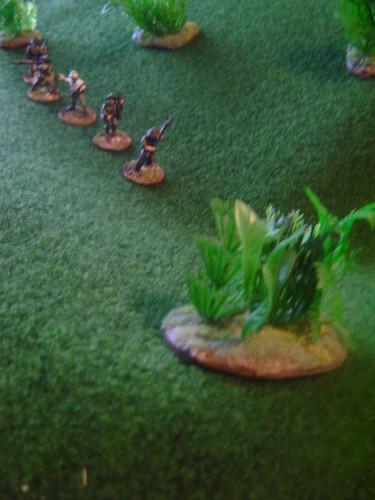
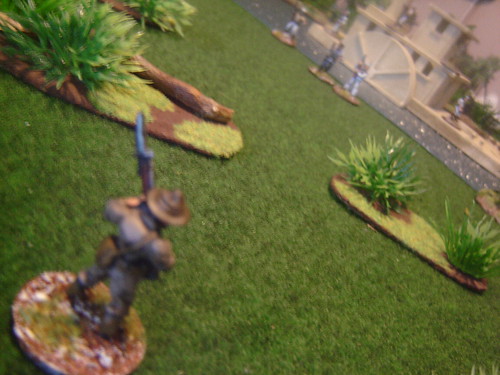
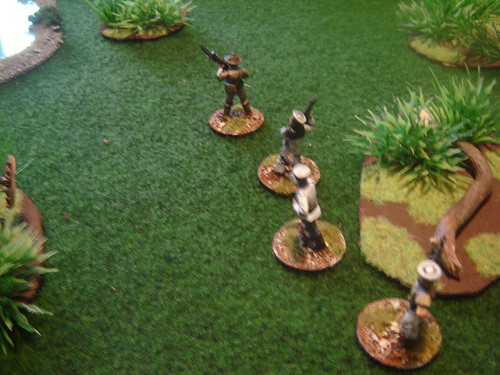
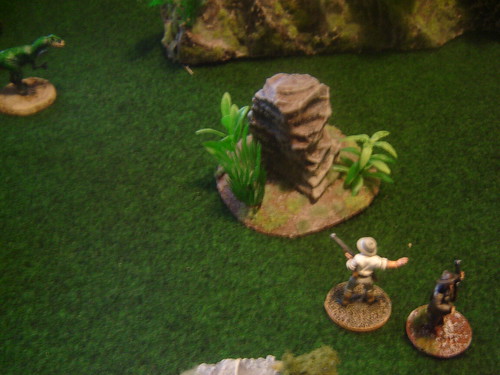
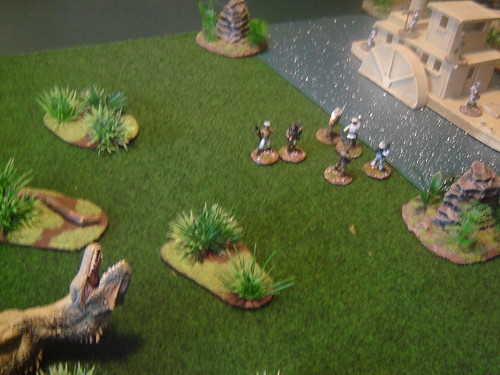
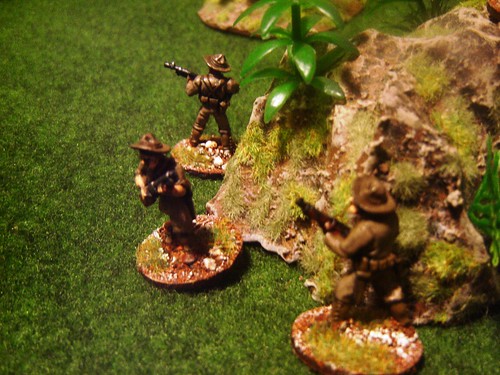
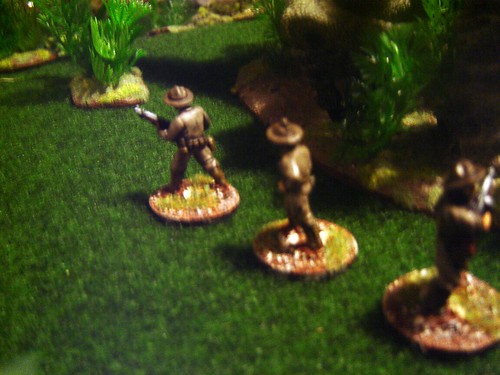
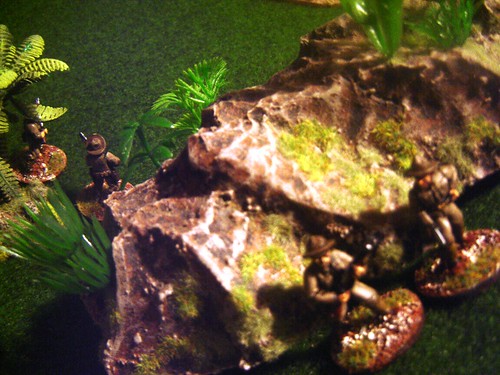
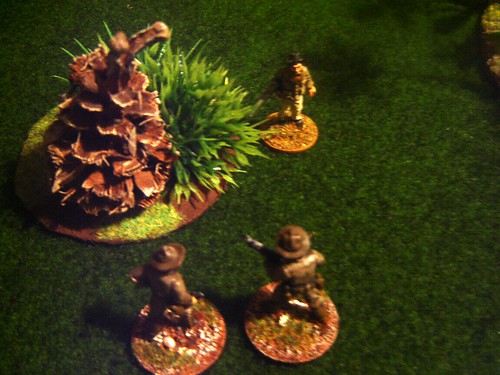
A second patrol, led by Lieutenant Boggs sets out to locate the Reverend Johnston.
Strung out in the jungle, Boggs leads from the middle (by the book) armed only with a pistol
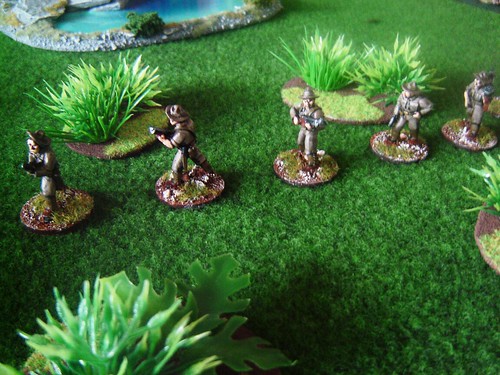
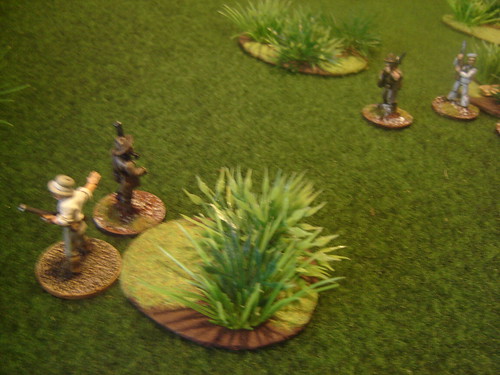
He splits the patrol into two teams, able to support each other, but not liable to be hit all at once
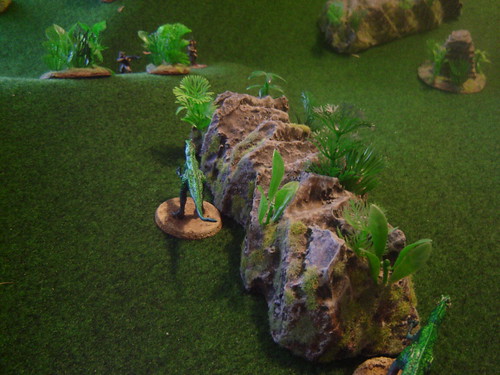
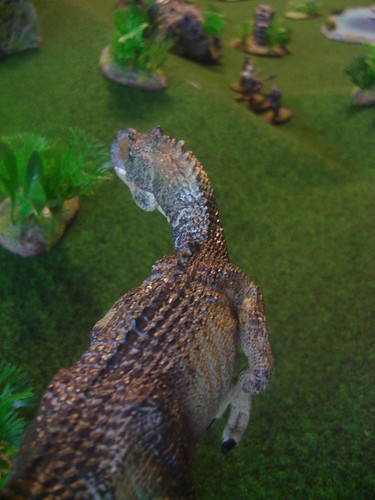
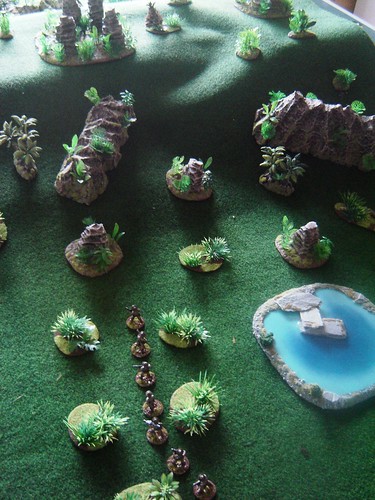
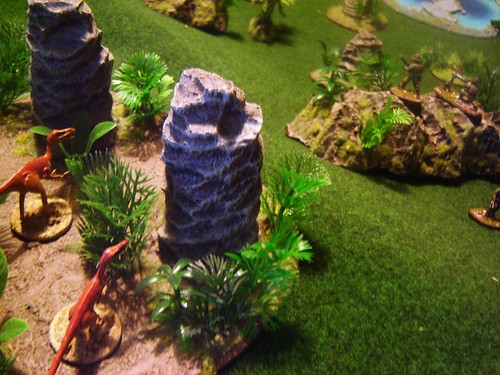
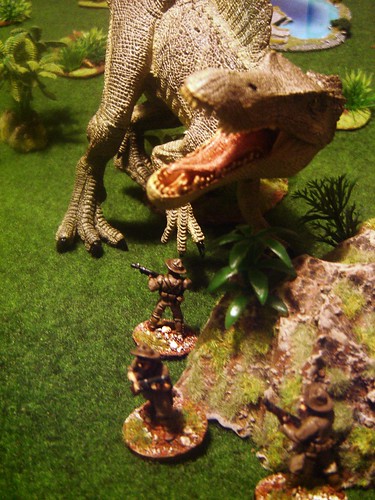
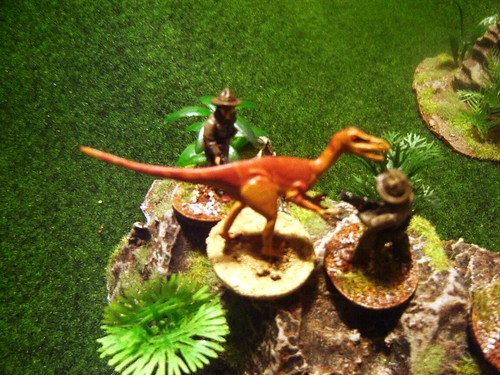
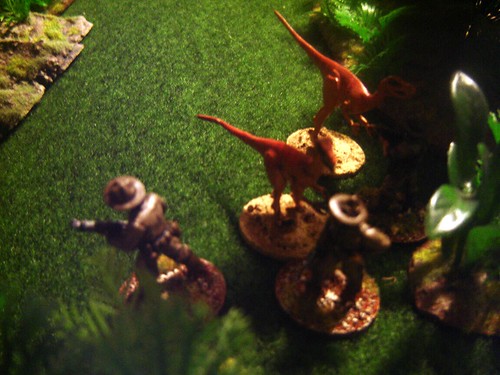
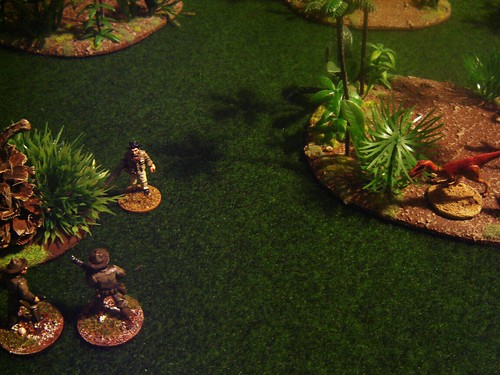
There's a Spinosaurus on the other side of the ridge
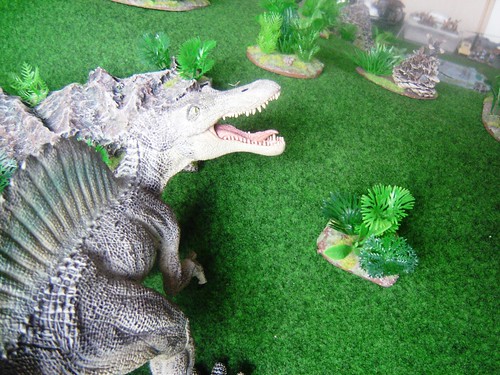
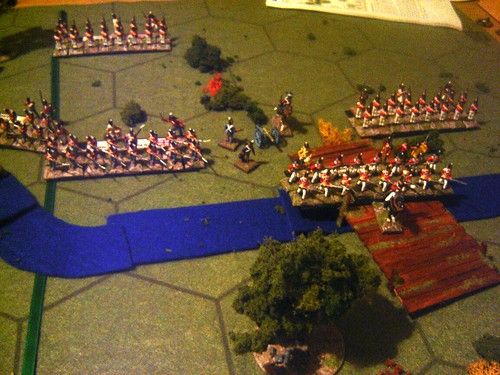
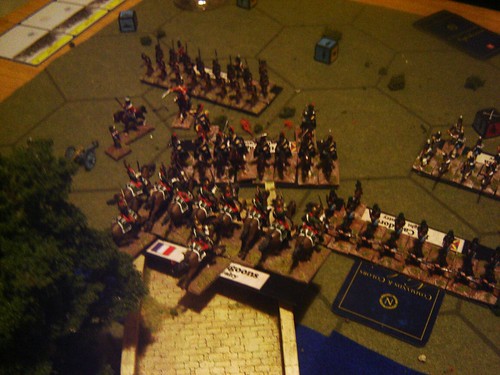
It rushes to the other side of rocky outcrop where it can see the Marines
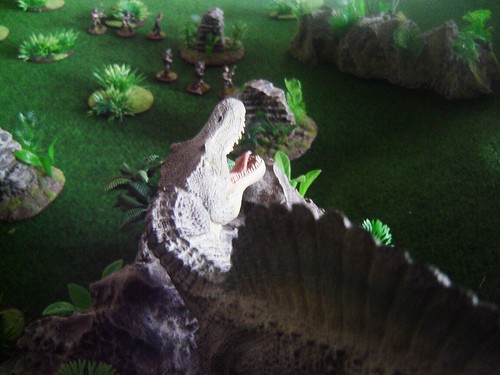
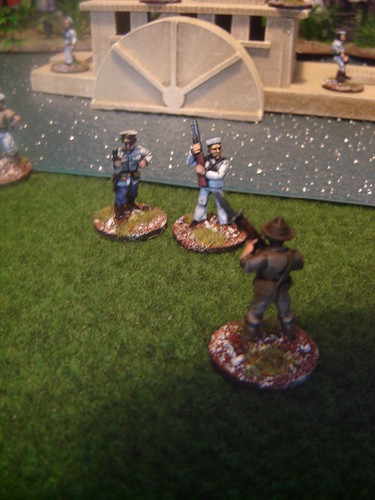
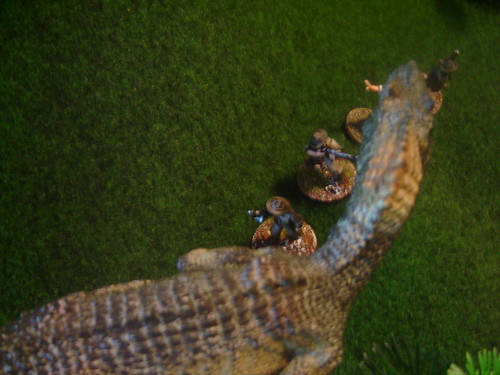
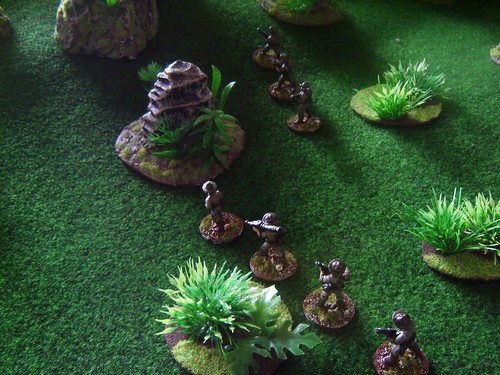
Rearward team clambers up onto a ridge from where it can engage the Spinosaurus over the head of the others
The Lewis Gun gets into action - state of the art firepower
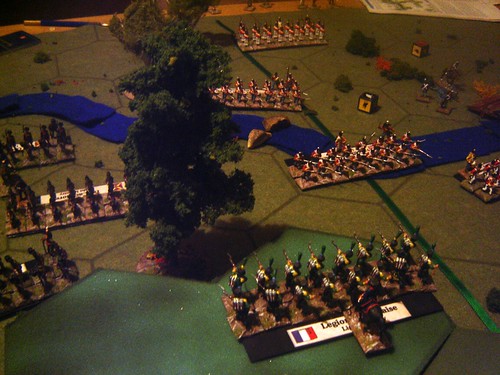
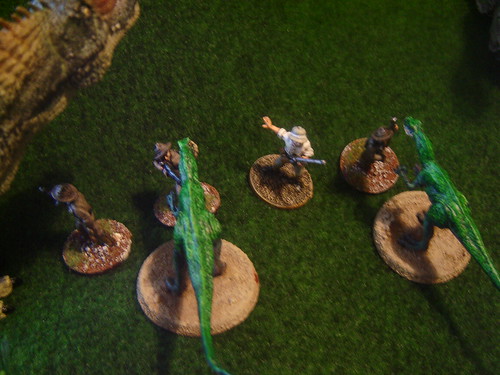
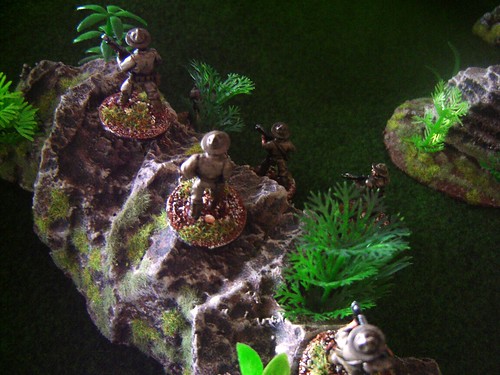
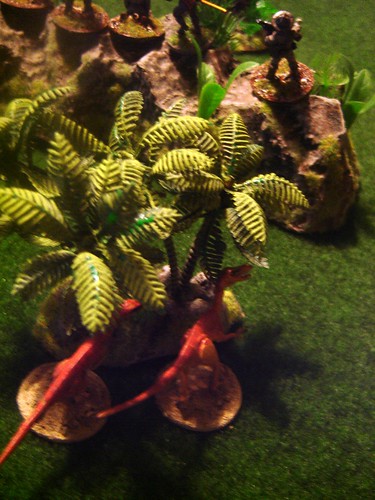
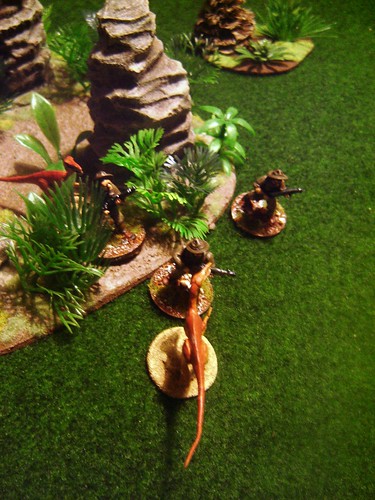
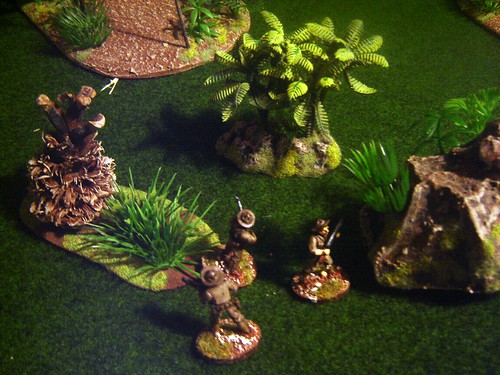
But what's this behind them - sneaky raptors!
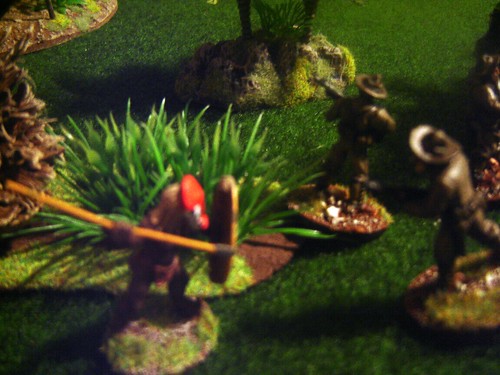
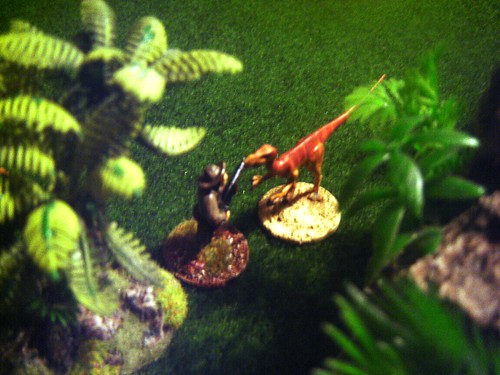
And a surprise lurker on top of the ridge - the native warrior lunges at the Lewis gunner, knocking the weapon out of his grasp (to shatter on the way down the rocks)
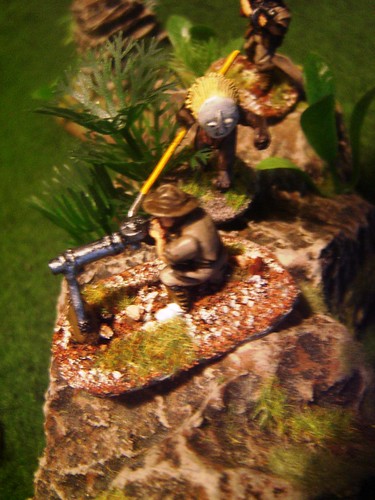
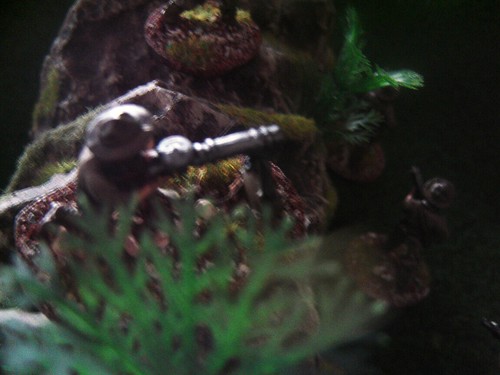
While the Marines atop the ridge struggle with the warrior, the two Raptors creep closer
Though the Lewis Gunner is killed before the Marines can drive the warrior off, they turn their attention on the Spinosaurus who withdraws behind some cover (They reckon they've just made it mad!)
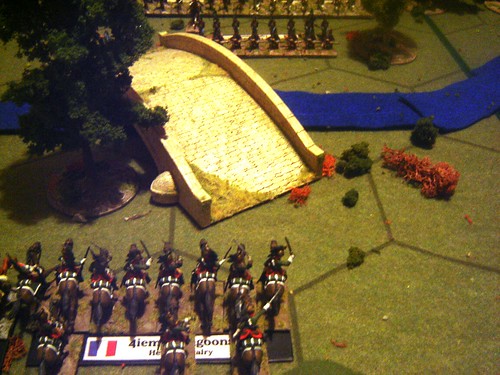
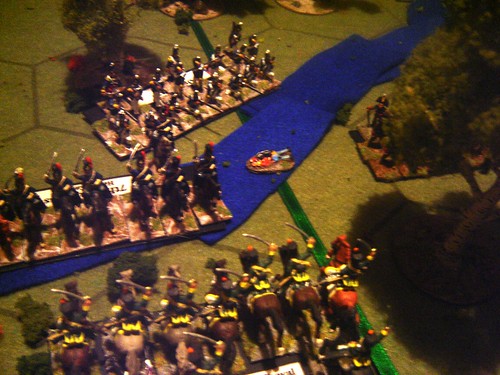
The order is given to move out...
but it's too late to get away from the surprisingly speedy Spinosaurus. Supporting fire from the ridge wounds its leg and drives the beast off (for now),
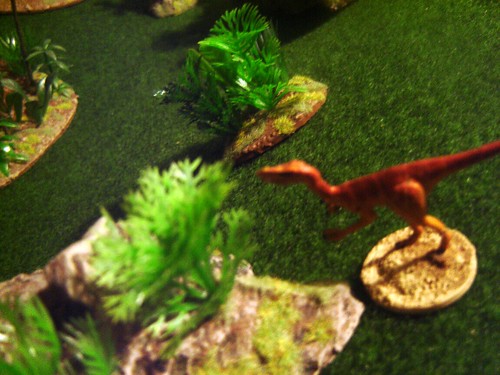
They withdraw to higher ground - but they're cut off by the Raptors, who finally make their move
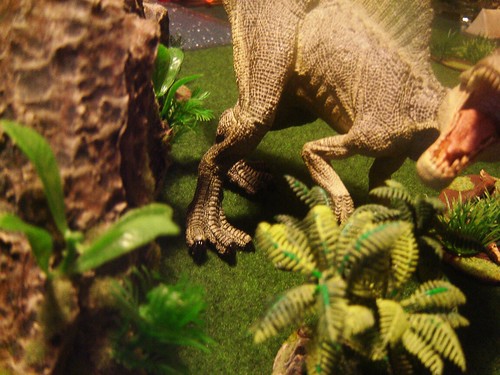
They survive, killing one and maiming another (thankfully avoiding friendly fire in the fierce melee). But now they've got big company
RAWR! A carefully aimed shotgun to the head puts the giant creature down

Back on the ridge, a newly arrived Raptor jumps up - it's driven back to the ground by a drumload of Tommy Gun rounds
The Marines clamber down and the Lieutenant puts a bullet in the beast's head. They keep going up the trail in an attempt to catch up with the lead team
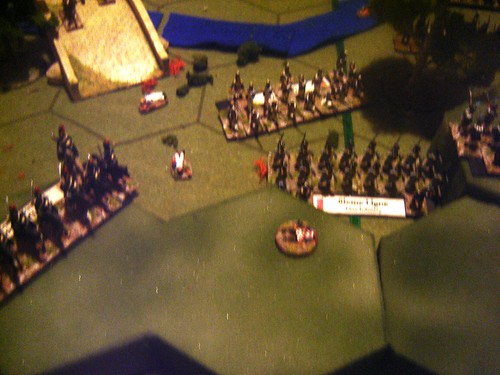
They've reached the other side of the ridge having come in contact with a Raptor on the way down
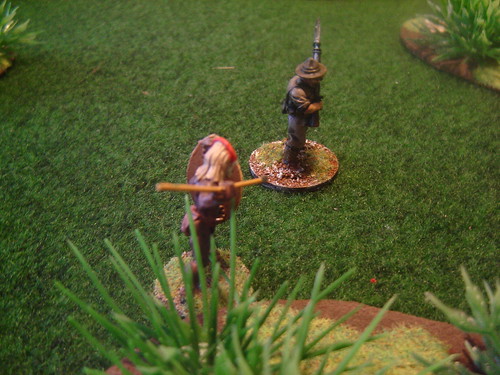
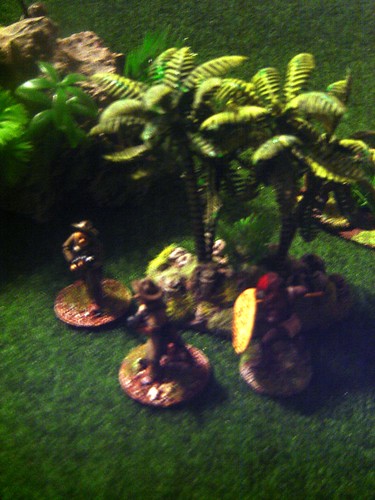
They're caught awares as they check around for Johnston - another native spears Jones in the back
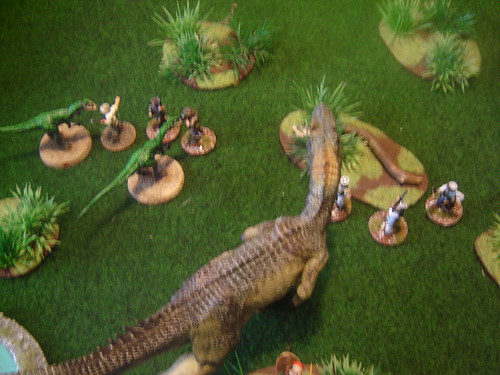
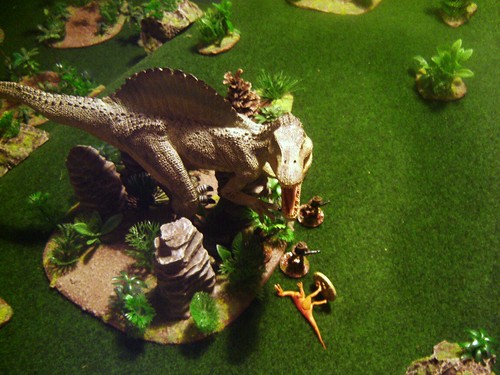
Two Raptors pounce on Boggs and his men as they pass by the Spinosaurus' carcass, they kill one
The other Raptor runs off into the undergrowth to think on a different approach
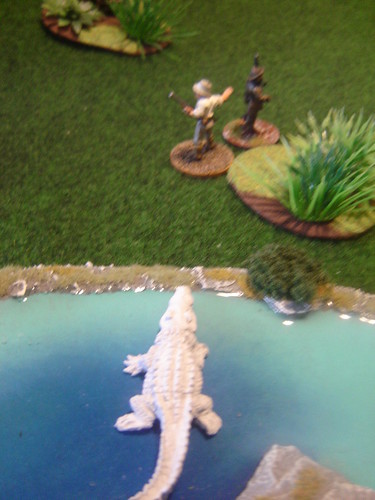
As it comes around for another look, Boggs and Mitchell stay motionless and very quiet - the Raptors runs past
At the bottom of the ridge another ambuscade results in a dead Marine, Gooch sees off the native with his shotgun
But he's leapt on by the circling Raptor as he reloads his shotgun
Boggs and Mitchell rush past the warriors, making every round count - even accounting for the Raptor still feasting on the body of Gooch
 ]
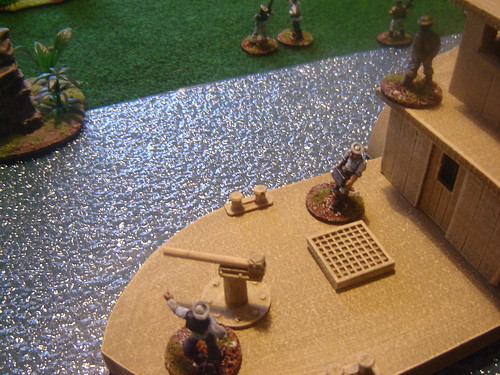
]Finally the two find Johnston: "let's get out of here"
One last visitor is shot down as it crosses the open ground towards them
*whew* A nightmare for the Marines - very straightforward at the beginning (although the Spinosaurus did better than usual!) and amazingly enough three of the five Marine dead were accounted for by native warriors!
I'm upgrading Boggs to 'hero' for this; killing two Raptors with his pistol - we'll even give him a sub-machine gun for the trip back to the boat!

Final game of Solopalooza - I'll definitely be doing more of this (though my preference will remain for human opponents other than me!)