How it came to passThis was our first foray into running large wargames using Richard Borg's
Command & Colours games. The initial impetus to run something other than a single board game of Battle Cry came quickly enough, and since these were the days before Borg published
Memoir '44 with its 'Overlord' rules we had to come up with something ourselves (very similar in the end).
Regarding Gettysburg specifically Eamon lent me his copy of the Osprey Campaign book
Gettysburg 1863: High Tide of the Confederacywhere in the wargaming section at the back was writ:
Gaming the entire battle is either a test of endurance or intellect, because with standard miniatures rules, most games that try to be comprehensive recreations of the battle run for multiple days, certainly much longer than the actual battle itself.
This seemed like a challenge to me!
The Eamon & Donogh Collaboration ProjectEamon and I have different talents when it comes to wargaming, and by-and-large we stick to our spheres with great success - Eamon does production and I do rules.
He's the Sullivan to my Gilbert I suppose...
Gettysburg was the first real outing of this partnership.
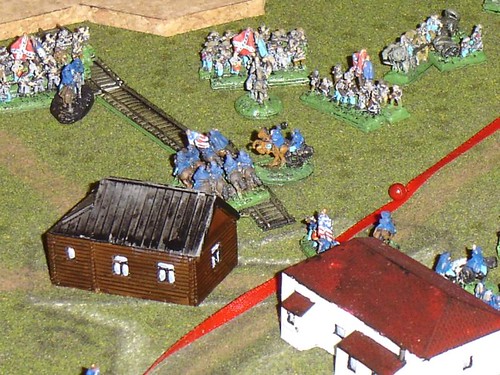
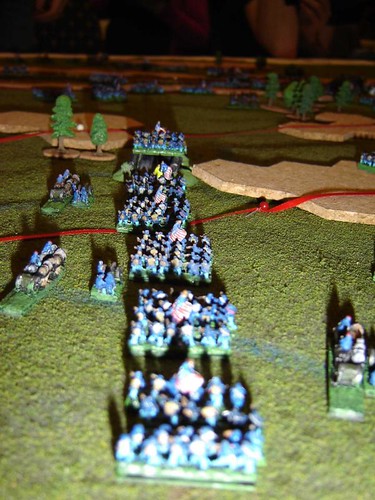
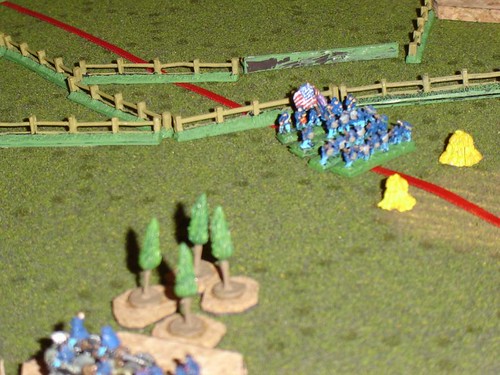
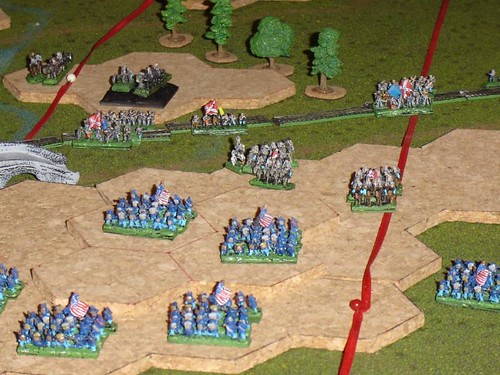
Firstly it was our intention to have high production values - fully painted up scenery and miniatures.
Secondly it was our intention to be as historical as possible, while allowing gameplay to veer away from what actually happened.
Thirdly (and most importantly) we wanted the game to be fun!
Deciding on Scale, Scope etc.For figure
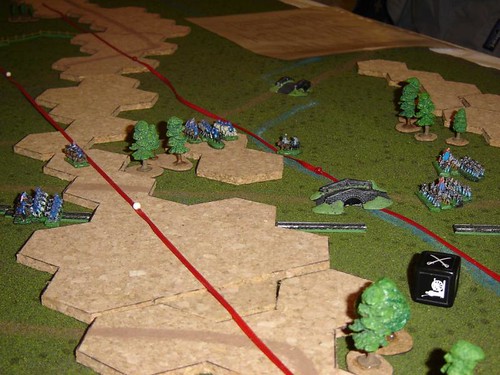
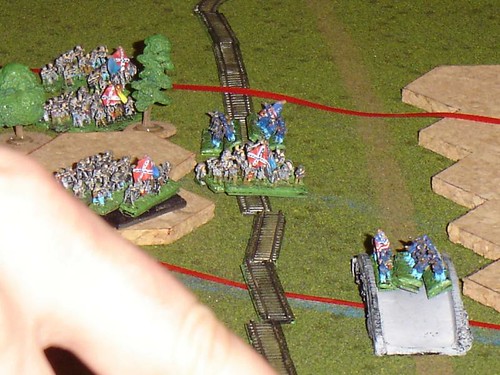
scale, we quickly decided on 6mm (1/300)
It has advantages in terms of visual impact - yes, even against 28mm or other larger figures.
Our reasoning was that looking at a battlefield, the impression of a body of troops is much better when you see 72 6mm figures depiciting a unit when you see 5 or 6 28mm. (whether this be a company or a division). In terms of occupying a space, 4 strips of 6 6mm figures actually occupies (more or less) the same footprint as a single 28mm figure.
There are also significant advantages logistically - it's much easier to transport 6mm figures than 28mm (I think the entire orders of battle for both sides fit into 4 or 5 video cases - although we were still working out of a metal tool-case at the time).
They're also easier and quicker to paint up - yes, even against 28mm or other larger figures.
Even though the figures are smaller, one doesn't attempt to fit in as much detail as you might for a 28mm figure.
When working towards a convention event these two issues are hugely important.
On
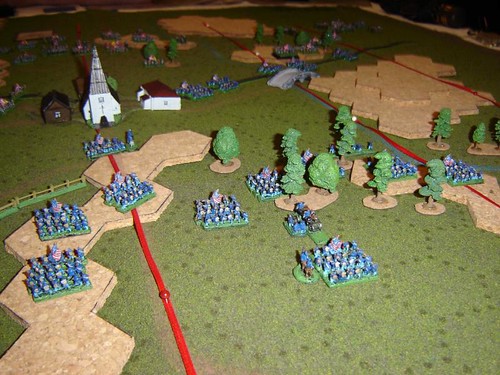
scope, we decided to attempt to cover the entire three days of battle, from Buford's initial skirmishes to climactic advances on Cemetary Ridge.
I also wanted to give players the opportunity to maneuver, to take up positions which weren't gone near during the battle itself, to allow the alignment of the battlefield to change as days passed, and as the fortunes of battle waxed and waned.
(as a complete aside this is one thing that always annoyed me about setup rules in BattleTech, where the recommended ratio for number of units to number of mapsheets almost completely obliterated any advantages in maneuverability and long-range firepower certain 'mechs might have, and encouraged all-out close-range assaults)
Coming up with rules for movement in reserve, dusk bring fighting to an end and night marches were all part of the process bring the full scope of the battle to light.
Using Borg's
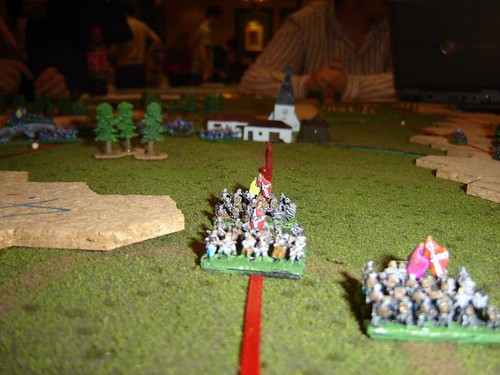
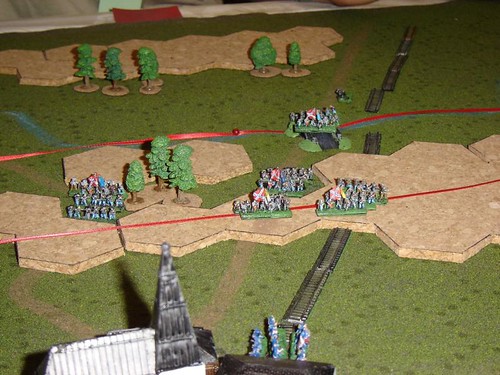
Battle Cry system, with infantry units of 4 stands, cavalry of 3 and artillery of 2, and with notable leaders, we defined infanty, artillery and cavalry units as being brigades, and leaders as being the various Corps Commanders. This put a potential of 130 units on the battlefield.
But everything would start with Buford and Heth along Willoughby's Run - just 8 units under the command of two players.
Reinforcement would come on the roads, and as new sections of the battlefield opened up, additional players would join in.
Adding Bells & Whistles to Battle CryOut of the box, Battle Cry is quite generic, and doesn't give a lot of colour. So we wrote up special cards (12 for each side) to model specific events which did (or could have) occured during the battle.
A few examples:
Enraged Rhetorician (Union)
“Stand firm ye boys from Maine”Play in the confederate turn, immediately after a confederate player has declared an attack against an adjacent Union infantry unit. The Union unit may immediately battle counting retreats as crossed swords.
[Modelling Strong Vincent's Brigade's defence of the Little Round Top]
Wooden Leg (Confederates)
"You see how much better fixed for a fight I am than you are. It don’t hurt a bit to be shot in a wooden leg"Play to save a general from a “Sharpshooter” card
[Modelling Ewell's close call with a sharpshooter]
Misread Orders (Confederates)
"It was not through any misinterpretation of orders"
Play in the union turn, immediately after a union player has moved units. You may now move those unit an additional hex, and they may not battle.
[Modelling Sickles' advance]