25 March, 2009

Raid on the Blücher

After having placed the asteroids and secretly determined the location of the Blucher and the jump-in point of the Romanov ships the defending NSL squadrons were deployed.

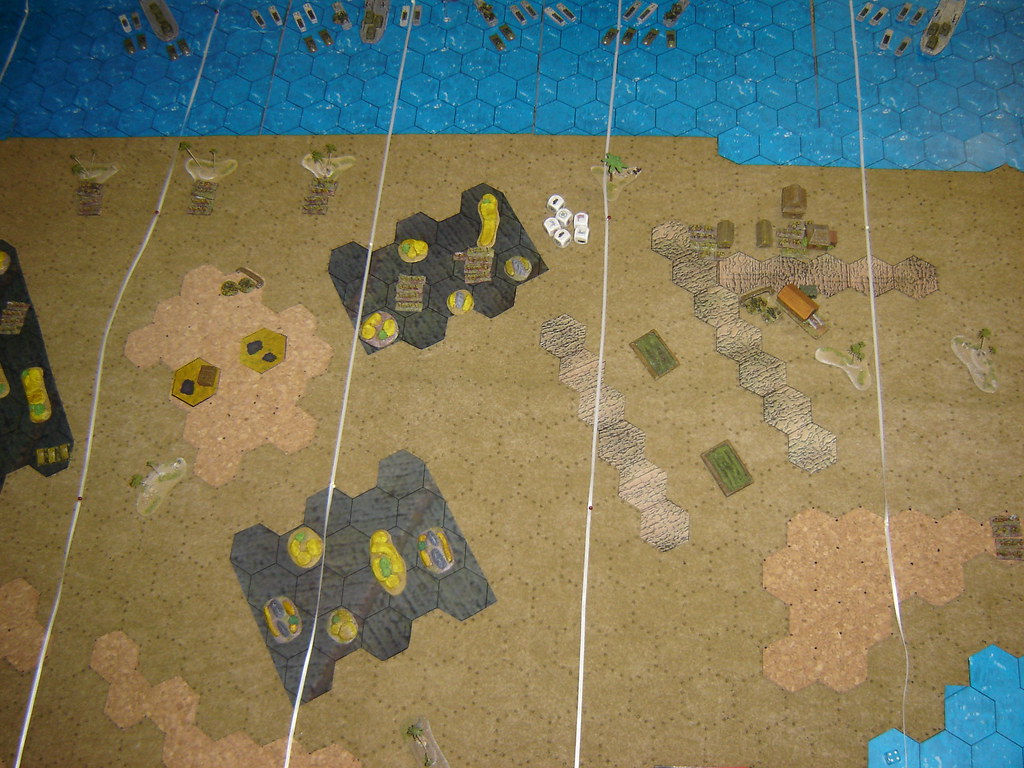
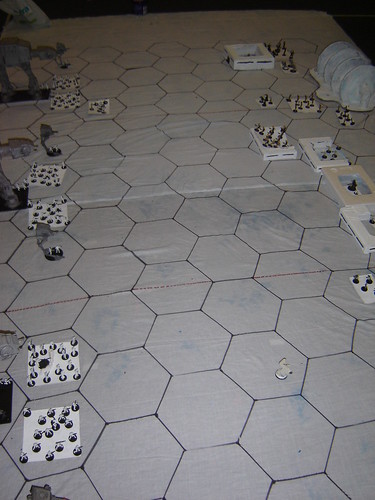
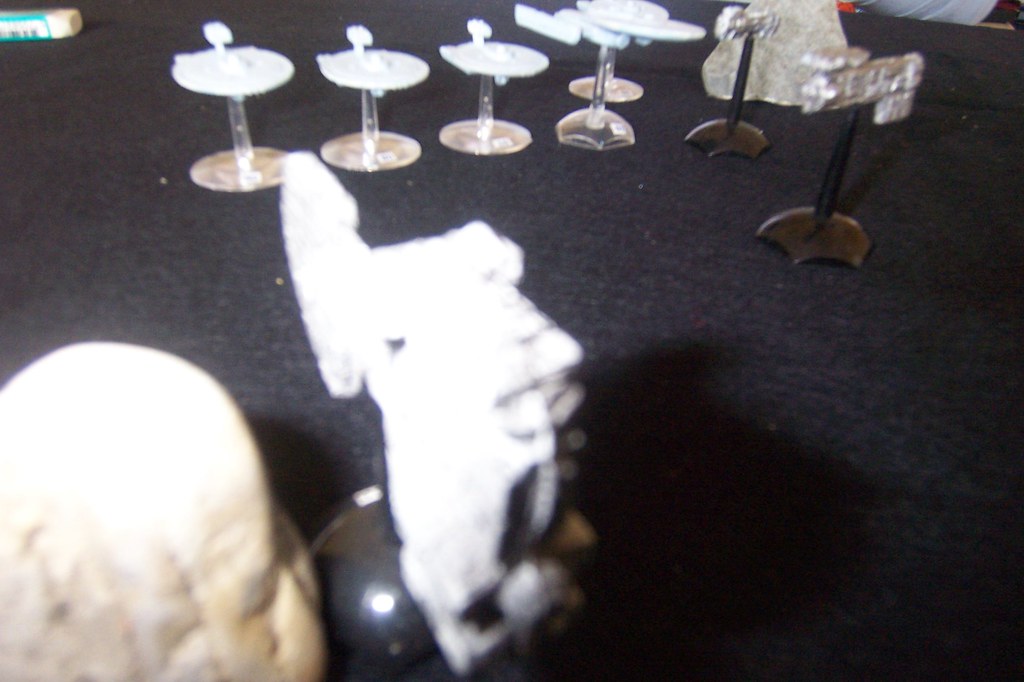
The NSL admiral intended to have a relatively conservative deployment with the close protection squadron in proximity to the hidden battleship at low velocity and the two patrolling squadrons moving at a moderate pace back towards the same zone.

'A' Patrol Squadron moves back towards asteroids.

'A' Patrol Squadron moves back towards asteroids

'B' Patrol Squadron makes contact with the close protection squadron.

'B' Patrol Squadron makes contact with the close protection squadron

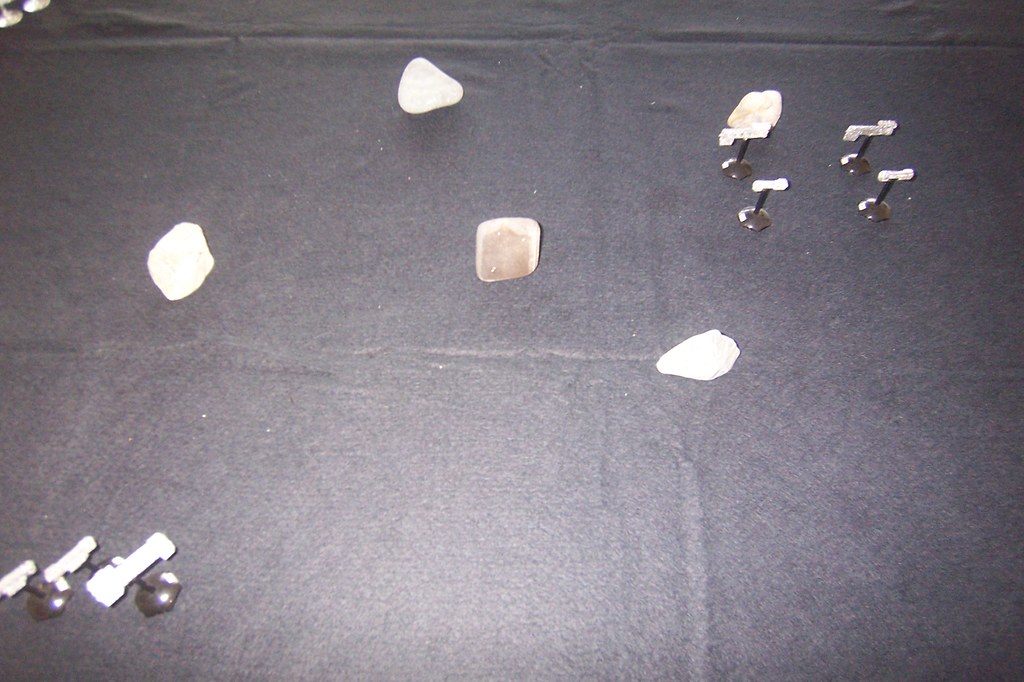
Close Protection Squadron threads its way through asteroids.

Close Protection Squadron threads its way through asteroids

Close Support Squadron.

Close Support Squadron

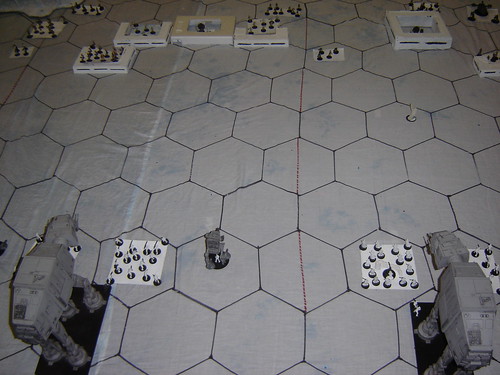
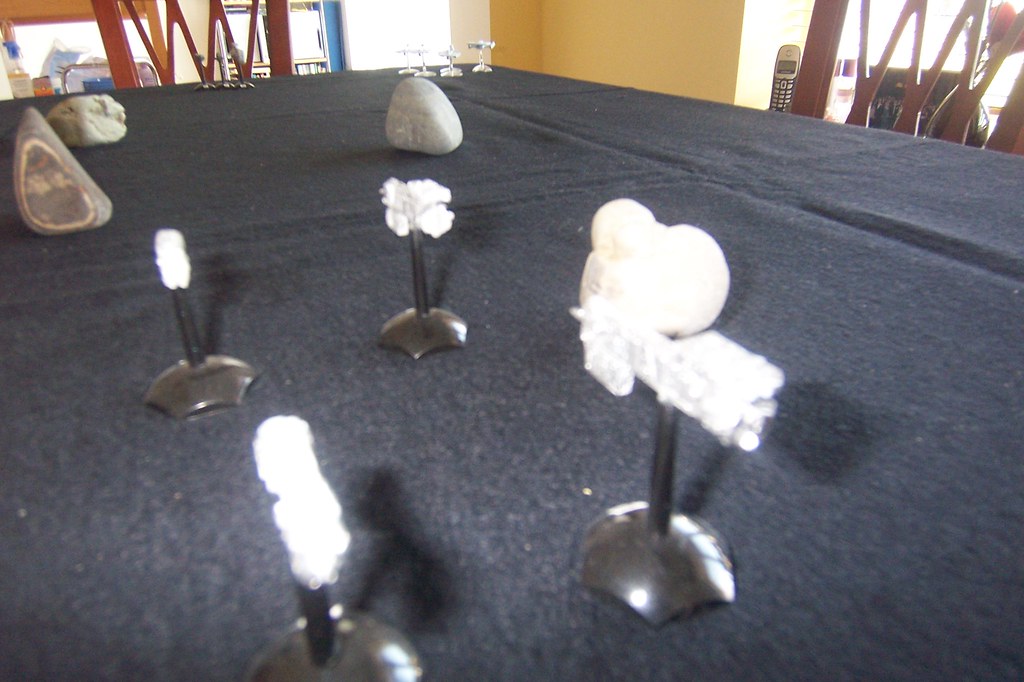
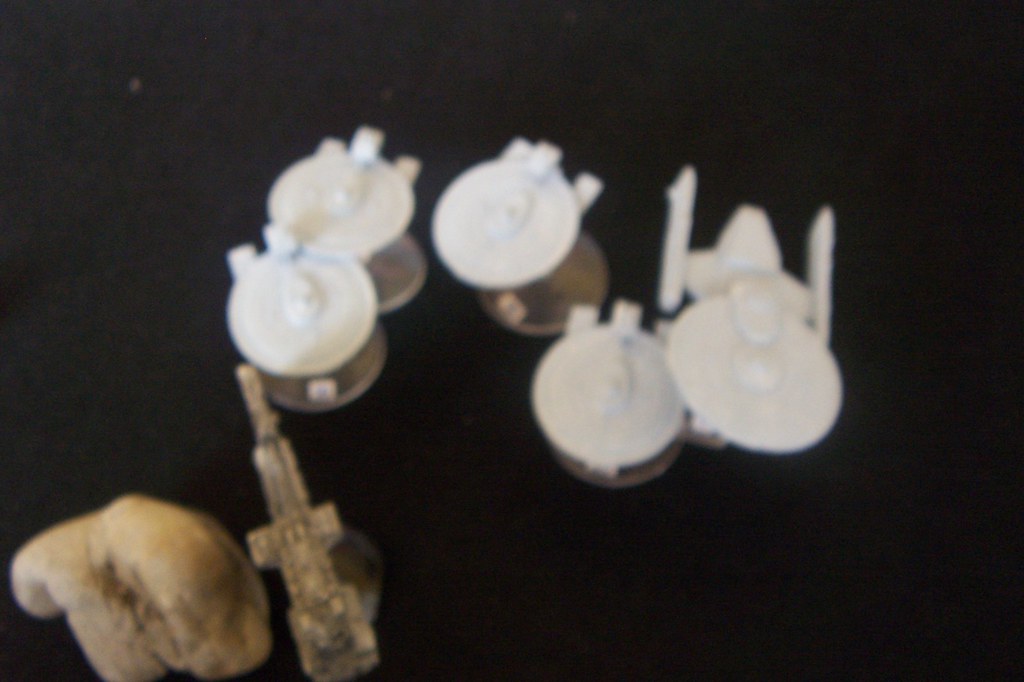
Romanov squadron jumps in right on top of them. This threw the cat amongst the pigeons. With the opening Romanov salvo destroying a frigate and a light cruiser outright, and crippling the other two vessels in the close protection squadron with little effective reply, there seemed to be little hope for the NSL battleship to hold out before relief would arrive.

Romanov squadron jumps in right on top of them

Despite the slow crawl of the asteroid the Blucher is anchored to away from the Romanov squadron their sensor sweep reveals its position. Bringing on its systems online as quickly as possible doesn't seem quick enough. Only a single '3' Battery, FTL and the engines response to the feverish attentions of the damage control parties.

Their sensor sweep reveals the Blucher

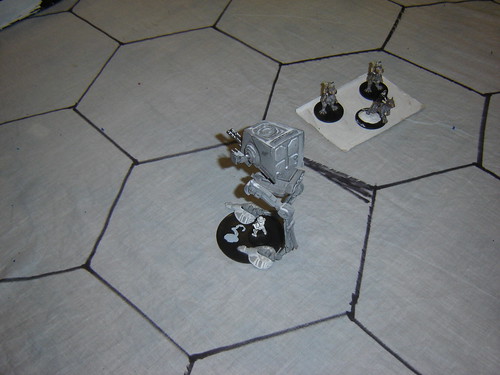
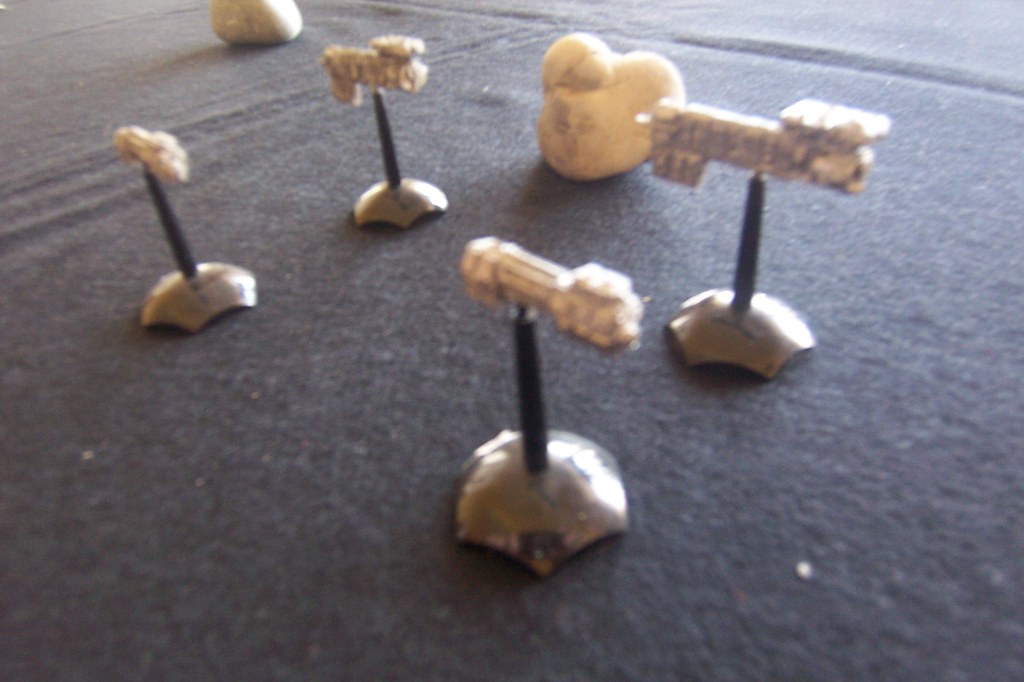
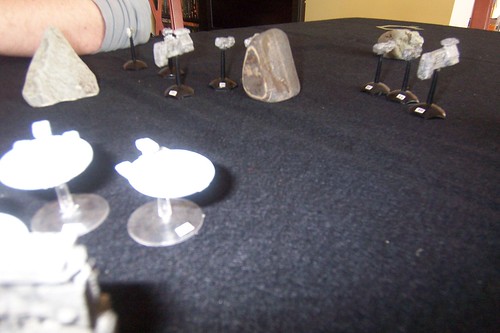
Romanov squadron swarms as Blucher gets engines online. The Blucher pulls away at a snail's pace from the asteroid to bear its weapons on its attackers. Their fire severely damages its armour and super-structure.

Romanov squadron swarms as Blucher gets engines online

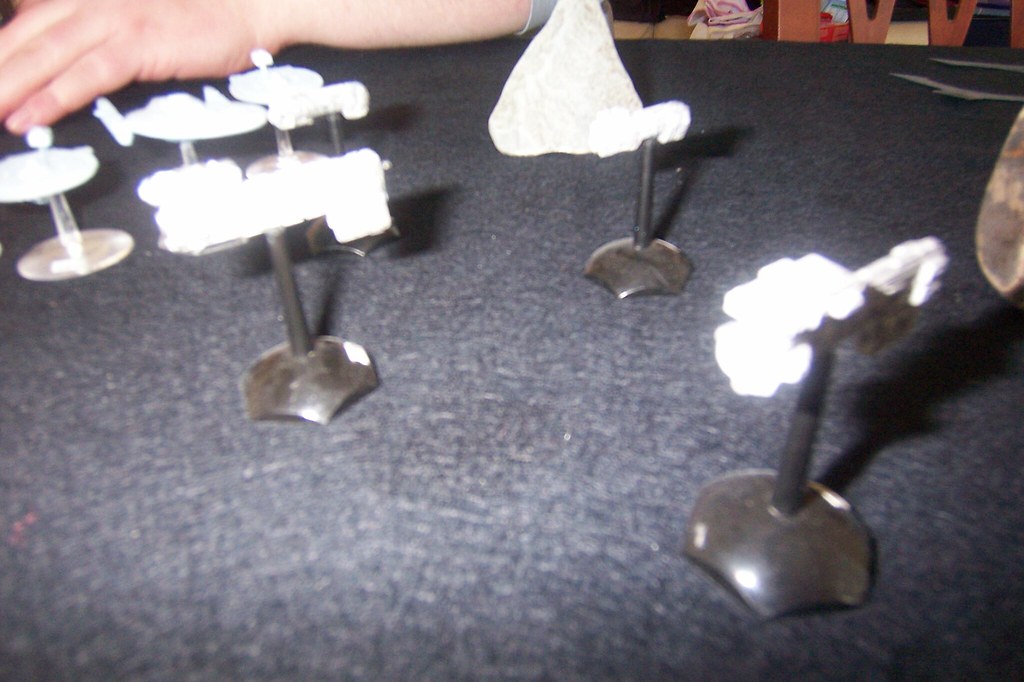
Despite the urgency of the situation the patrolling squadrons keep their steady pace through the asteroid field, and the heavy cruisers' concerted fire on the Romanov battleship "Sevastopol" tears it apart before she can open up again on the Blucher. Fire from the accompanying destroyers knocks two of the Romanov cruisers out of action. The remainder flee.

Devastating long-range fire from patrols

A short, sharp battle. It's difficult to assess exactly how the scenario might be balanced better, given the deployment rules give an awful lot of scope for hugely different plays. We both felt that maybe downgrading the heavy cruisers with escort cruisers and swapping them with the light cruisers would go a long way to evening things out.

13 March, 2009

Battle of Tinian - redux

We replayed the Tinian scenario on the Sunday of Leprecon; the Japanese were thirsting for revenge from their defeat the previous day.

The Marines converge on White Beaches. This "aerial" perspective shows just how much cover the cane fiels would provide the Japanese if they decide to make their stand in the cave complex.

Marines converge on White Beaches

Corsair strafes Japanese infantry in jungle. Despite some early successes the air unit was shot down over the hills and another sortie was never launched.

Corsair strafes Japanese infantry in jungle

Marines storm off landing craft to take airstrip. Here the Japanese would be under huge pressure, with their initial counter-attack on the other side of the airstrip being wiped out by a well-timed (and well-aimed) naval salvo.

Marines storm off landing craft to take airstrip

Japanese counterattack catches Marine armour. The American armour unit made initial inroads, pushing Japanese infantry back into the cane fields, but is then caught and destroyed by a supporting attack. Colonel Ogata leads another unit to prevent a nearby Marine battalion from aiding the beleaguered tankers.

Japanese counterattack catches Marine armour

Japanese tanks ready for action as the Marines come ashore in strength. With infantry backing them up through the jungle and with artillery support, the Japanese are confident at this end of the island.

Japanese tanks ready for action

Japanese lurk in jungle to threaten Marine advance on the airstrip. A series of well-timed manoeuvres would see the Americans decimated here and without armour to back them up.

Japanese lurk in jungle to threaten Marine advance

Presence of Marine General bolsters centre. With the Big Guns having come ashore, the Americans are in a position to do real damage to the Japanese in the centre.

Presence of Marine General bolsters centre

Night falls, but the Japanese are not prepared for a night attack. Marines land on Faila San Hila Point, and begin to work their way towards their objectives. The long night actually suits the Americans, as it negates the Japanese advantage in artillery and prevents Japanese units from engaging in long-range firefights from cover.

Marines land on  Faila San Hila Point

Firefight rages in airstrip buildings. The depleted lone Japanese infantry battalion at the airstrip holds out but is eventually driven off. The subsequent assault on the artillery on the other side of the airstrip is unsuccesful and the Marines take point-blank artillery fire.

Firefight rages in airstrip buildings

Marines take ground and push towards emplaced artillery. After their initial success here, the Marines begin to feel the effects of close-in assault by the Japanese tanks. Previously kept at arms length by the Marine armour, but now freed up. They range up and down the shore driving unfortunate marines into the night-time surf.

Marines take ground and push towards emplaced artillery

Marines caught in crossfire. A final concerted attack on the marine battalion in the centre ends in its destruction along with the death of General Cates brings the defeat of the Marine task force as dawn breaks.

Marines caught in crossfire

An emphatic victory for the Japanese 21-6. As the game progressed it never seemed that decisive, and many Japanese units were on their last legs. One vital factor was the emphasis the Japanese placed on taking the Marine armour out of the game, allowing them to play to their advantages in close assault in the open.

07 March, 2009

Battle of Rolica (2nd Position)

The French, having bloodied English noses at Rolica and delayed them considerably, fell back in good order to the south. Four narrow gullies lead up to the ridgeline they have occupied, and the English must turn its flanks or frontally assault.


The French artillery looks on as the English left marches forward.

French artillery looks on as English advance

Allied advance up gullies is watched by french from ridge, including a strong hussar contingent.

Allied advance up gullies is watched by french from ridge

The French hussars trot behind a copse to await the Portuguese advance

French hussars await Portuguese advance

and with infantry support from a French light battalion they charge

and with infantry support they charge

The Portuguese infantry have formed square and have support from a second battalion at their rear. The French hussars are counter-charged by Portuguese cavalry

Counter charge by the Portuguese cavalry

In the centre the English reach the French lines but their fire has little effect

English reach French centre

In the other central gully Wellesley takes control of Grenadiers and quick-marches to the front

Wellesley takes control of Grenadiers

The English are decimated by murderous volleys from the French infantry on the ridge

English decimated by effective French long-range fire

The Portuguese hang in there on the Allied right. There is an uneasy stalemate between the two cavalry squadrons, but there is artillery coming up to help out

The Portuguese hang on

The Grenadiers show true grit, as they march into the jaws of death!

Grenadiers show true grit

In the other central gully the English horse artillery forced back by the French, who have swept the supporting infantry from the field

English horse artillery forced back by French counter attack

Despite Wellesley's leadership the French counter-attack pushes English back down gully

French counter-attack pushes English back down gully

Another victory for the French, the English left's tardy advance has allowed them to blunt Wellesley's strategy.

03 March, 2009

Battle of Hoth

At Leprecon, the guys ran this Memoir'44 variant of the Battle of Hoth. Using 25mm figures and to-scale Imperial walkers, this was played on the floor! It looked great, seemed to play well (I didn't get the chance to, but I did take some quick pictures)

Assault on Hoth kicks off.

Assault on Hoth kicks off

AT-ATs advance.

AT-ATs advance

AT-ST outflanks Tauntauns.

AT-ST outflanks Tauntauns

AT-AT prepares to fire.

AT-AT prepares to fire

Stormtroopers ready for attack on shield generator.

Stormtroopers  ready for attack on shield generator

Rebel snowSpeeder peels off to make another attack.

Speeder peels off to make another attack

01 March, 2009

Battle of Rolica (1st Position)

Richard Borg was special guest at Leprecon this year (quite a coup I'd say!).
He demo'ed his up-and-coming Command & Colours Napoleonic game for us on Sunday.
The first scenario we played was the 1st Battle of Rolica - I'd never even heard of it, so here's a link

This scenario represents the first defensive position taken up by the French north of Rolica.

French take up strong defensive positions north of Rolica

French artillery eye up opposition. Although on the ridgeline upon which almost the entire French force is deployed and supported by infantry, they are heavily outnumbered by the English artillery.

French artillery eye up opposition

Wellesley orders column across river. The plan would seem to be to manoeuvre around the French on the left flank and then take the main position in a frontal attack once it's been turned. The Portuguese rifle battalion have been identified as a danger by the French artillery and they are pounded by them as long range at any opportunity.

Wellesley orders column across river

French hussars English advance guard into square. Fearing tha the left flank will turn his entire position, Delaborde orders his hussars to stymie any attempted river crossing here.

French hussars  English advance guard into square

French hussars threaten Portuguese infantry. Delaborde takes personal command of the hussars on the other flank; with nearby infantry support he can make this an effective attack.

French hussars threaten Portuguese infantry

English heavy cavalry charge up hill but are repulsed by well-timed volley.
Twice the heavy dragoons charged this light infantry unit, but both times they were hit with a well-timed volley which turned them back.

English heavy cavalry charge up hill but are repulsed by well-timed volley

French light battalion fire into Portuguese in square. The hussars, having forced the infantry into square circle their formation and their supporting light battalion fires with deadly effect into the packed ranks.

French light battalion fire into Portuguese in square

Fierce calvary fight on French left flank. The French come off worse from this long and frenzied engagement.

Fierce calvary fight on French left flank

French hussars destroy English horse artillery. Having threated the infantry and then withdrawn to the rear of the battlefield when targeted by the horse artillery, the hussars sweep in as soon as they cross the river and set up in range of the right flank of the French line.

French hussars destroy English horse artillery

French lights form square against victorious Portuguese cavalry. This Portuguese unit causes havoc along the French left flank, but is then caught in a crossfire and driven back to their own lines.

French lights form square against victorious Portuguese cavalry

French centre still strong, and is steeling itself as the English artillery has advanced into effective range.

French centre still strong

Colonel Trant is shot as he retreats with broken cavalry. The light infantry under Delaborde claim another scalp.

Colonel Trant is shot as he retreats with broken cavalry

French look on as Ferguson leads heavy dragoons in once more. They are decimated by the light and line battalions who open fire on them having repulsed the English infantry who were also assaulting their position.

French look on as Ferguson leads heavy dragoons in once more

The French are victorious, having defeated both flanks of the English. However prudence dictates that they use their victory to fall back to a second position.

More like this