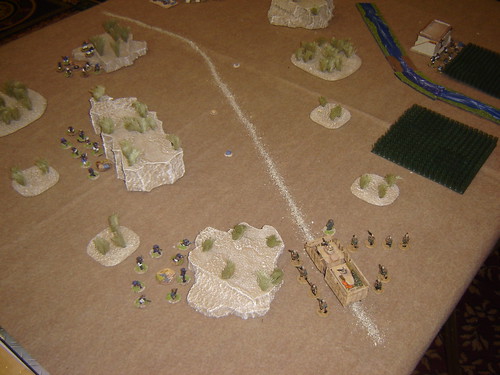
The Defence of Wilson's Wadi
Senior local Afghans, friendly to ISAF are being held by Taliban forces. The British feel that their position will become untenable if they do not maintain good relations with the local population and rescue the elders.

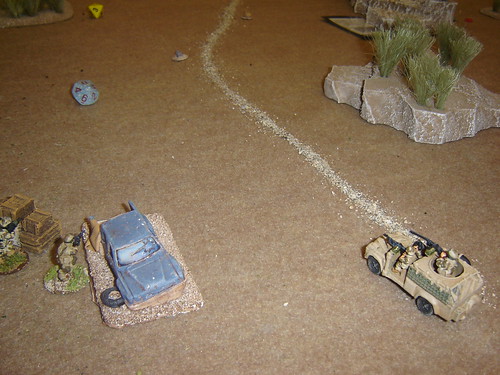
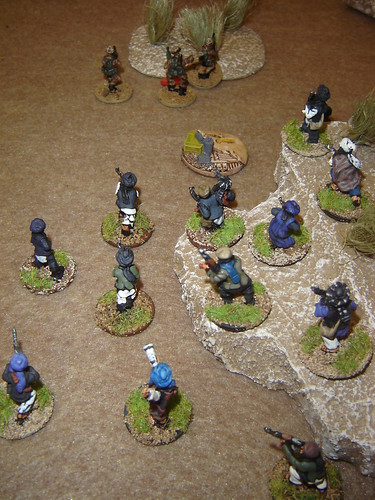
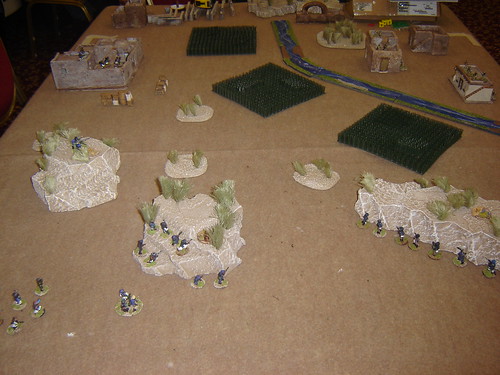
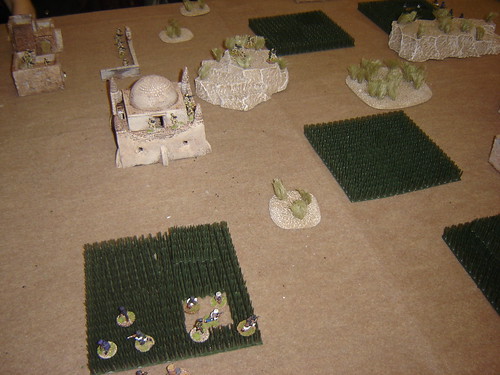
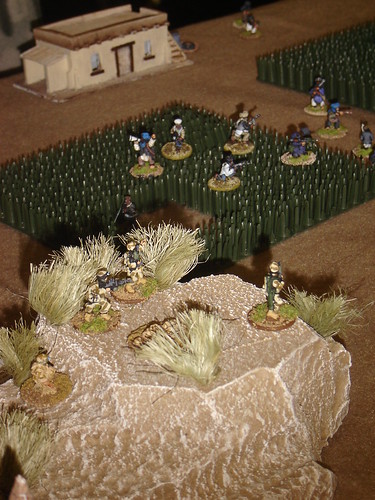
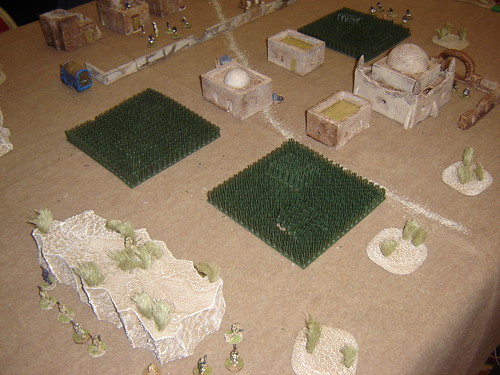
Rescue mission kicks off
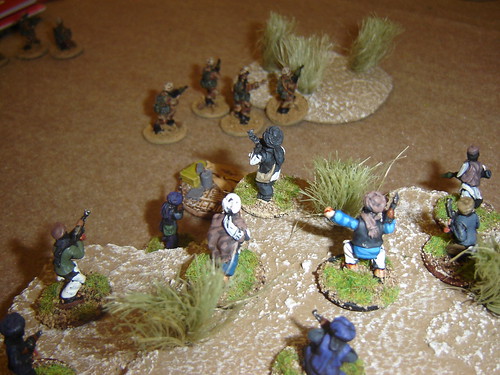
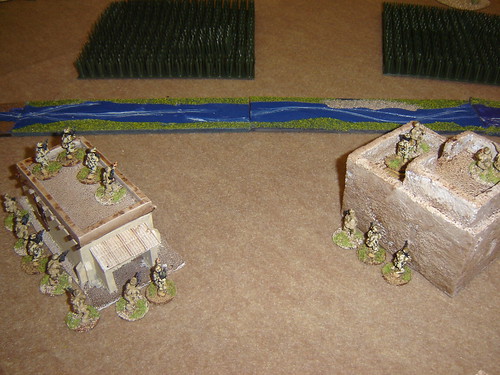
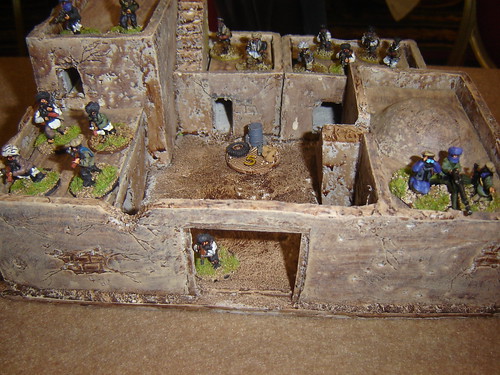
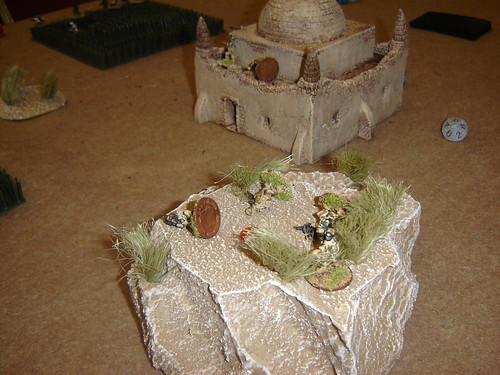
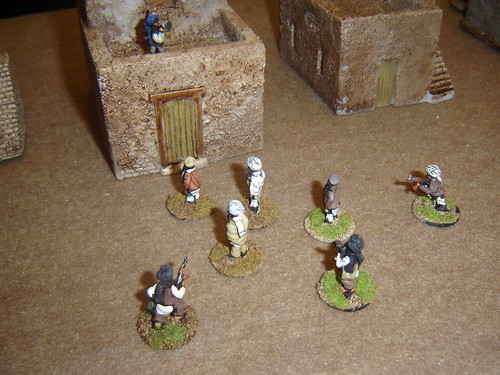
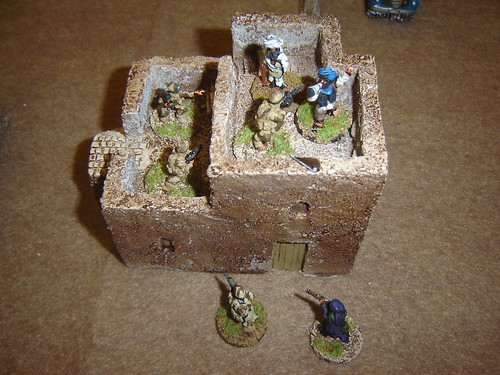
Afghan elders escorted in for interrogation - their location will be hidden and the interrogation occurs during gameplay
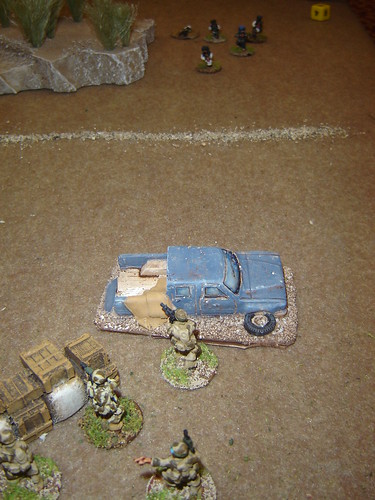
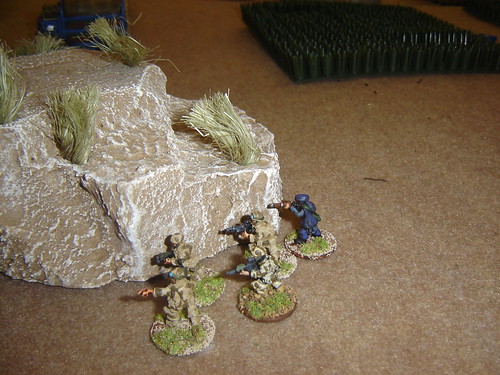
First fireteam led by Trust Native Guide - who gives the fire team an bonus to reaction

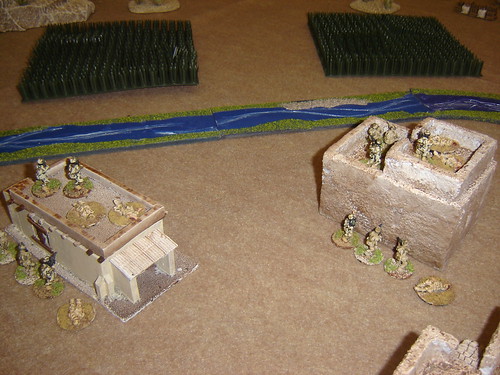
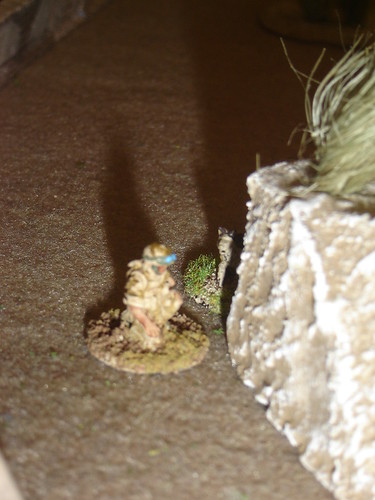
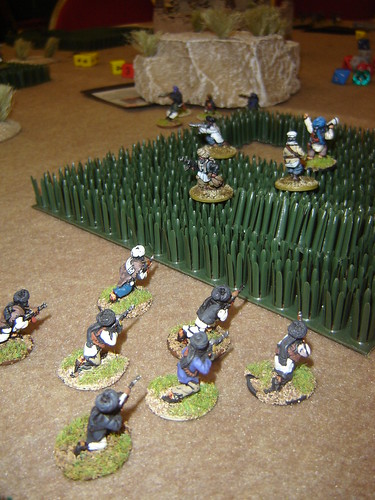
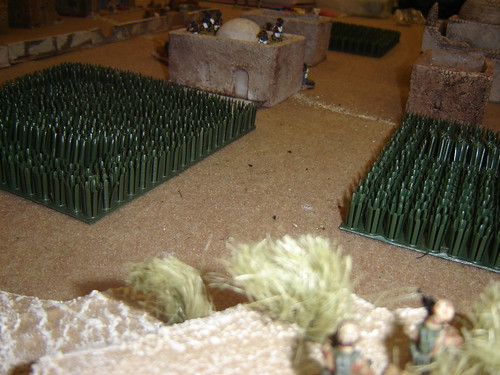
They rush from cover to cover, trying to avoid getting caught in the open
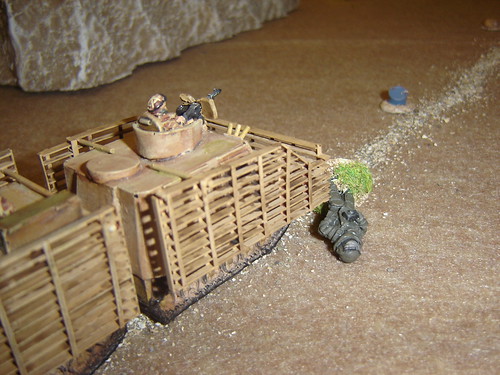
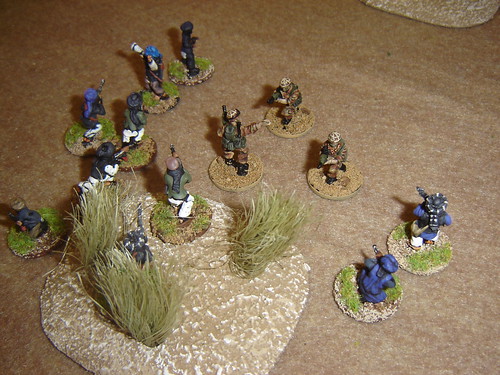
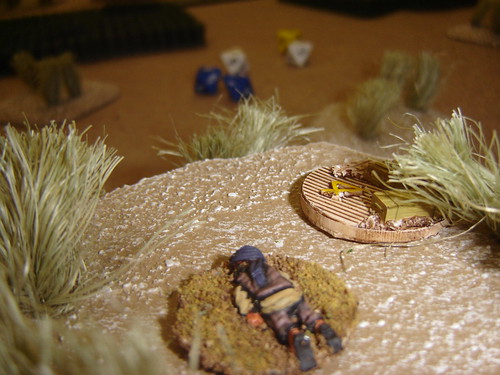
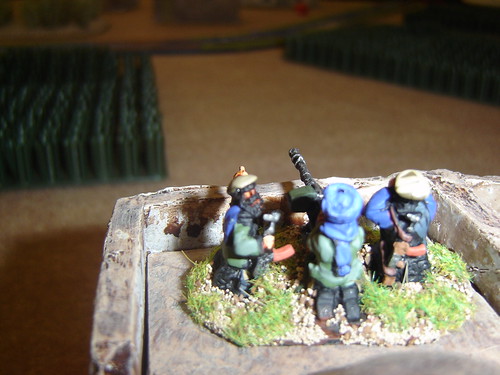
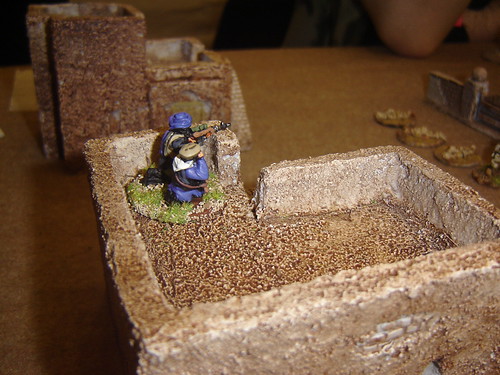
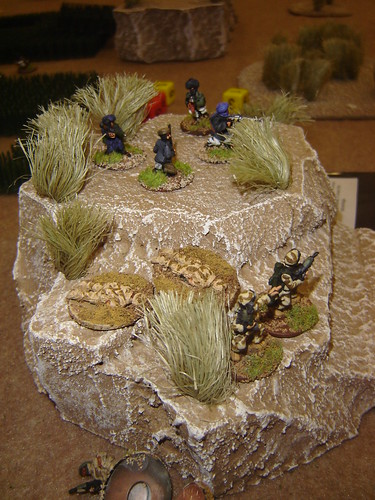
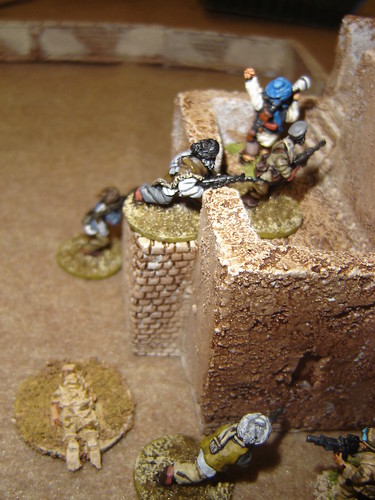
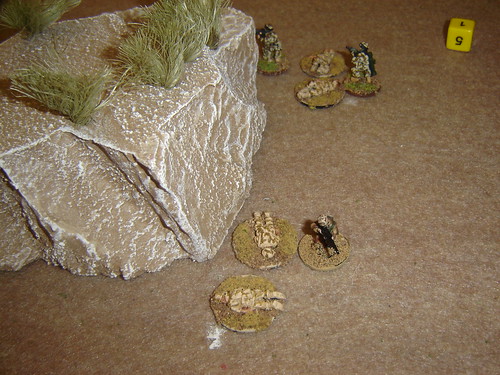
Sniper team are well hidden - they are keeping an eagle eye on the roof-top Taliban sentry group
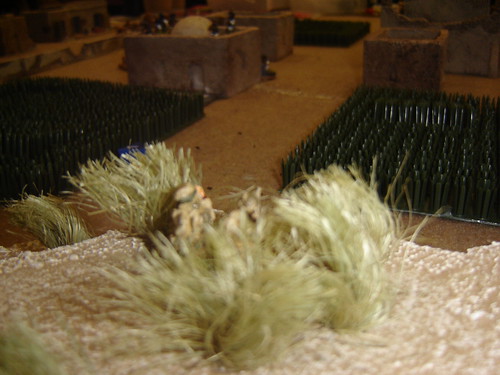
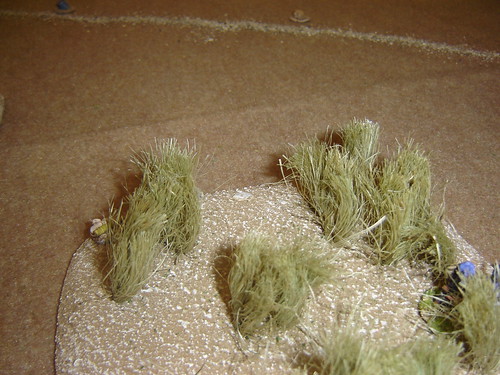
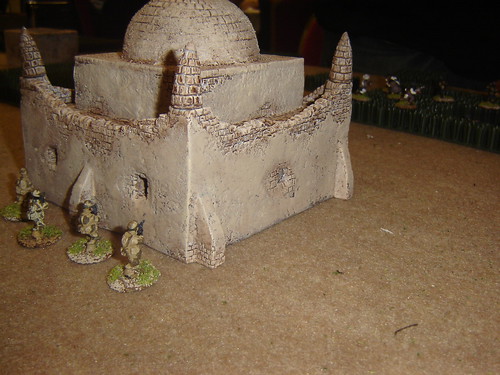
Avoiding contact and skirting around the Taliban sentries' controlled zone - no reinforcements will be rolled for until someone opens fire

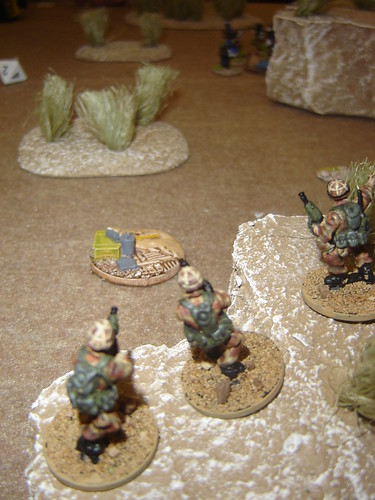
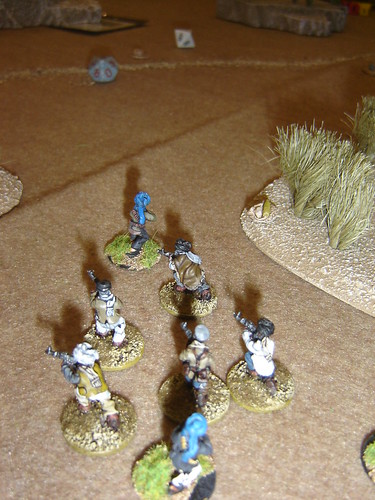
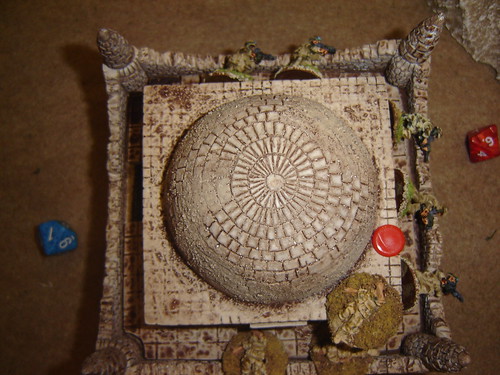
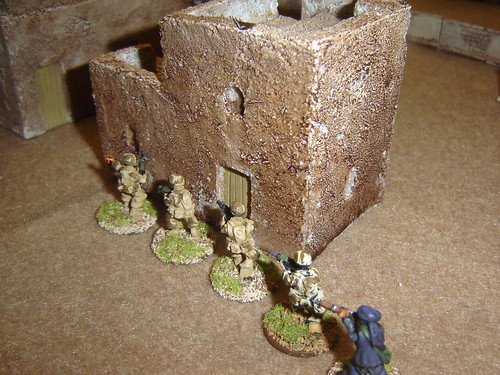
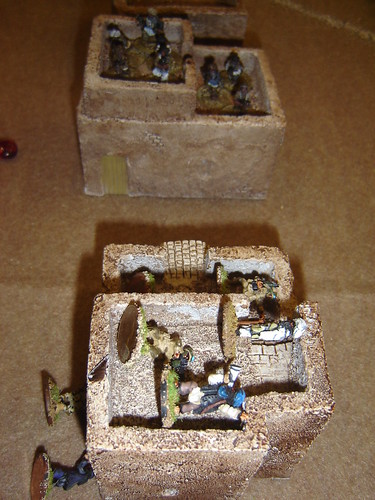
They reach the first target house and stack up to breach and clear the building - so far this is going like a Rogue Spear mission
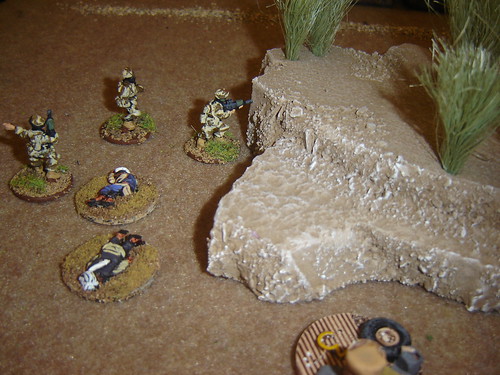
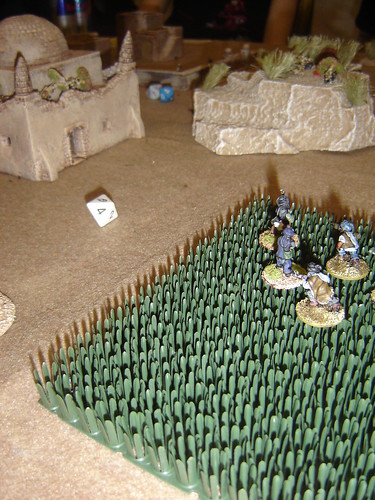
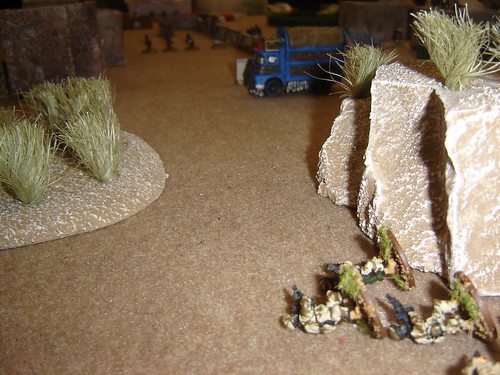
Second fire team in support gets hammered by patrolling Taliban - amazingly enough they won the reaction against the Taliban group crossing open ground in the far distance but failed to inflict any casualties on them. The return fire wiped out the four-man fire team and attached medic!
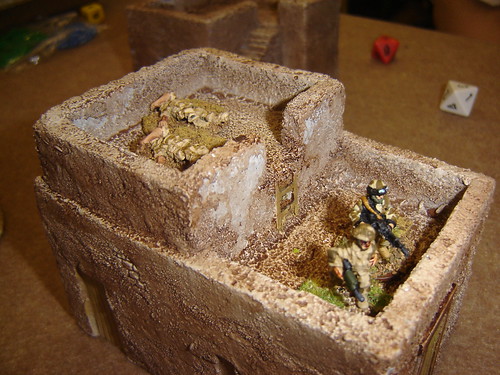
First fire team clears house and captures the Taliban leader and the Afghan elder alive - somewhat inconceivably the interrogators' D8 had failed to beat the elder's D4 for three turns in a row and the gambit of placing the interrogator in the nearest house (thinking he would then be moving away) has failed spectacularly
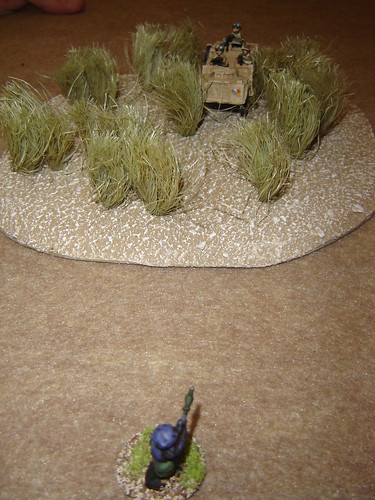
Second Sniper team shows up to overwatch the village as the first sniper team has legged it to give first aid to the downed fire team
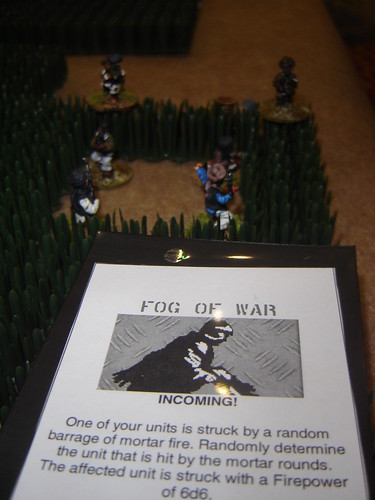
The Taliban patrol moves into the second building and avoiding fire from the British, wipes out first fire team too
The Taliban leader survives their follow-up assault which kills one and captures the other three. The elder (who has been interrogated succesfully) and the traitorous local guide are executed on the spot.
The second sniper team has been hit as well, and attempts at their recovery almost prove tragic (both are found to be dead as well)
*****
A game of two halves - initally the British were doing so well, but the ninja-like performance of one of the sentry groups proved their undoing.
The British lost this one a staggering 22-0 and lost four KIA, two WIA and three captured. It has proved a filip for the insurgency and more leaders join the Taliban during the evening.