28 July, 2009

Trouble at Peterson's Mill

Dropped into Steve at the weekend. After some chewing the fat, playing some Supreme Commander and watching The Kingdom we played a game of PKowboys, Piquet's Old West skirmish game.

Trouble at Peterson's Mill


With the approach of the railroad and rumours of gold in the hills near Caspar, Wyoming; the prominent family of the Vanderbolts has contracted the Pinkerton Agency to acquire land in the Caspar area. Stalwart of the fledgling community are the Petersons who run a mill outside of town.
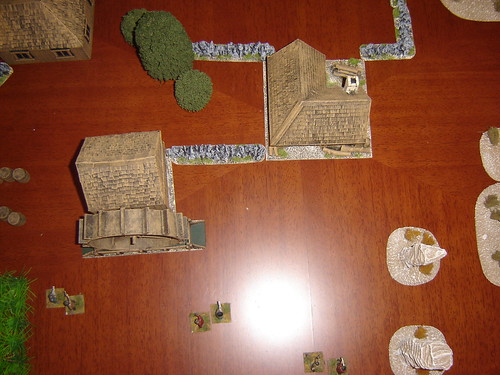
Peterson's Mill

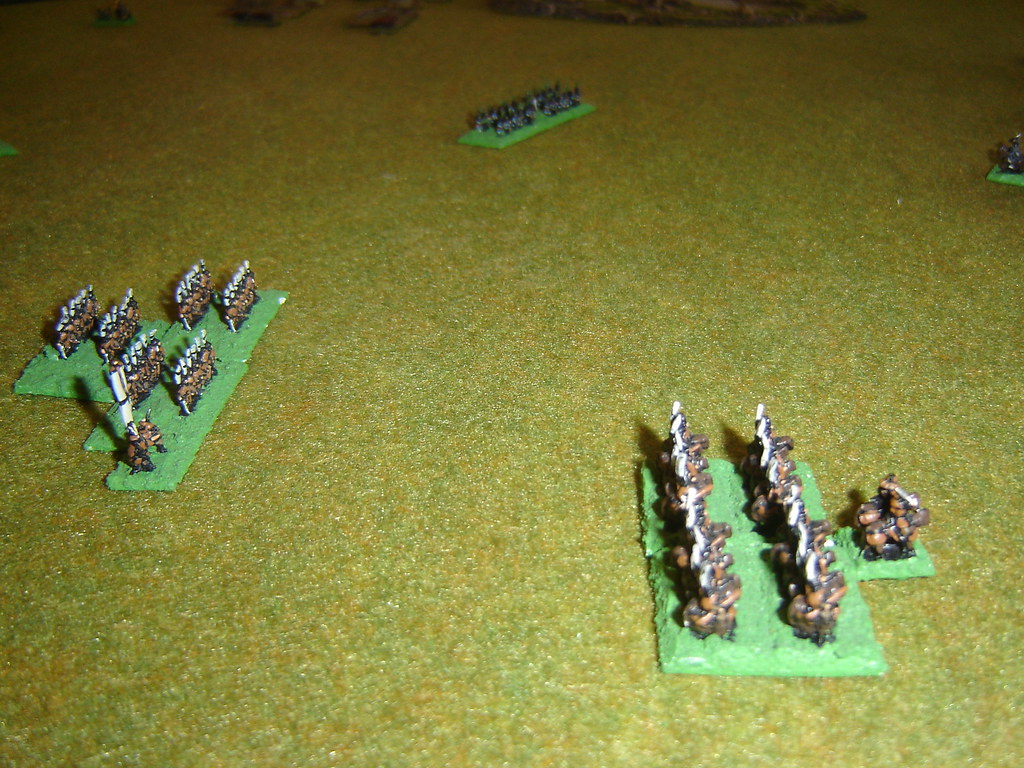
The Petersons and their mates have gathered just south of the mill once they heard of the Pinkertons' approach. They know their skill and weaponry isn't a match for the Pinkertons but they are definitely up for a fight.

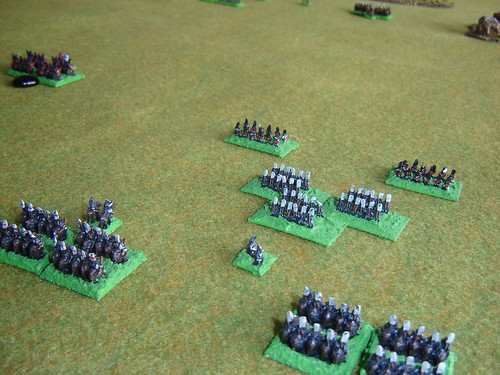
The Townsfolk near the small barrel storage barn
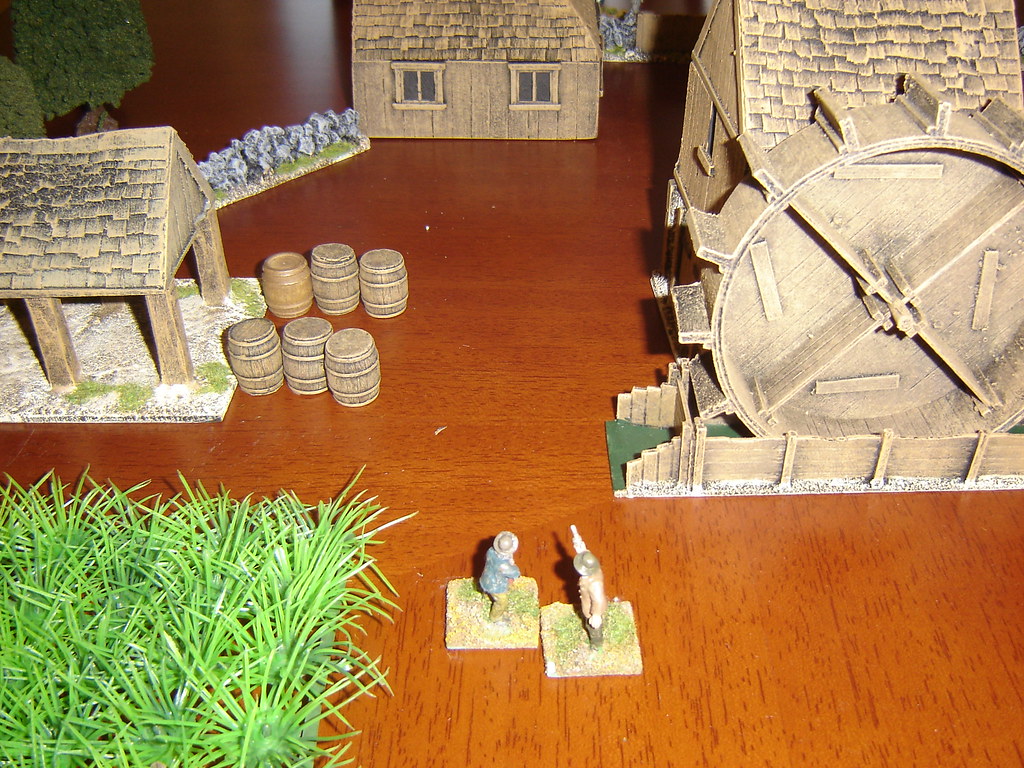
The Townsfolk near the Barrel Barn

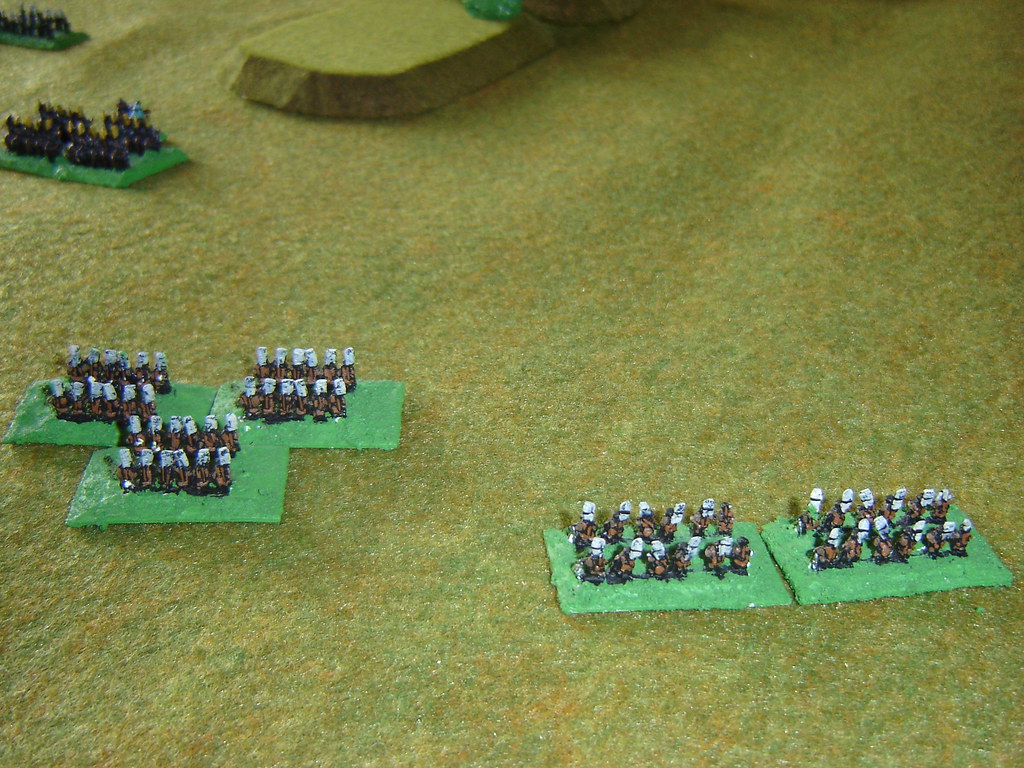
The rest of the Townsfolk near the Smithy

The rest of the Townsfolk near the Smithy

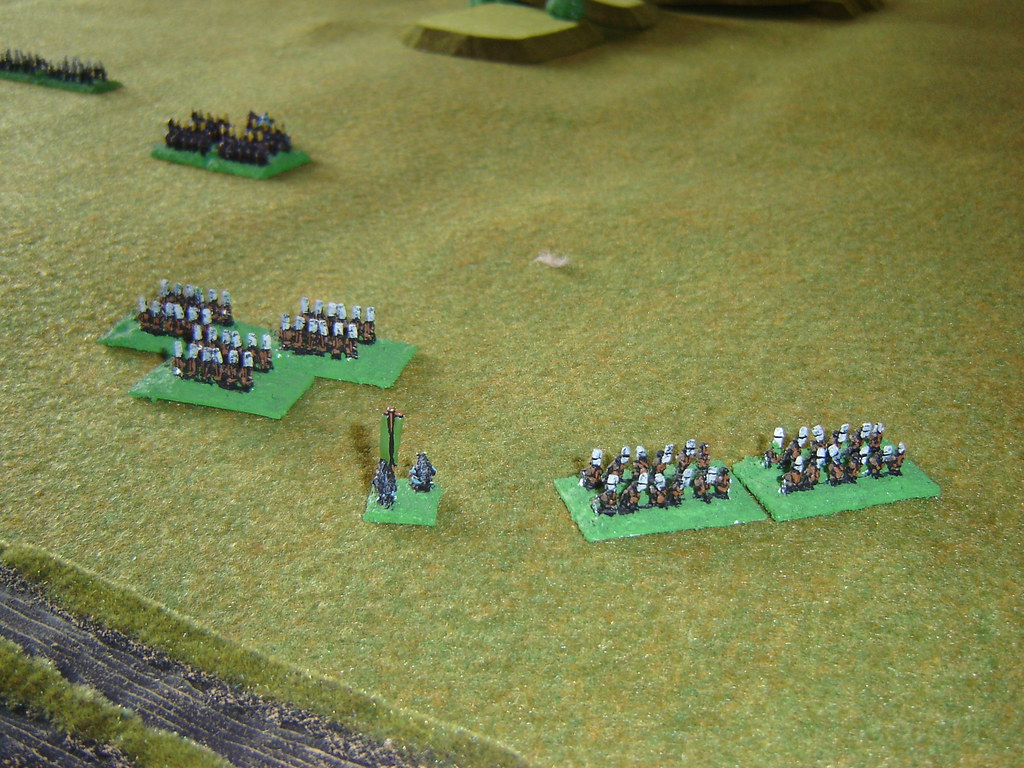
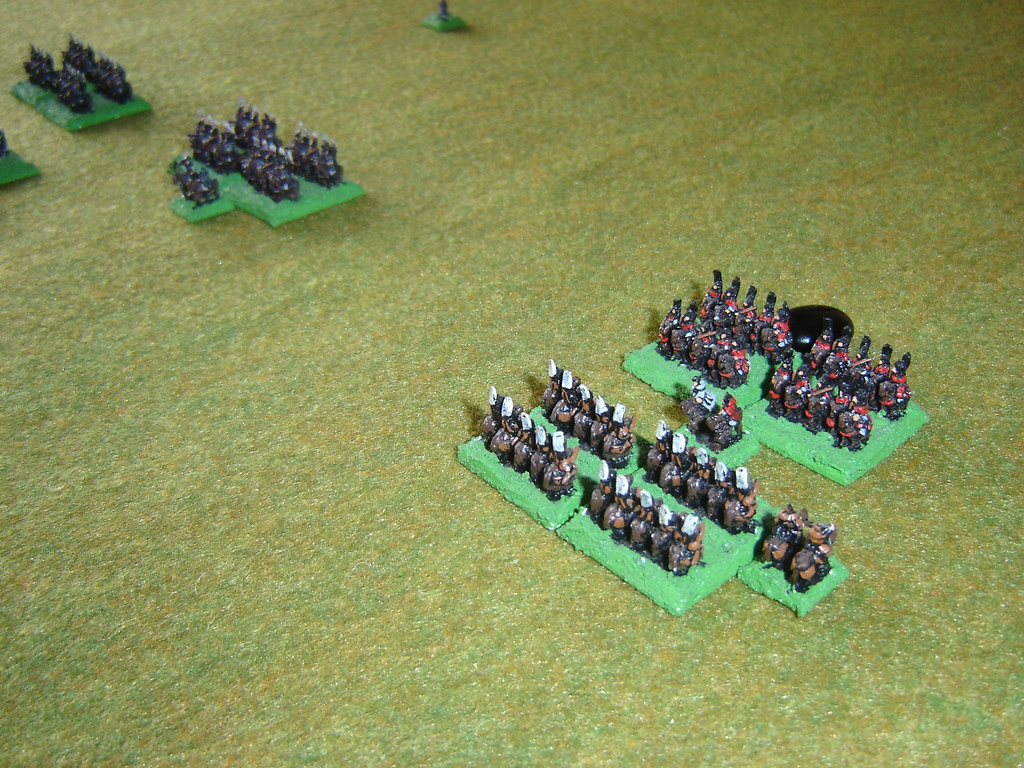
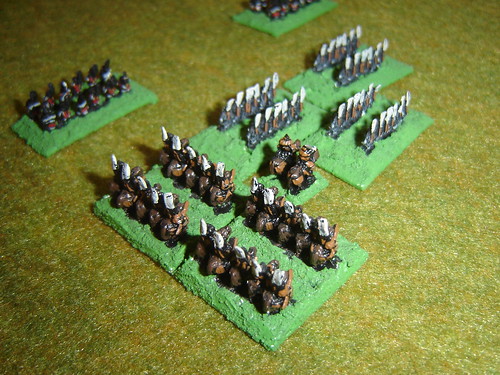
The Pinkertons approach in two pairs, one near the Farrell's House
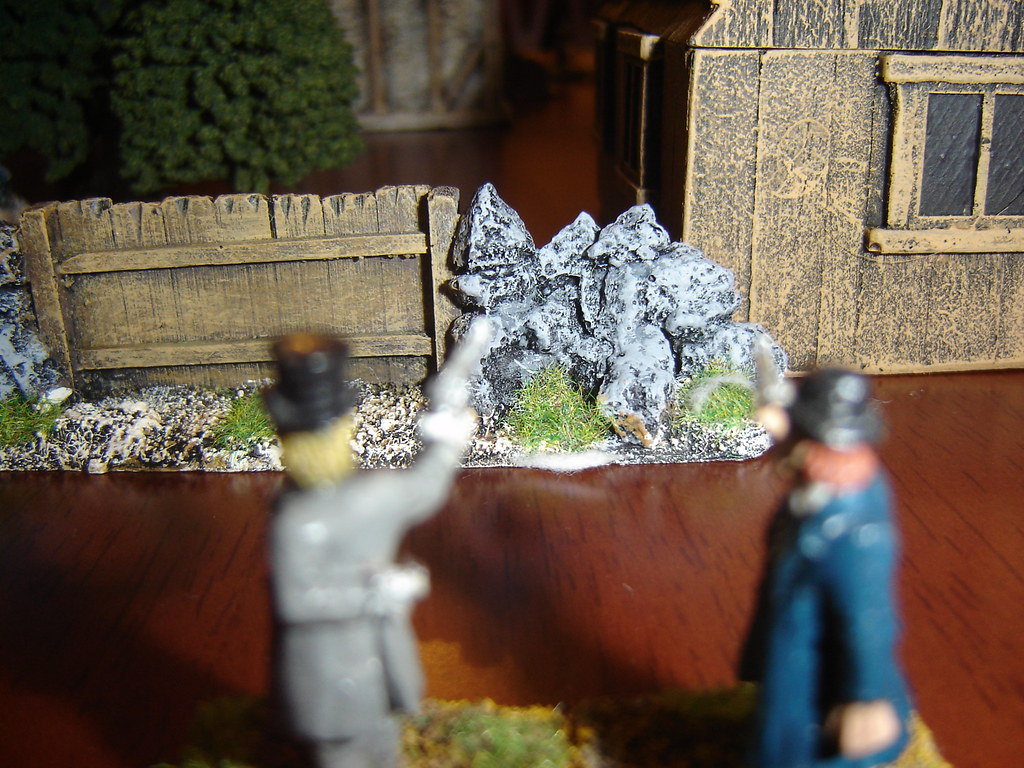
The Pinkertons near the Farrell's House

The other two Pinkertons come in through the scrub.
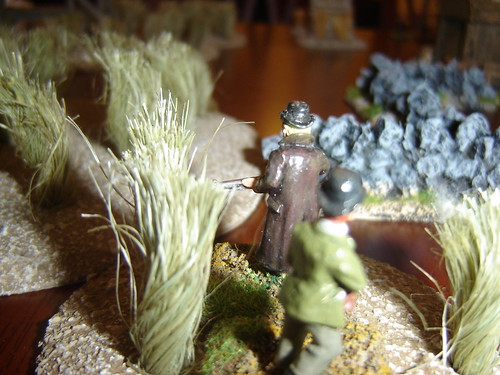
The other two Pinkertons come in through the scrub

Jim McFarland and Zeke White come out through the scrub shooting
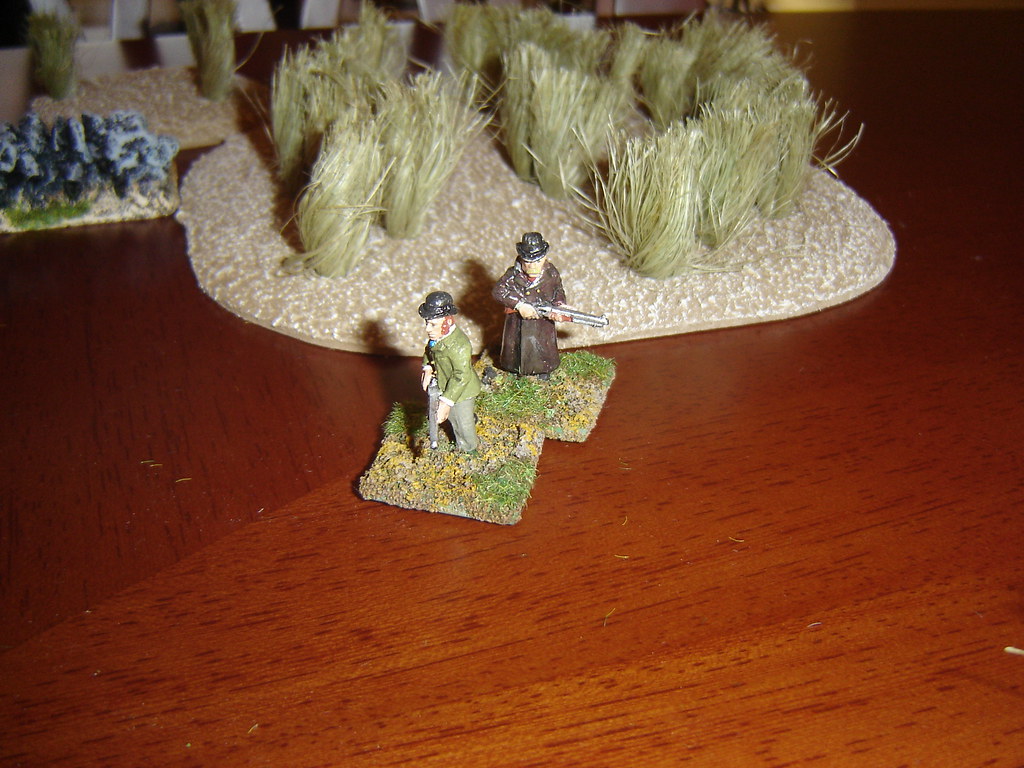
Jim McFarland and Zeke White come out through the scrub shooting

Batt Farrell returns fire and while he doesn't hit anything, the Pinkertons withdraw to take some cover in the tall grass.
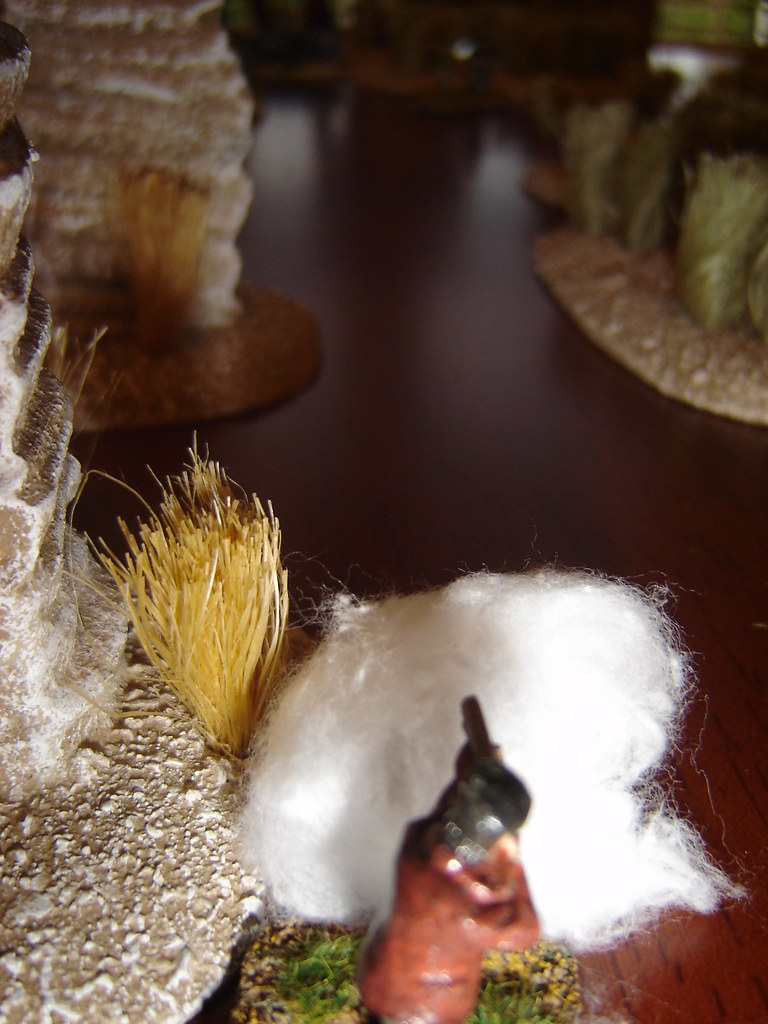
Batt Farrell returns fire

Jake Peterson and Ol' Jeb Masterson take cover behind the barrels and take aim at the two Pinkertons over the wall. Some fire is exchanged and Jake is clipped by a round, but he shruggs it off.
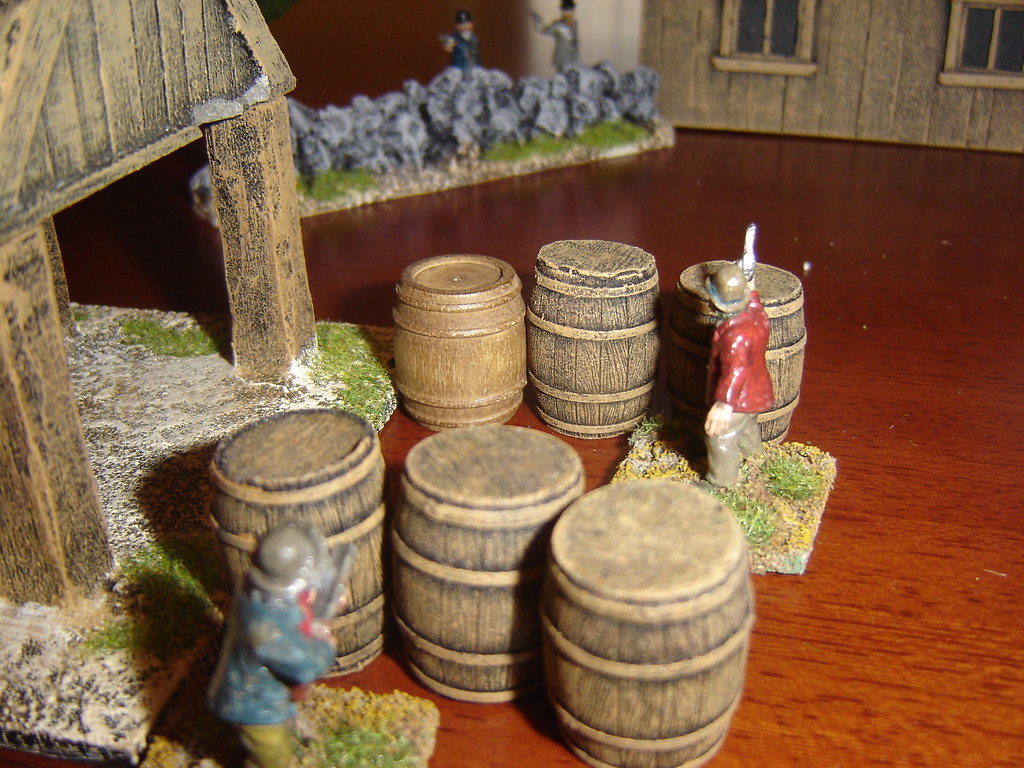
Jake Peterson and Ol Jeb Masterson take cover behind the barrels

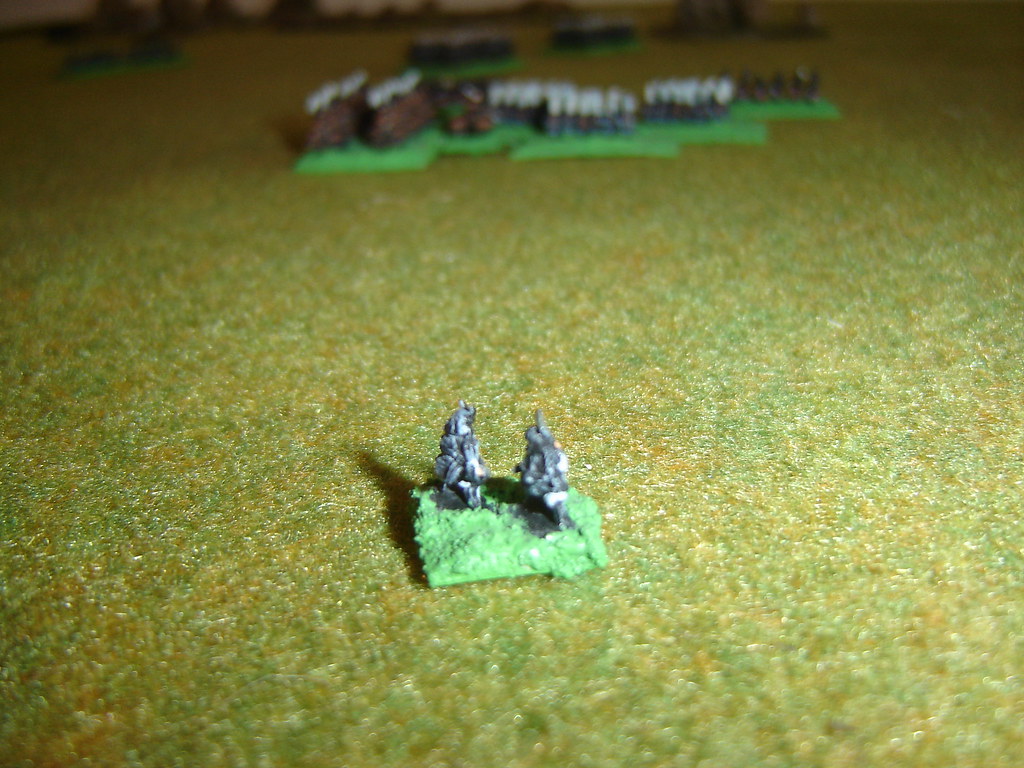
Marty Evans pokes his head around the Smithy to spot the Pinkertons in the scrub.
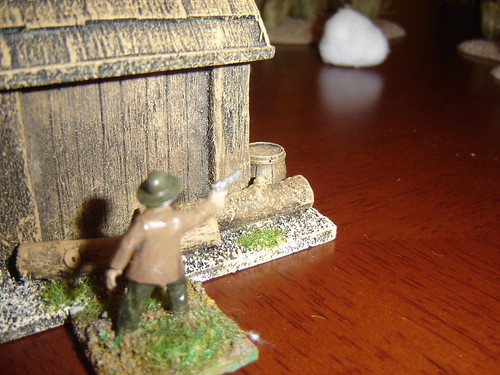
Marty Evans pokes his head around the Smithy to spot the Pinkertons

Danny Peterson and Andy O'Reilly can't see the Pinkertons from the side of the mill, and can't decide who should jump over the wall first.
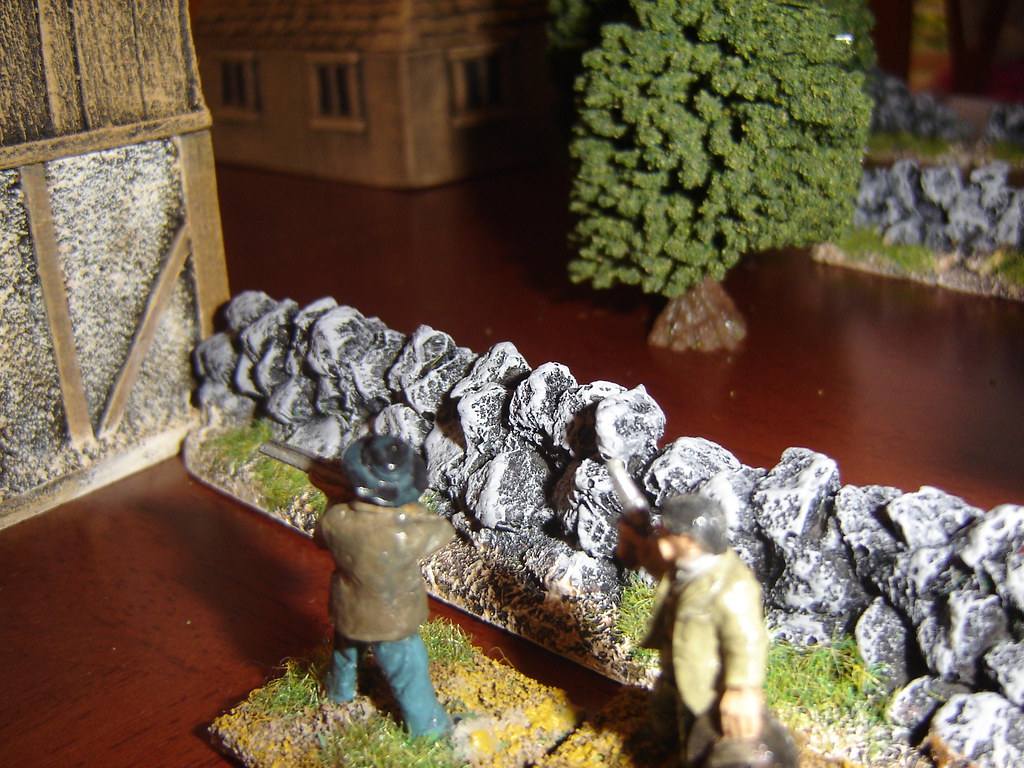
Danny Peterson and Andy O'Reilly can't see the Pinkertons from here

Farrell move up behind a rock column, searching frantically in his pockets for more cartridges for his rifle.
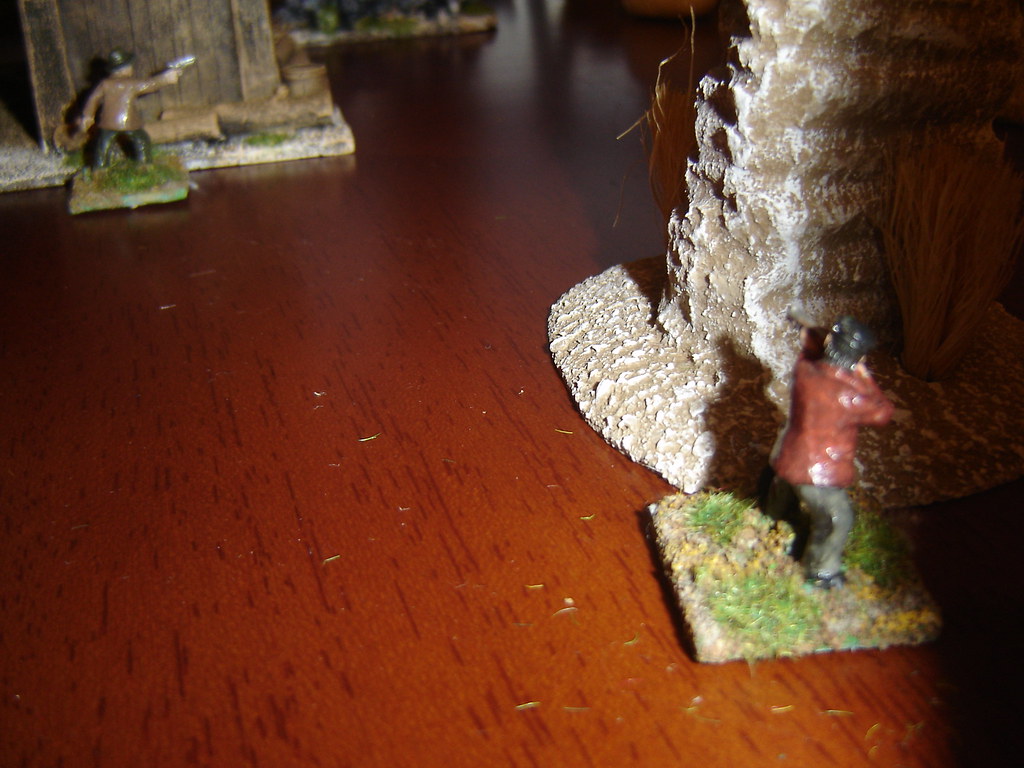
Farrell move up behind a rock column

Danny Peterson and O'Reilly change their minds about jumping the wall and move around the Mill to join the others near the barrels.
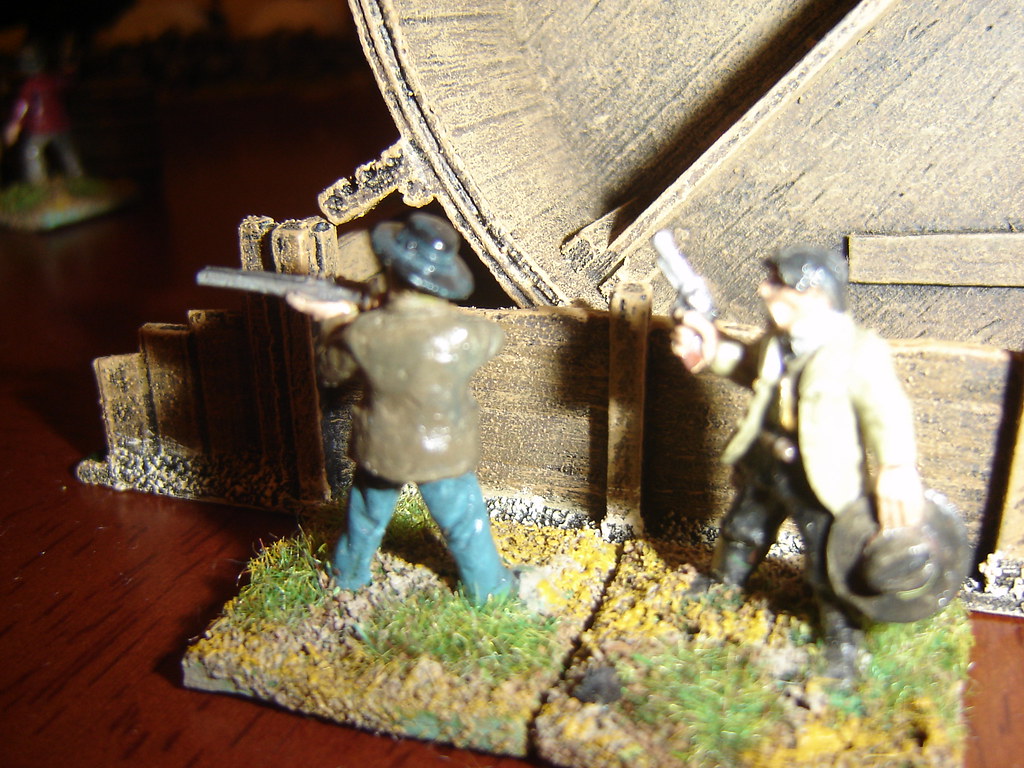
Danny Peterson and O'Reilly move around the Mill

Evans moves through the darkened Smithy in an attempt to outflank the Pinkertons.
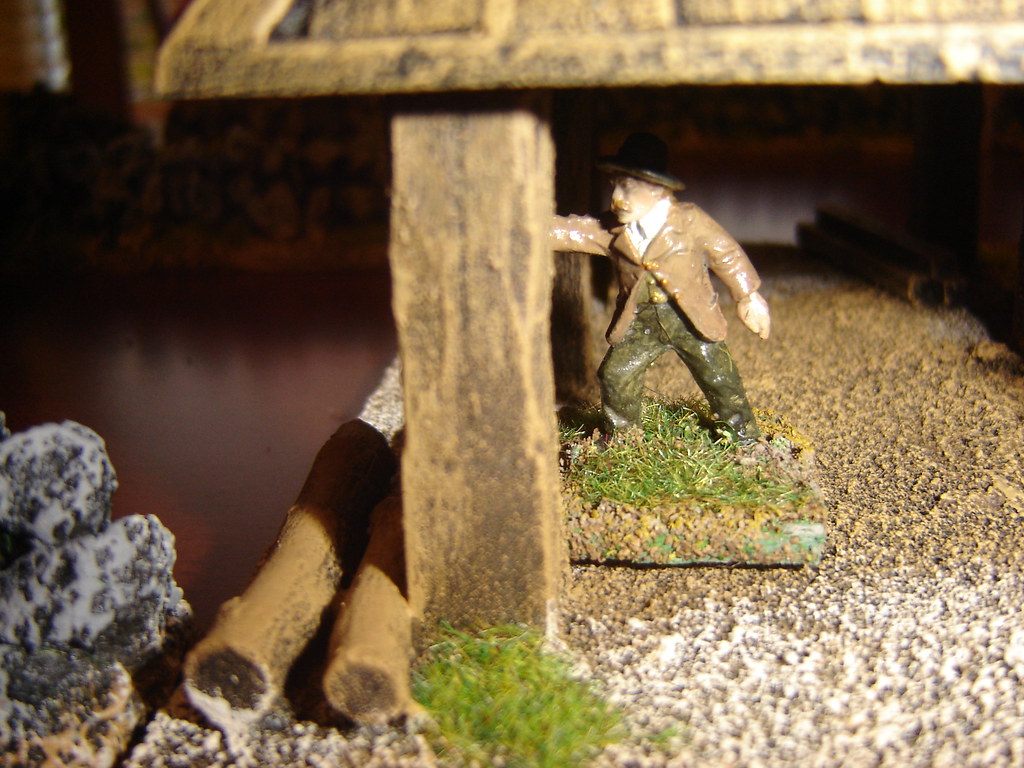
Evans moves through the darkened Smithy

Evans move through the trees until he can see the Pinkertons near Farrells'
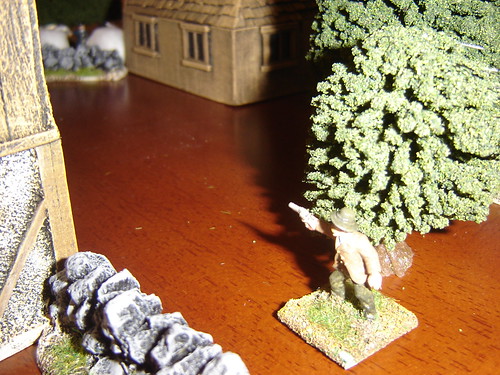
Evans move through the trees until he can see the Pinkertons near Farrells'

Jake Peterson follows Ol' Jeb around the Barrel Hut. Ol' Jeb wanted to get up close with his double-barrel shotgun.
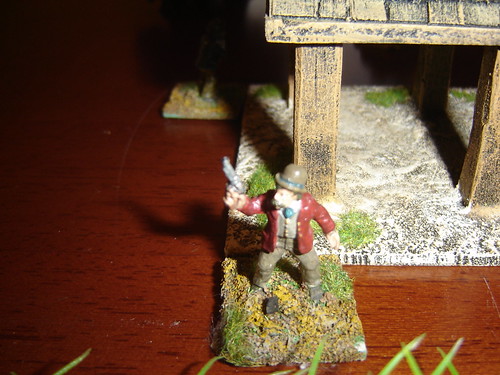
Jake Peterson follows Ol Jeb around the Barrell Hut

Farrell and O'Reilly shoot at the Pinkertons once they take up their new position.
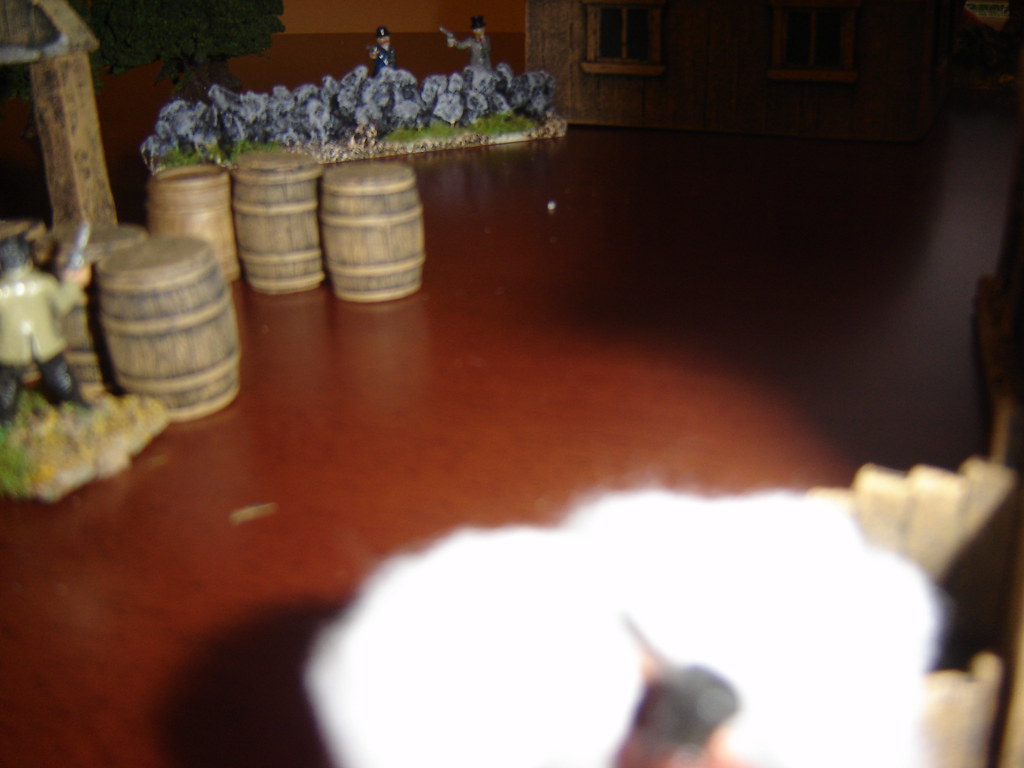
Farrell and O'Reilly shoot at the Pinkertons

Danny follows his brother Jake, he can hear lots of gunfire from Farrells'.
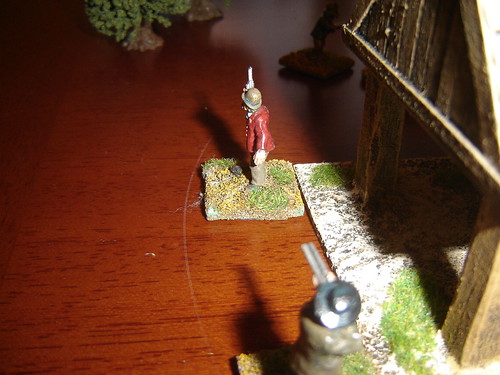
Danny follows his brother Jake

Ol' Jeb unloads the shotgun at Rucker and Walsh: he's caught them loading but somehow they are unscathed!
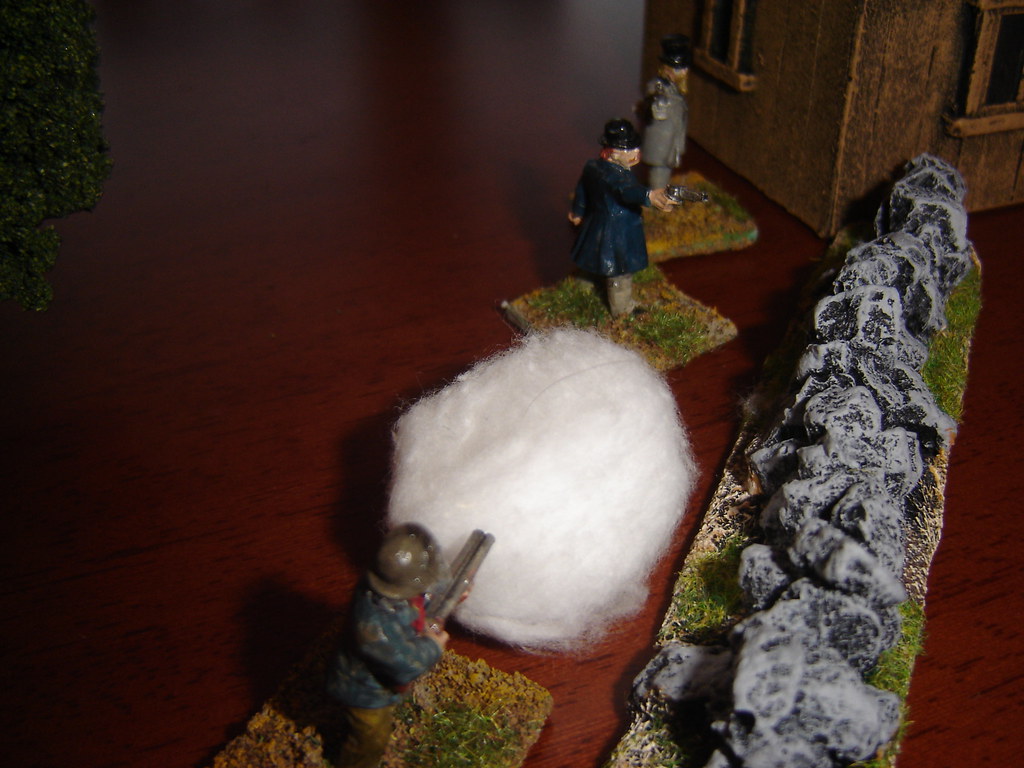
Ol Jeb unloads the shotgun at the Pinkertons

They unload a torrent of fire back at him, while backing away.
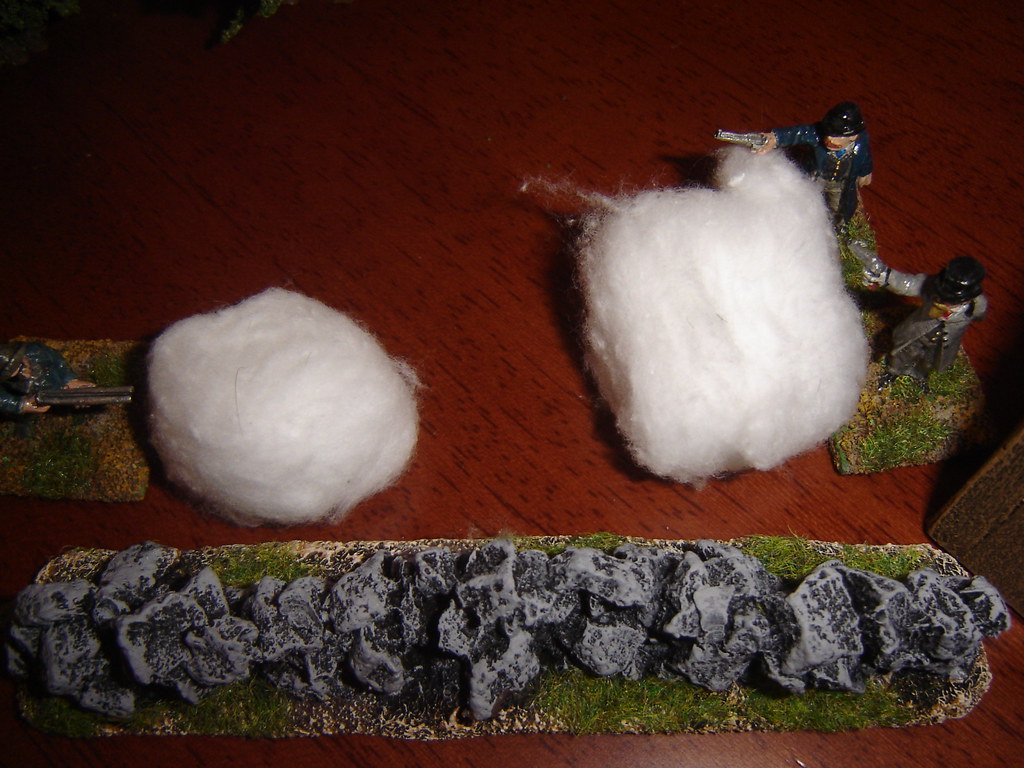
They unload a torrent of fire back

McFarland runs down the laneway to support the guys at Farrells', leaving White behind.
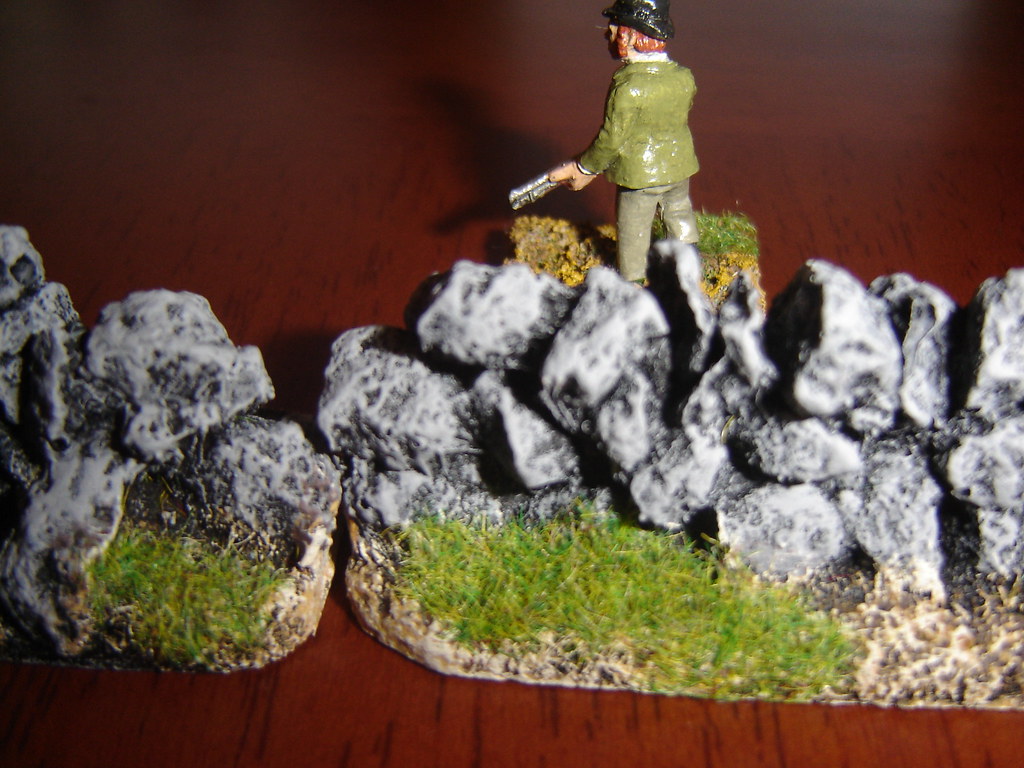
McFarland runs down the laneway

Evans shoots at the Pinkertons but comes nowehere close to hitting them
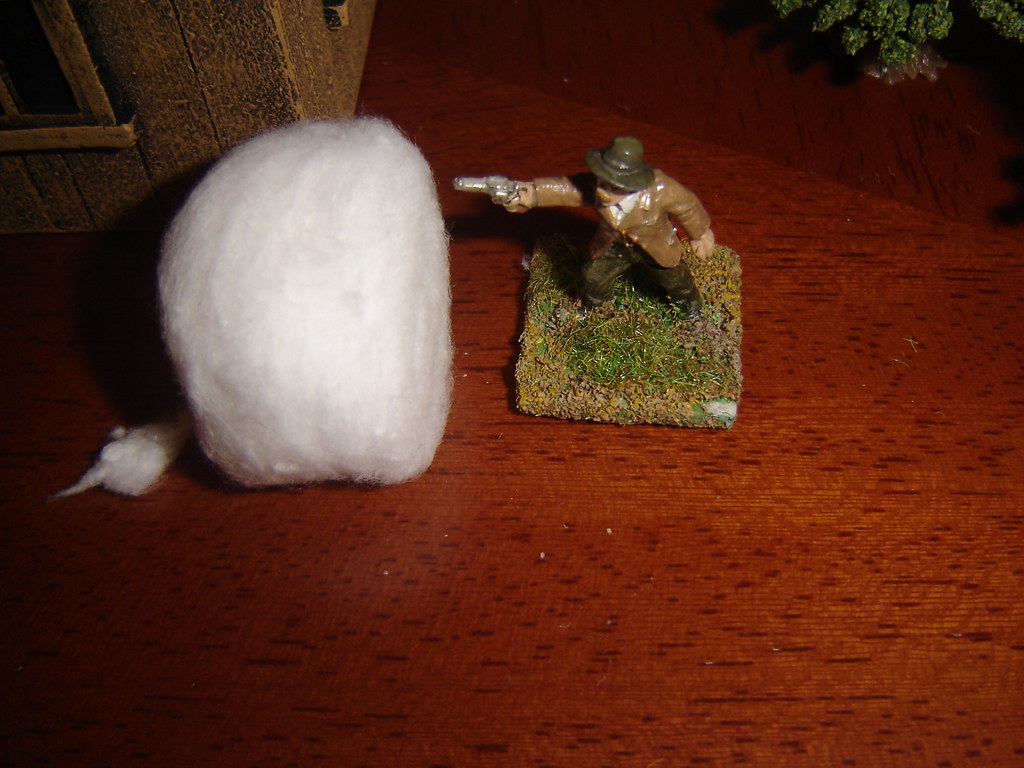
Evans unloads into the Pinkertons

McFarland catches Evans dead to rights and inflicts a serious wound on him, driving him back to the cover of the trees.
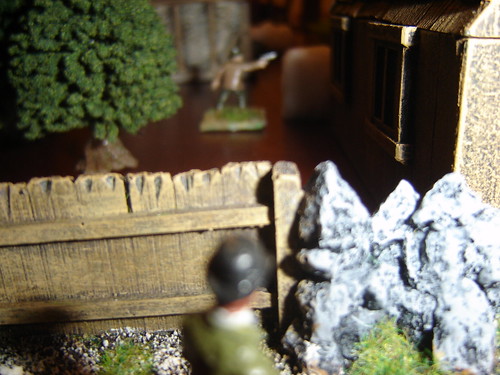
McFarland catches Evans dead to rights

The shells continue to fly near Farrells', Ol' Jeb is hit several times by Walsh but he grits his teeth and reloads. He's had far worse when he fought in Mexico and at Mill Springs. He unloads again into Walsh who feels it this time.
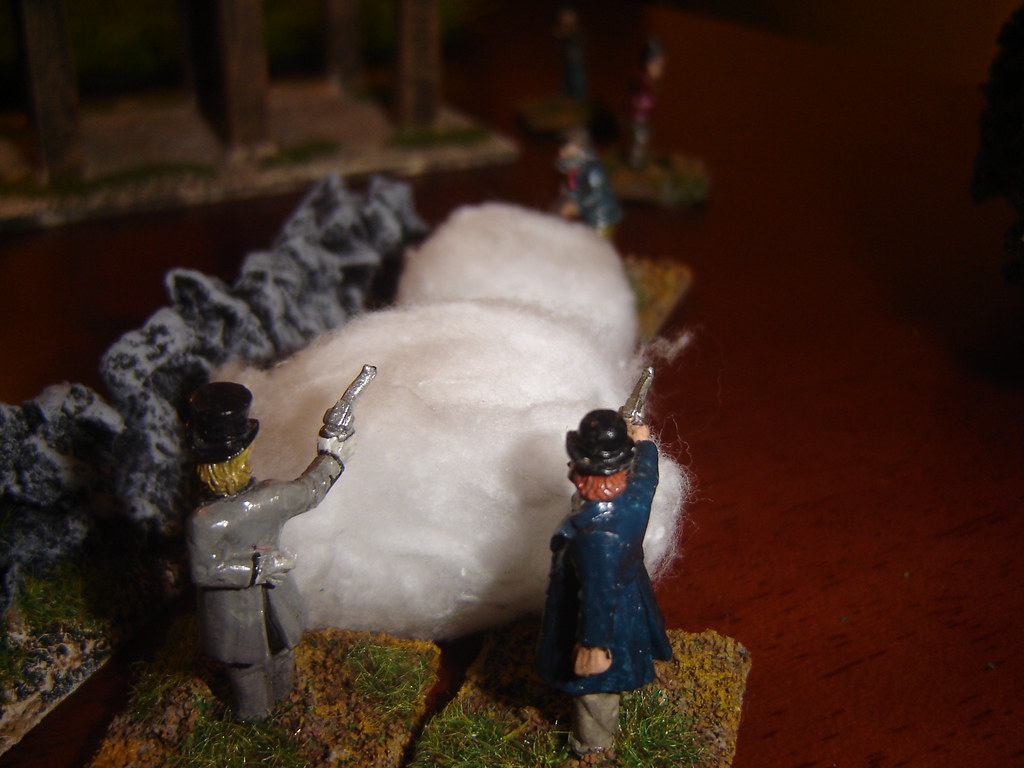
The shells continue to fly near Farrells'

With five of the Townsfolk now working their way towards them, Rucker and Walsh withdraw around the Farrells' House and the Pinkertons make their getaway. But they'll be back...
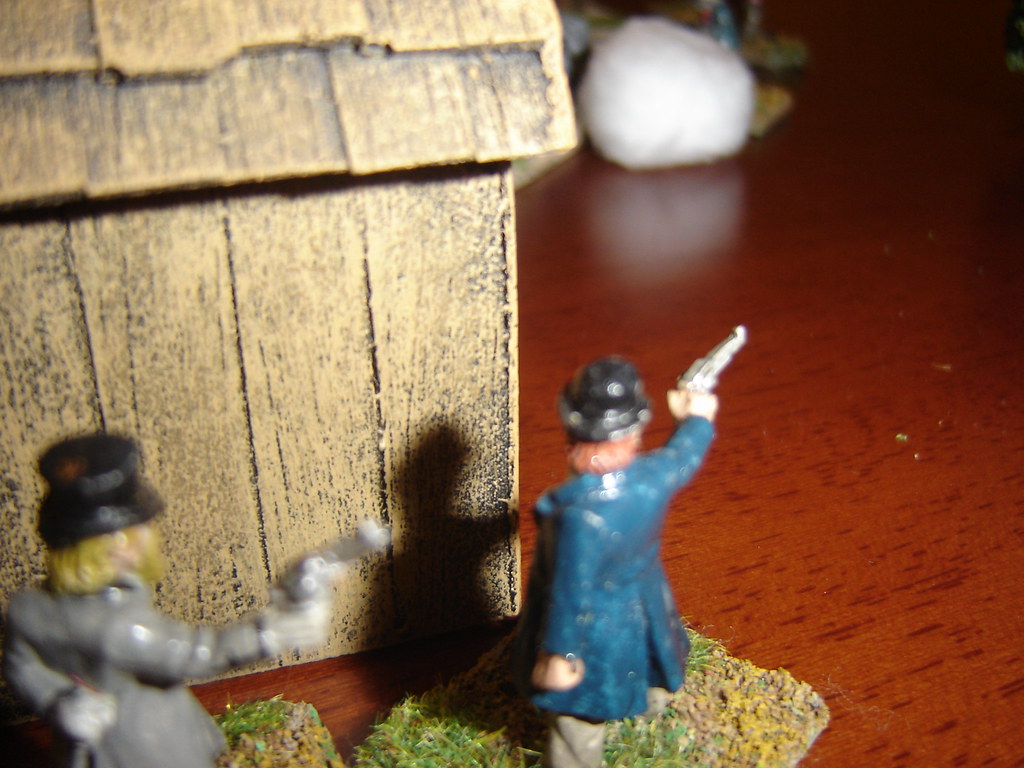
The Pinkertons back <br />away

The Townsfolk high morale kept them in the game, and although no one was killed, it wasn't for lack of effort! (More down to our inability to roll high when wounding)

First time playing the game, and at half two in the morning after a long day, you might have expected it to be tiring or difficult, but it wasn't. While I can't say the rules are especially well written, they are good. We expect to play more of this.

25 July, 2009

Perilous Trail!

In 1913 a French expedition led by the eminent Dr. Gaspard de Châteaubriant left Abomey seeking evidence of native folklore detailing a new species of animal. Similar to stories from The Congo of "Mokole", de Châteaubriant was preparing to go to the Royal Academy of Sciences with evidence of his startling discovery from the northern reaches of Dahomey.
Heading up the River Alpouro to its source in the central highlands by means of riverboat, the expedition was expected to winter there and return before the rainy season in March.


They were declared missing in July, but The Great War intervened as the German colonies of Togoland and Kamerun were invaded by the British and French.
In 1917, a junior member of the expedition, driven insane by Malaria or some other tropical disease turned up in Parakou with stories of the expedition's fate, but no rescue mission was possible until after the war.

By 1920, not one but two rival expeditions were ready to discover the fate of Gaspard de Châteaubriant:
Led by the dashing Commander Abraham Simpson D.S.O., a grizzled group of British veterans marches upriver, armed with Lee Enfields and aided by their trusty native porters ...
Meanwhile Playboy millionaire H. Jack Vanderbolt embarks with a disparate bunch of adventurers, replete with the wonders of this new mechanical age...


Through treacherous savannah and uncharted jungle these brave souls must strive.
What terrible secrets does the Dark Continent hold? What perils lie in wait?

The Dahomey Expedition is a skirmish wargame in the best traditions of pulp adventure. Take control of the brave explorers as they fight their way through the terrible dangers of the dark continent...

Gaelcon 21 will be running from October 24th to 26th at D4 Hotels, Ballsbridge, Dublin 4
View Gaelcon's website here

19 July, 2009

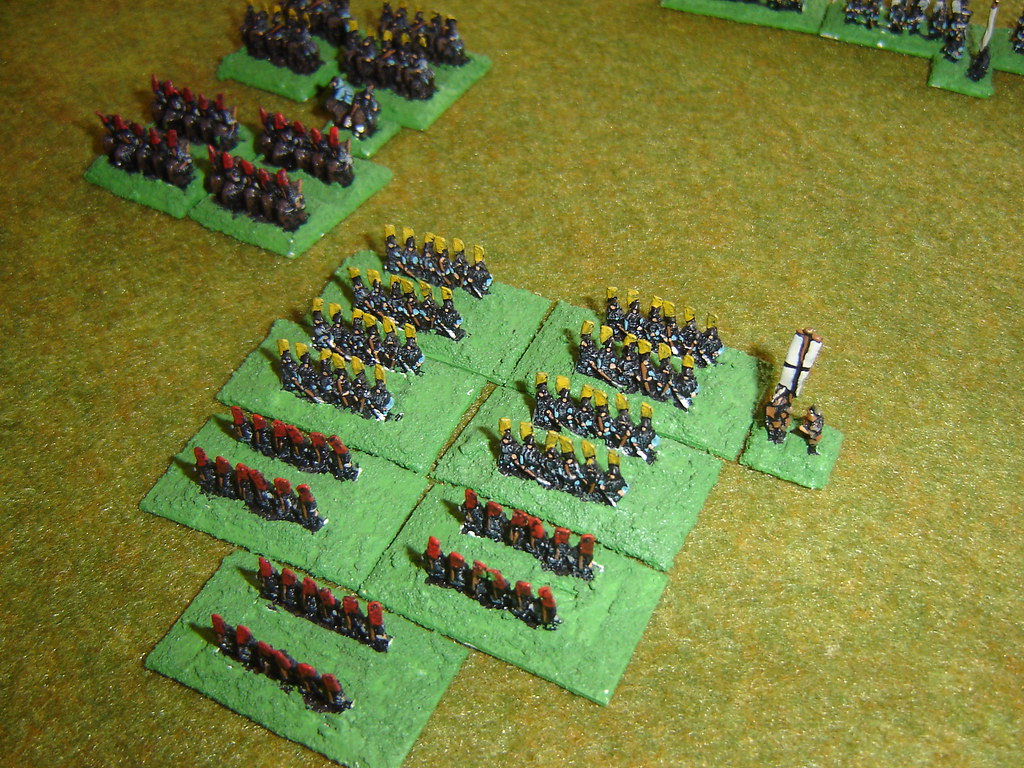
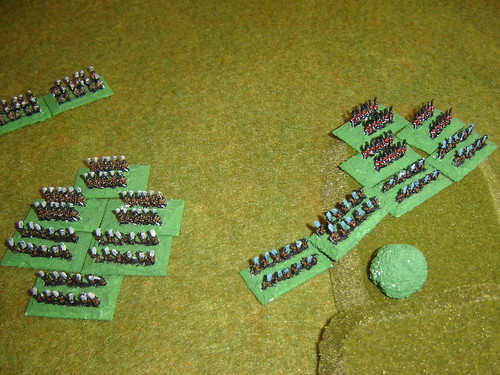
Battle of Sekigahara (Mt Nangu)

The Battle of Sekigahara was a large battle by most standards. Over 80,000 men were on each side, and the main part of the fighting took place on the western section of the battlefield.
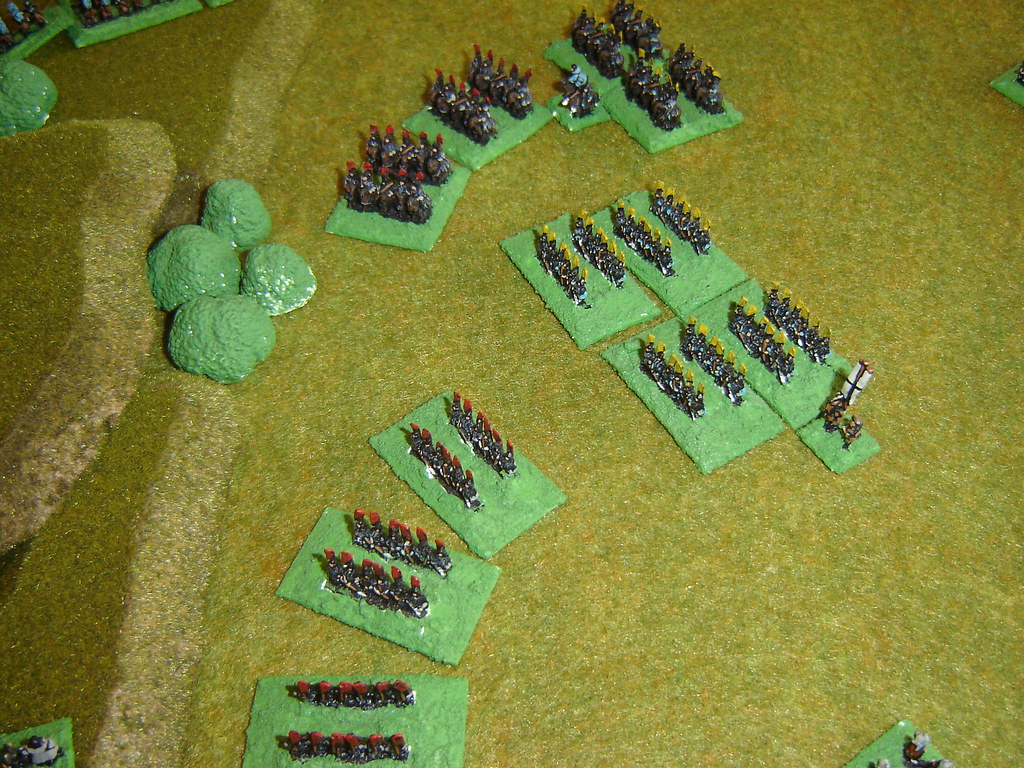
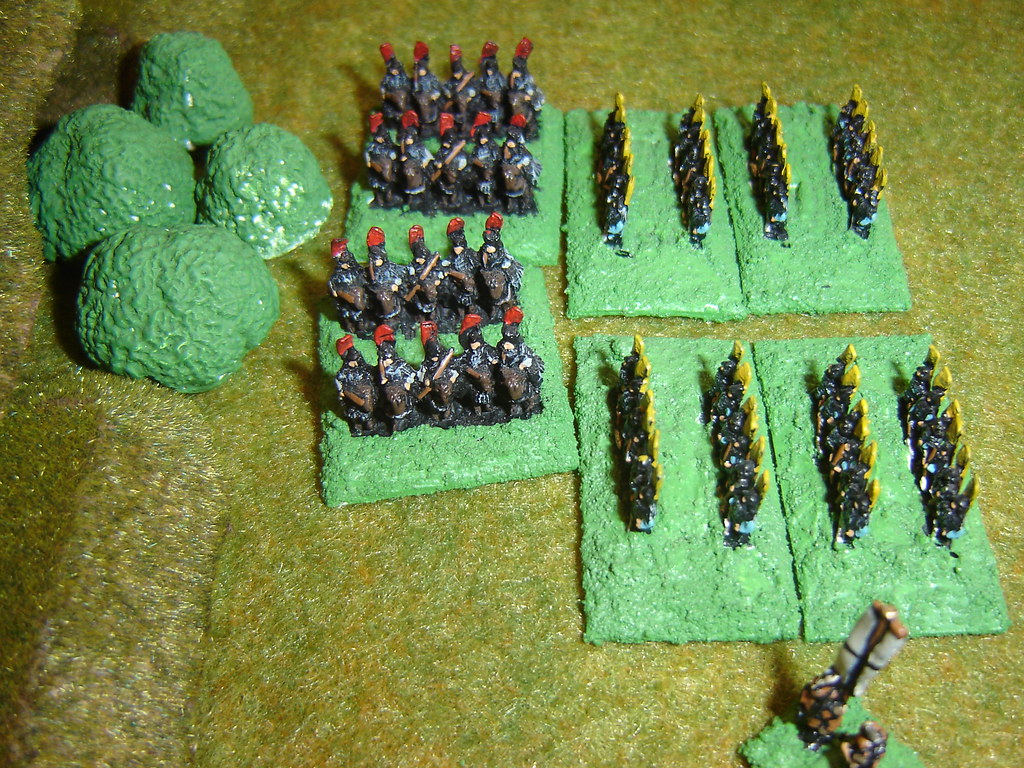


One of von Moltke's aides visited the site of the battle in the late 19th century and when told of the deployment of the two armies on the battlefield he assumed that there was no way that Tokugawa could have won the battle.

Through lots of diplomacy, about a quarter of the opposing army was induced to switch sides by Tokugawa, some actively attacked their former allies, other took an entirely passive role in the battle.

Curiously, on the eastern part of the battlefield, not much occured. The majority of the opposing armies just sat still. The smaller Tokugawa screening force would have been overwhelmed in a traditional wargame.

Using Piquet's Band of Brothers, I wanted to use the sequence deck to:

1) allow significant numbers to defect
2) allow those defecting unit to remain undetected by their former allies until they act agressively towards them
3) prevent units from defecting to an army that is doing badly

I added these cards in the Army targeted by defections Troubles and Delays Deck:

Turncoat: 1 Vacillating Unit of opponent's choice switches sides. Is out of command. (2 in deck)

Second Thoughts: 1 unit of opponent's choice is now vacillating. (Cannot affect an Elite unit) (3 in deck)

Traitor: A Leader (but not CinC) declares for the other army He can bring over two units with him (1 in deck)

The other army must spend 1 Morale Chip for the Turncoat or Traitor cards to have effect. Remove all cards from deck once played.

In the other Army's Troubles and Delays Deck

Traitors Revealed: Any turncoat units who have not yet acted aggressively can be treated as enemies (4 in deck)

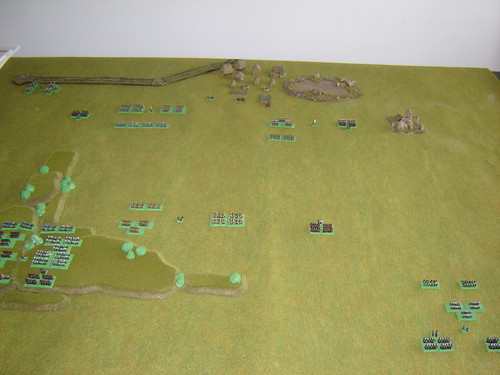
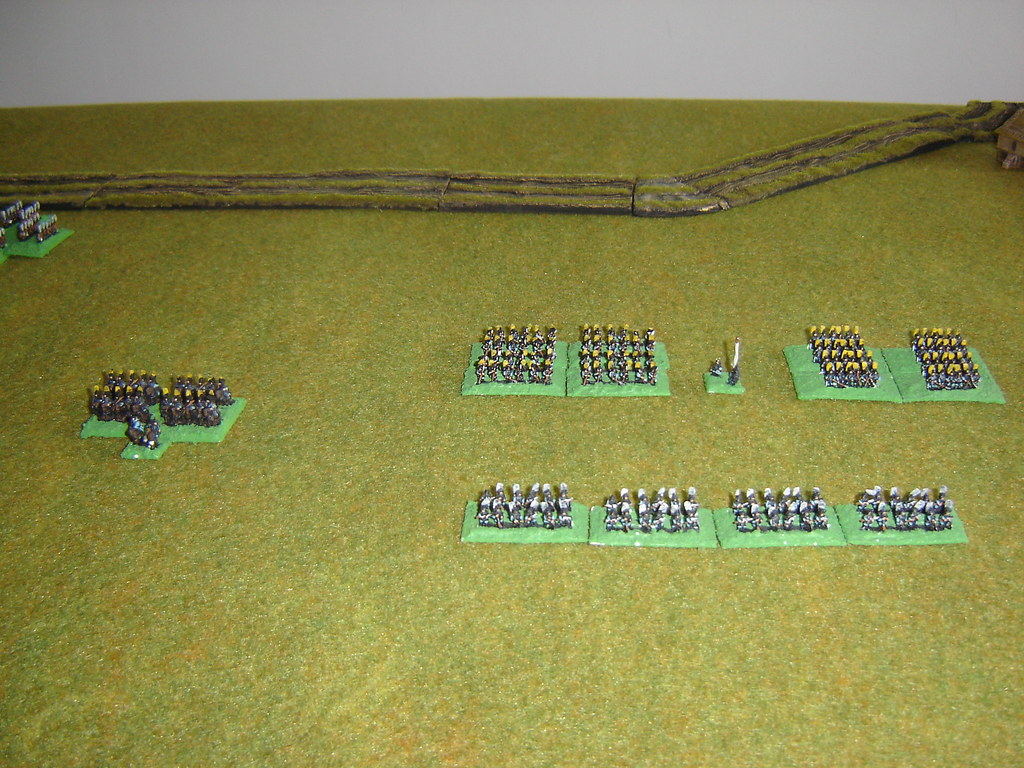
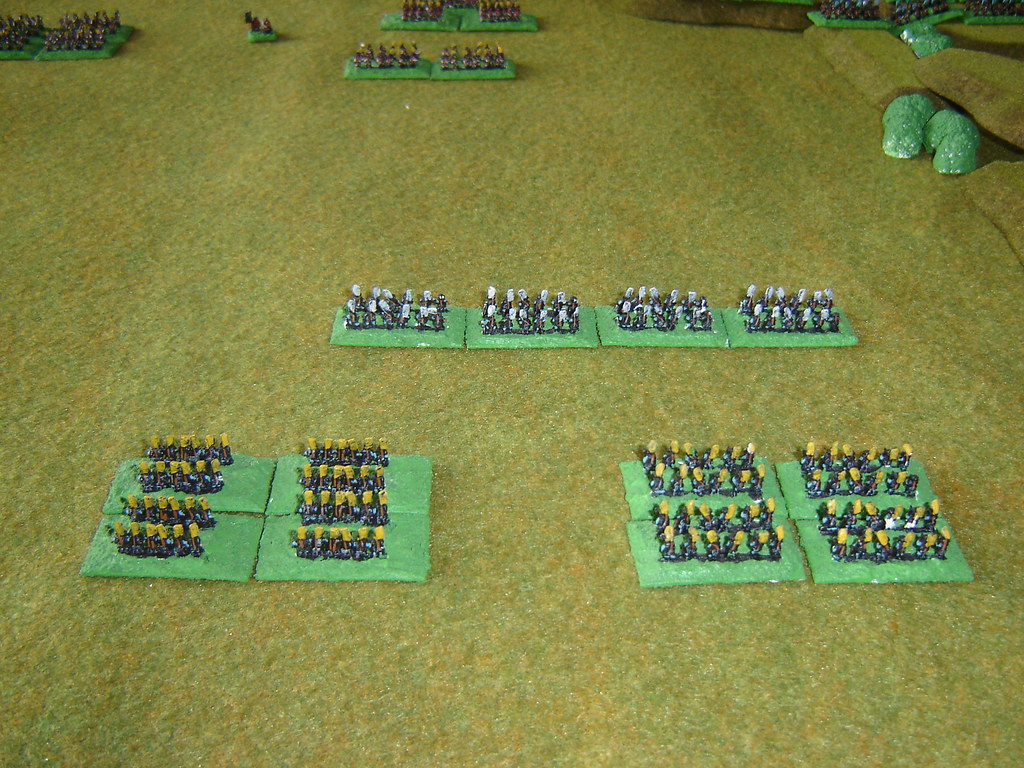
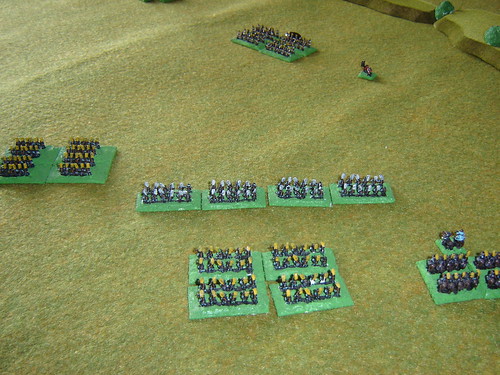
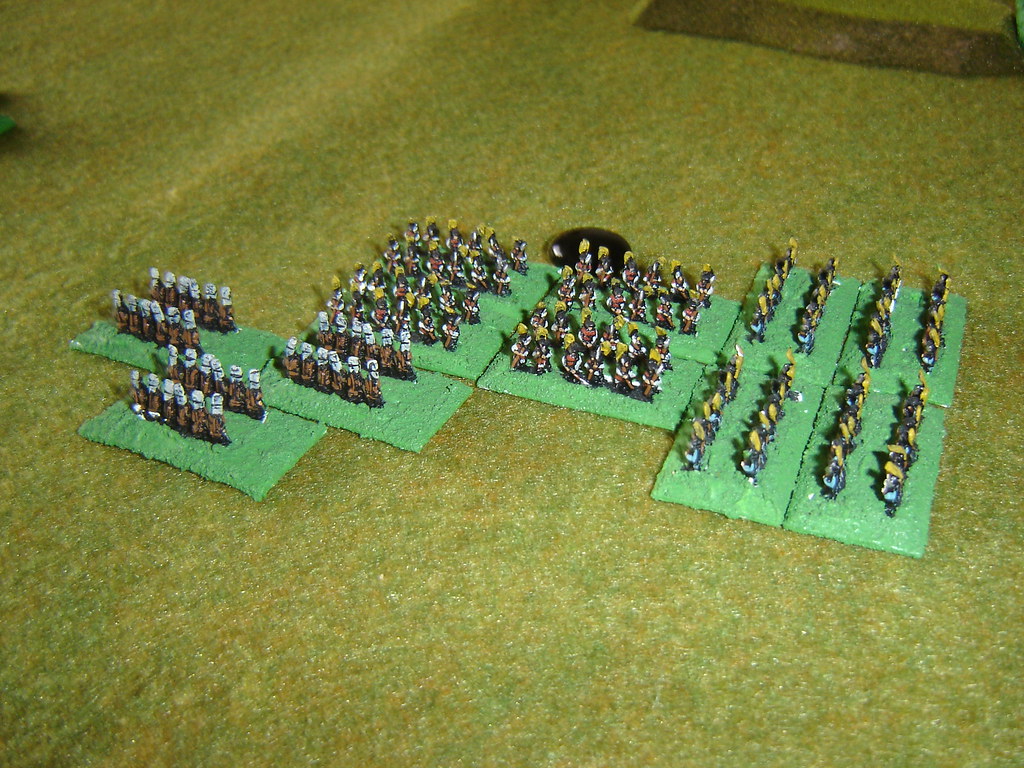
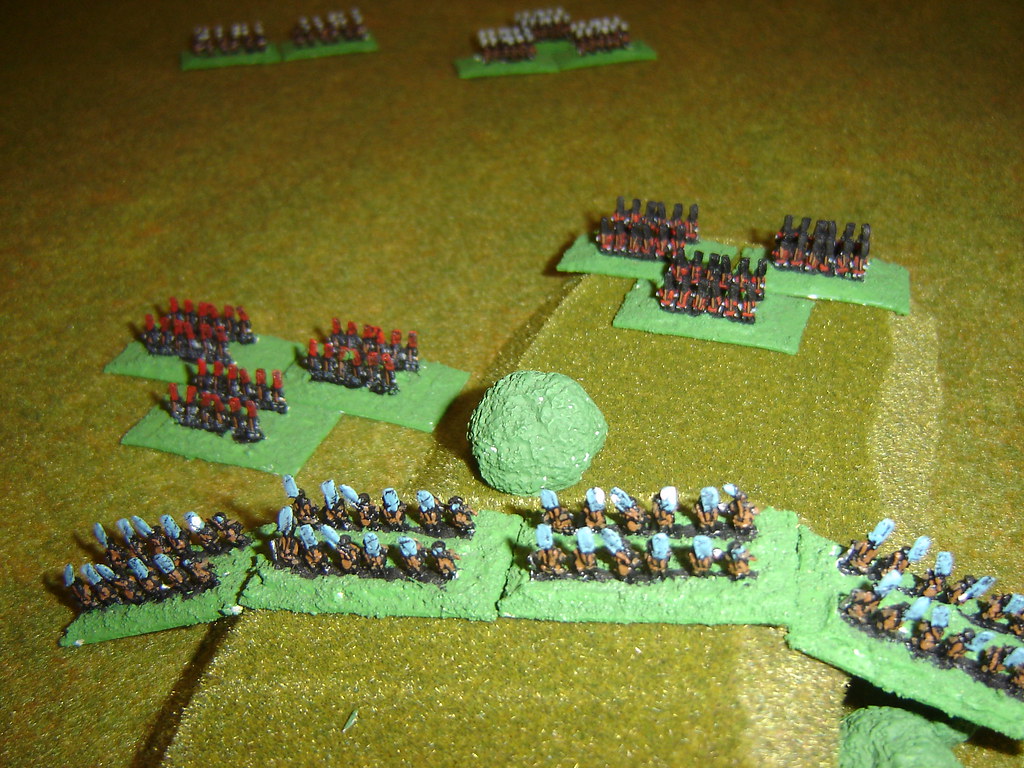
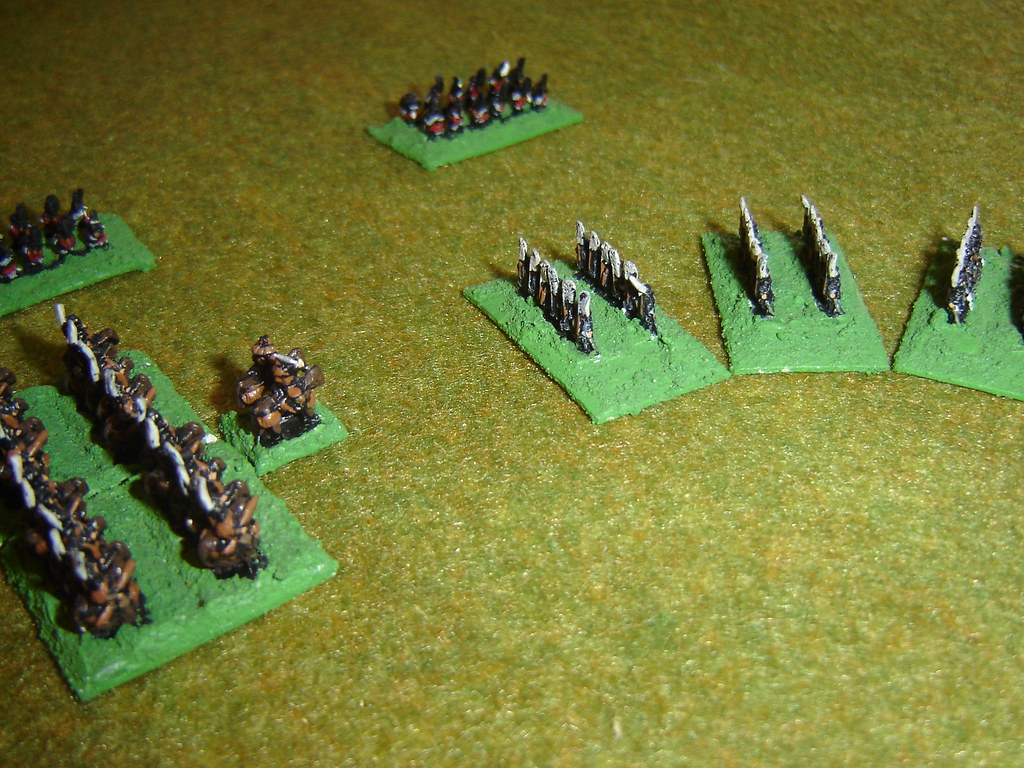
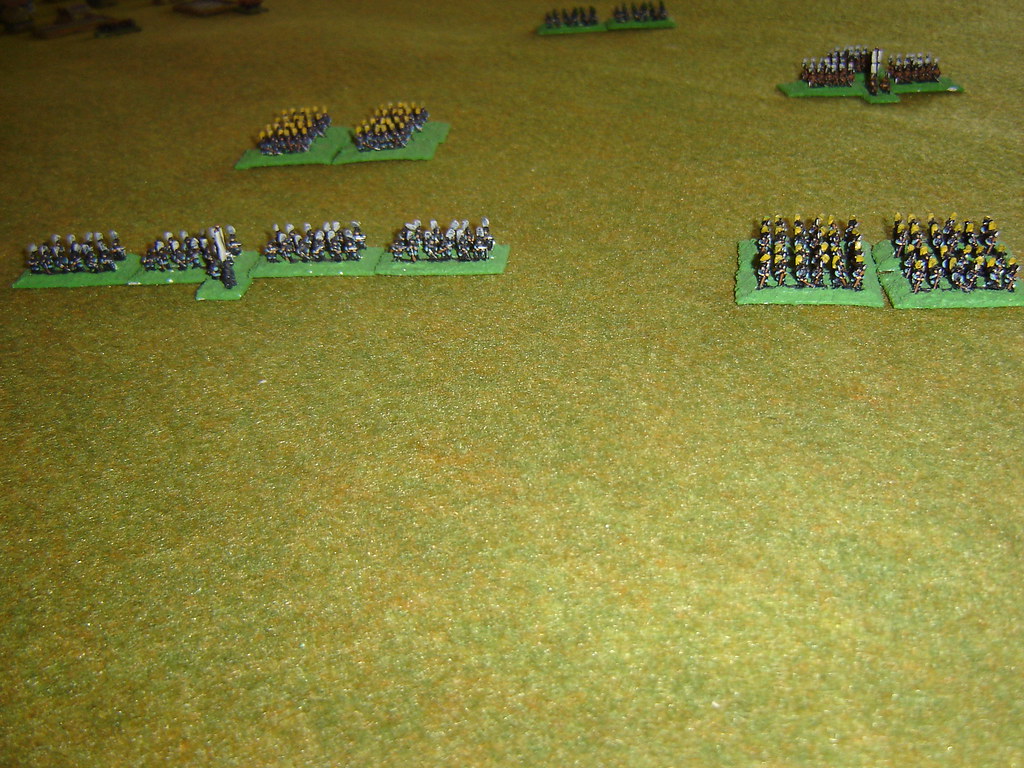
The battlefield from the Ishido perspective. From left to right: The large Mori clan sits on Mt. Nangu; the smaller Kikkawa clan stretches out in from of the hillside; Clan Chosokabe in deploys in a compact mass slightly to the rear. The Tokugawa forces are: the small Yamamouchi contingent faces towards the main battlefield; the significant Asano force anchors the centre; the Ikeda hold in front of the swamp and paddy fields.

Battlefield in early morning

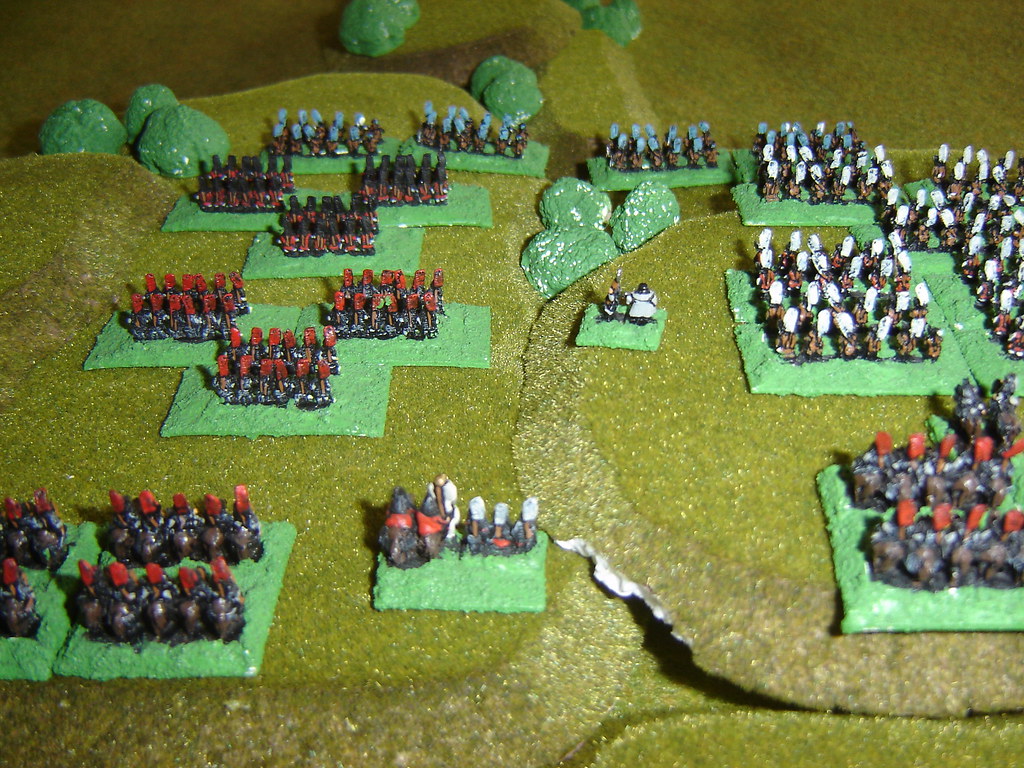
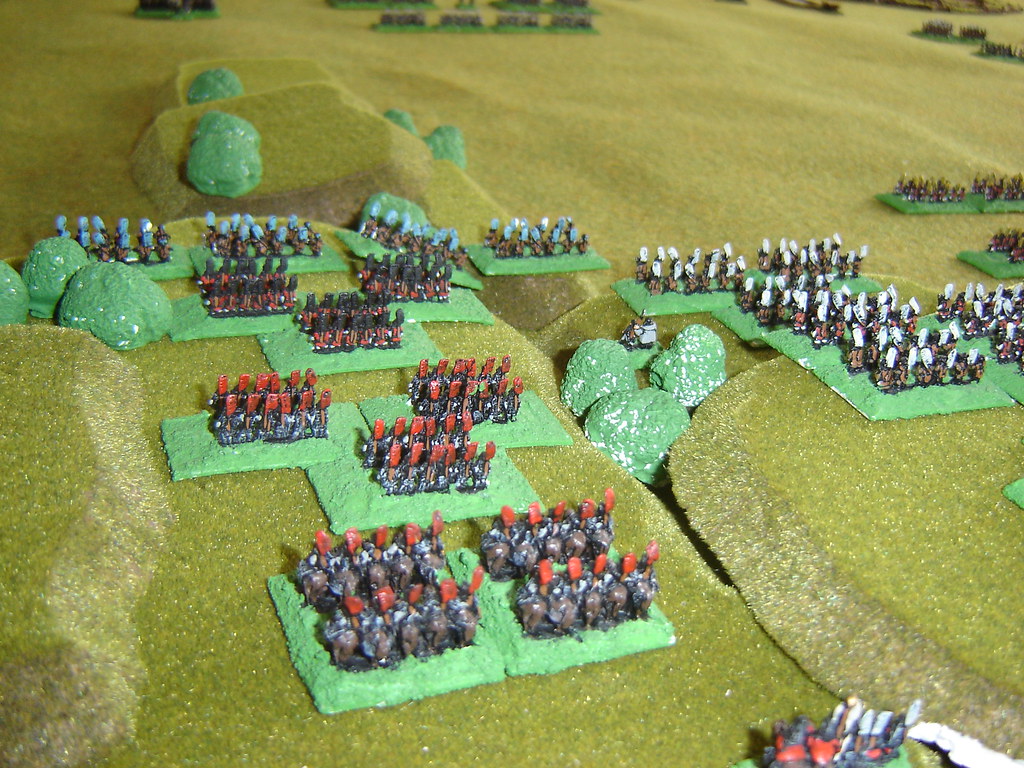
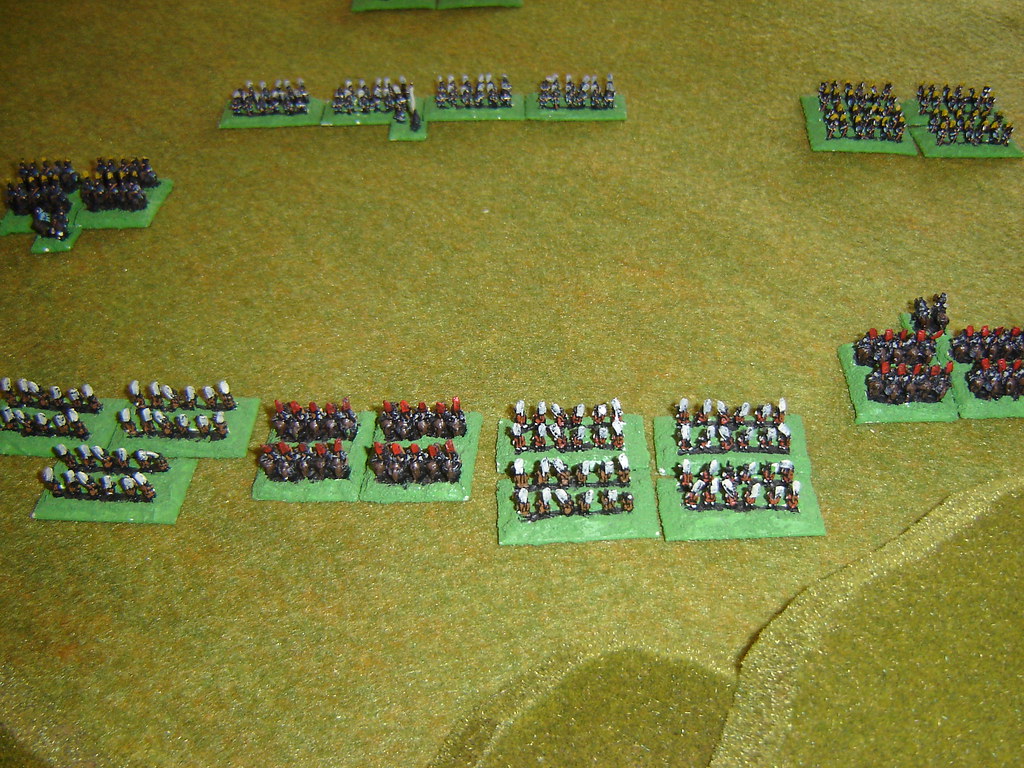
The massed Mori on Mount Nangu.

Mori force on Mount Nangu

The Chosokabe on far right flank.

Chosokabe on far right flank

The Ikeda guard the extreme left flank.

Ikeda force guard the extreme left flank

The Asano in the centre.

Asano force in the centre

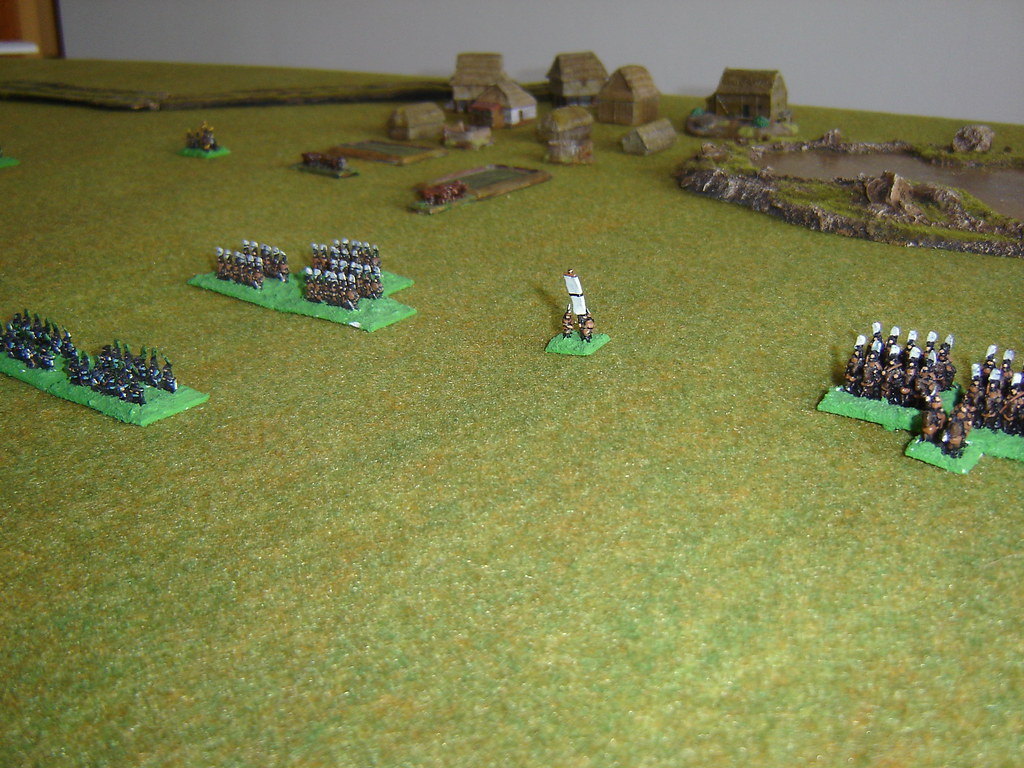
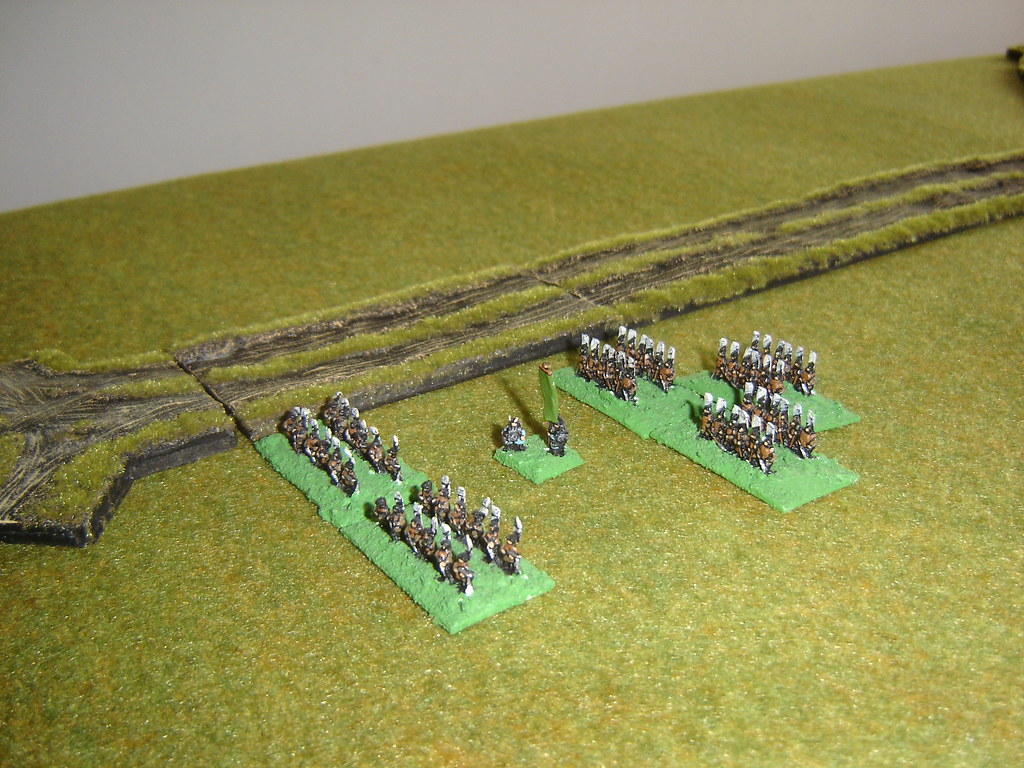
The Yamanouchi hold the junction leading to Sekigahara.

Yamanouchi force hold the junction leading to Sekigahara

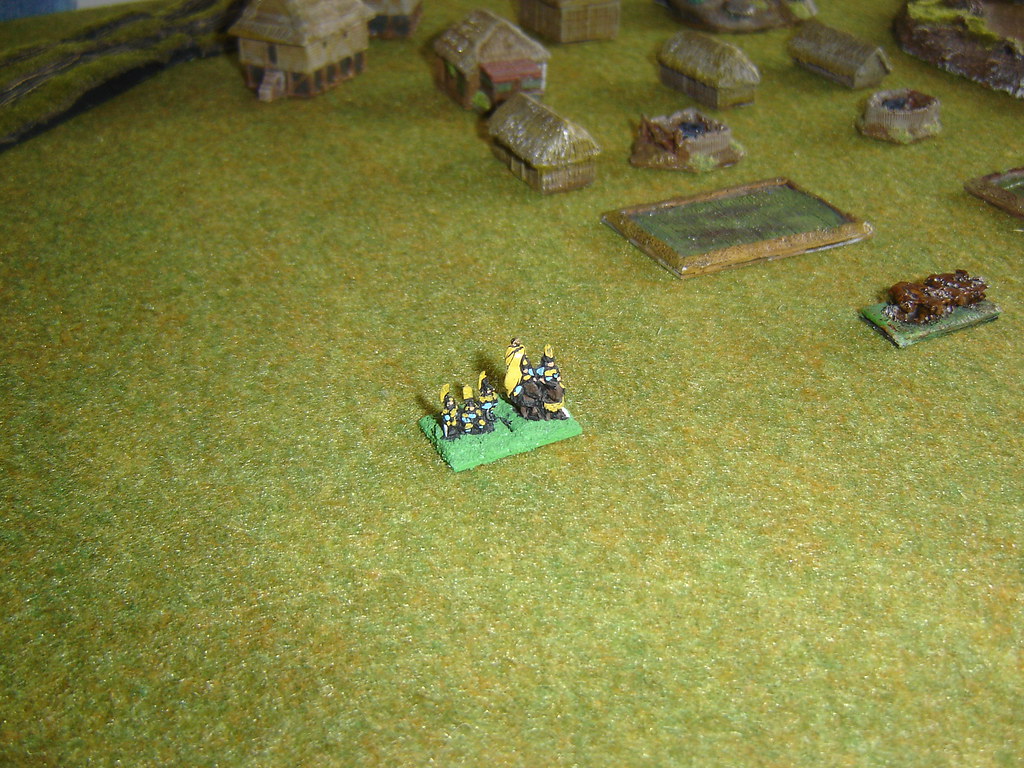
The Head of the Asano Clan commands this section of the battlefield.

Head of the Asano Clan

The Mori advance slowly, but their opponents do not respond.

The Mori advance

The Chosokabe force to the right of Mount Nangu advance, threatening to outflank the entire Tokugawa army.

The Chosokabe force to the right of Mount Nangu advance

The Yamanouchi turn from the junction.

The Yamanouchi turn from the junction

The Asano finally advance, heading directly towards the Kikkawa. Both the Ashigaru infantry and the mounted Samurai are vacillating in their willingness for the fight.

The Asano advance

The Yamanouchi head for the lower slopes of Mount Nangu

The Yamanouchi head for the lower slopes

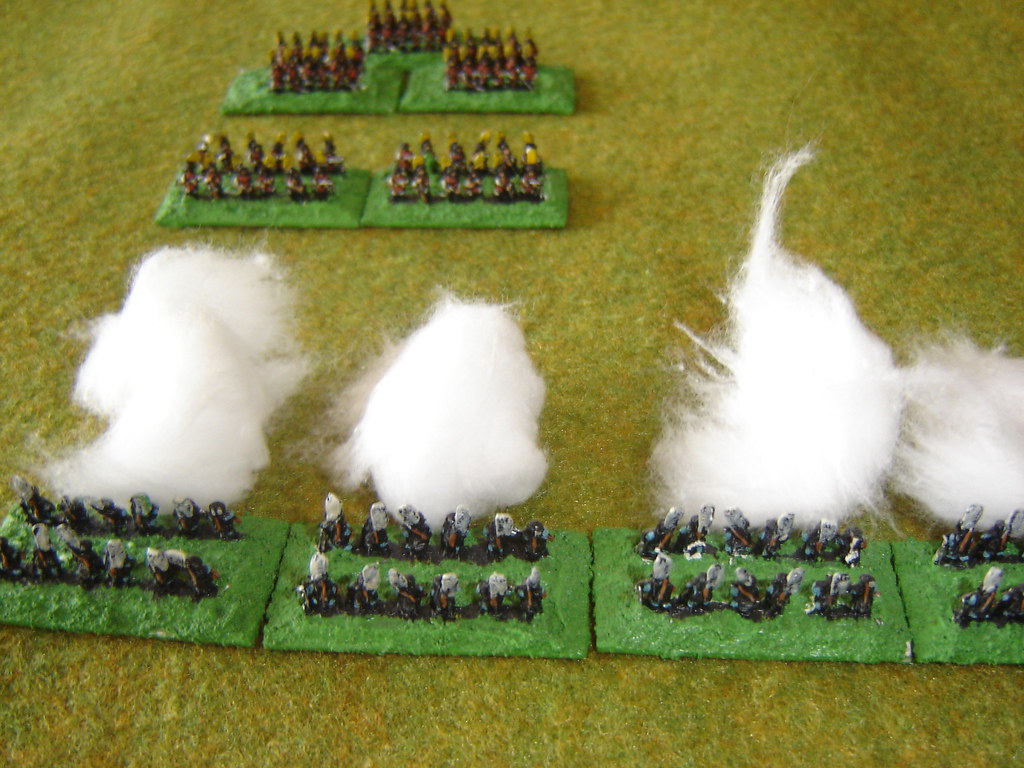
The Asano arquebusiers fire into the Kikkawa, to devastating effect on the opposing gunners.

The Asano arquebusiers fire into the Kikkawa

The Arquebusiers wreak havoc on the Kikkawa, driving the Samurai from the field.

The Arquebusiers wreak havoc on the Kikkawa

The Asano force wheels towards the remnants of the Kikkawa.

The Asano force wheels towards the remnants of the Kikkawa Clan

Caught in a devastating pincer: the Ashigaru infantry are crushed.

Caught in a devastating pincer

Cavalry charge each other: the Ikeda have the initiative against the Kikkawa.

Cavalry charge each other

The Kikkawa are routed off the battlefield. The Mori and the Chosokabe are now separated by the entire enemy force. Is this an opportunity or the death knell for the army?

The Kikkawa are routed off the battlefield

Half of the Mori Clan peels to the left to crush the Yamonouchi.

The Mori hope to crush the Yamonouchi

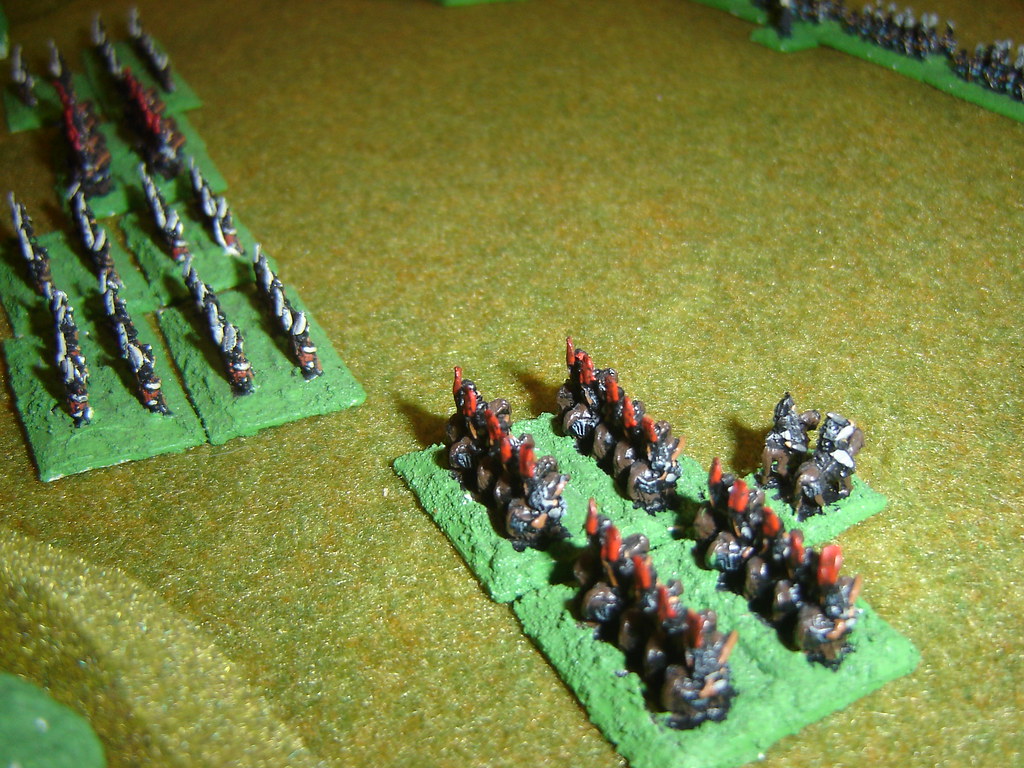
Chosokabe cavalry wheels towards the rear of the Ikeda, which is still recovering from the fight against the Kikkawa.

Chosokabe cavalry wheels towards the rear of the Ikeda

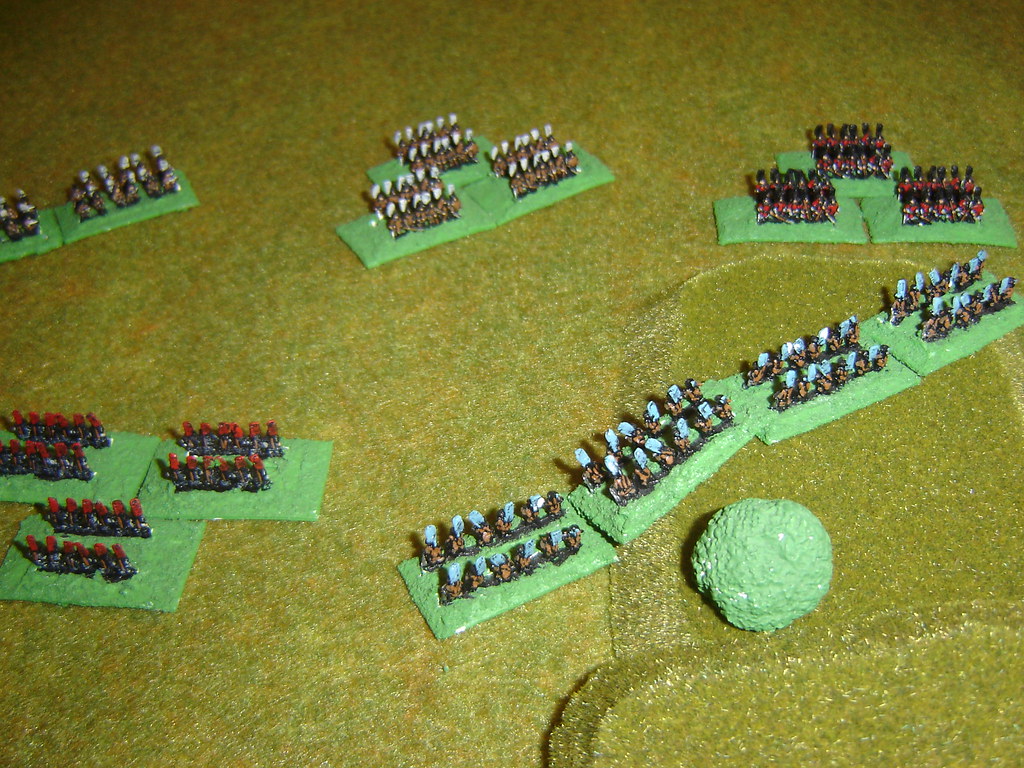
The Ikeda prepare to meet them head on: their leader shows great skill in wheeling his entire force, trusting in the Asano to deal with the Mori who are now behind him.

The Ikeda prepare to meet them head on

Chosokabe Samurai aren't quick enough and are flanked by the Ikeda.

Chosokabe Samurai aren't quick enough and are flanked

Chosokabe looks on, and raises a signal flag: he has now sworn himself to Tokugawa!

Chosokabe looks on, and raises signal flag

The Chosokabe Samurai are destroyed, dying for a leader who has switched sides...

Chosokabe Samurai rout

The Asano swing back towards the Mori.

Asano force swing back towards the Mori

The Mori descend to begin the decisive clash.

Mori descend to begin decisive clash

The Mori cavalry prepare to charge the Asano lines.

Mori cavalry prepare to charge

The other half of the Mori prepare to engage the Yamanouchi

Mori prepare engage to engage Yamanouchi

But the Mori lead Samurai unit turns their coats. Now the Mori could be in trouble.

But Mori lead Samurai unit turns coat

The Chosokabe cavalry, having seen their lord's signal turn on skirmishers behind them

Chosokabe cavalry, having seen their lords signal turn on skirmishers behind them

Mori fire into ranks of Samurai turncoats.

Mori fire into ranks of Samurai turncoats

The Chosokabe skirmishers are easily brushed aside.

Skirmishers are easily pushed aside

The Asano and Mori lines meet.

Asano and Mori lines meet

The Yamanouchi and their new comrades charge the Mori Ashigaru

Yamanouchi and their new comrades charge Mori Ashigaru

On the main battle lines, two Mori Samurai units rout.

Two Mori<br />Samurai units rout

Routing Mori Cavalry taken in flank to be destroyed.

Routing Mori Cavalry taken in flank

The Tokugawa force have beaten the odds, losing no units and sweeping the enemy from the battlefield.

Over the nine turns played, the single Traitor card showed up: taking the pressure off the Ikeda and allowing the Asano to completely concentrate on the Mori. One (out of two) Turncoat cards showed up: possibly swinging the battle between the Mori and the Yamanouchi just as they met on the lower slopes of the moutain. Two (our of three) Second Thoughts showed up, both targeting Kikkawa units which only became involved to be beaten in melee.
The star of the show though must have been the Asano arquebusiers who destroyed two units in a single turn. That's effective fire!

The next two battles will be more straightforward fights.

More like this