Showing posts with label Rules: Memoir '44. Show all posts

10 July, 2014

Capturing the Crossing

The main thrust of Operation Epsom began at 0700 hrs. on June 26th. Early British progress was good, with solid artillery support and even some naval gunfire. It looked like the way was clear. The forward German positions, however, were lightly manned and the British soon discovered the German defence in depth. The goal for the first day was to capture the bridge that spanned the Odon just south of Cheux. The crossing was critical to maintain the operation’s momentum. The 15th Scottish Division, supported by the 31st Tank Brigade, made its way toward Cheux where it soon was bogged down in hours of bitter hand-to-hand fighting.


The German 12th SS Hitlerjugend Panzer Division with elements from the 21st Panzer Division launched a counterattack to repel the British and deny the crossing. The Germans were beaten back with the aid of the British artillery but succeeded in temporarily halting the Allied advance. The British pressed the attack with the 11th Armoured Division, but it too stalled out. Without the support or armour, the British infantry soon ran into trouble and opted to dig in for the night well short of its desired crossing. The German commander, General Dollman viewed the containment as an outright defensive victory.

British armour supports infantry in the attack on the bridge
Their right flank advances with some artillery support - they'll need it as the Germans as well-ensconced in the hill beyond
Germans advancing to take control of the central hill overlooking the farmhouse and bocage are met with a brief armoured thrust
The British tanks are driven back, taking significant damage
In the centre, the struggle over the farm sees the elite German armour take a hammering
The Luftwaffe (twice in one day!) shows up to wreak havoc on the strong British left flank 
Staying around to knock out an armour troop and the artillery battery
The struggle over the farm intensifies, with a infantry assault pushing the German control there to the limit
A final armoured attack nearly cuts off the farm, but the counter-punch leaves the British reeling
A hard-fought German victory leaves the campaign for Caen in the balance...

04 July, 2014

Securing the Flank

So after a month-long hiatus of posting I'm back! I do have a few in the pipeline, so expect some posts in quick succession next week. I suppose I've been pursuing my other gaming hobbies a bit more recently:
Anyway, back in May we got together for a day-long Memoir '44 campaign of the British attack on Caen...

In preparation for Montgomery’s Operation Epsom, the 49th Infantry Division, nicknamed the Polar Bears because of their arm path, was order to take the town of Fontenay le Pesnel. Their second objective was to secure Raury and the heights that surrounded it. The capture of these two locations would protect the 15th Division’s flank as they made the main push against their primary objective of Epsom – an outflanking action that would finally take Caen. 


The 49th Infantry was faced with the 12th SS Panzer Division (Hitlerjugend) and bumped into Panzer Lehr’s flank, bring them into the battle. The German defenders held tough and the inexperience division was unable to take its objective that day.

Allied command chose to move ahead anyway and Operation Epsom was kicked off on June 26 with the high ground around Raury still in the hands of the enemy. German armour and artillery overlooked the ground that the 15th was moving over, leading to heavier resistance than Montgomery had hoped to face.

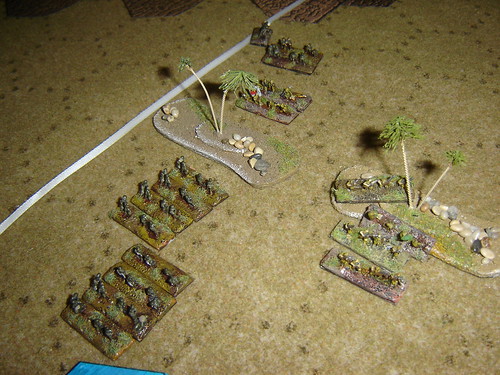
The battle lines are drawn; some elite German armour backs up PanzerGrenadiers in the centre, while another unit lies behind some bocage on the extreme German left flank
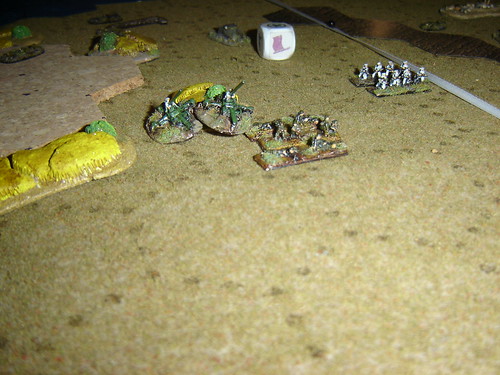
The British have some unexpected help in the form of an artillery battery (tucked in behind the ridgeline separating the two sides)
The Luftwaffe makes a surprise appearance; this must be the sortie of the day!
With British armour still at its start line, they're incredibly susceptible to the strafing run. The attack is a great success!
The British right flank advances in strength, mostly infantry but with some armoured support - the German units beyond are dug in on the hillside
With the German armour making a move through the hedgerows, a British attack is launched
The British tanks, with significant infantry support drive the German infantry out of their defences and force the German armour to retreat
The German air cover is still making a nuisance of itself, and now is supporting the elite German units' attack in the centre
With some reverse-slope support from its armour units behind, the British infantry attacks and wipes out the Tigers and PanzerGrenadiers in short order
The Luftwaffe plane follows in quick succession!
A overwhelming victory by the British; but one where many of their units were on their last legs. 
Will they be able to maintain their momentum to capture the bridge crossing over the Odon?

13 March, 2009

Battle of Tinian - redux

We replayed the Tinian scenario on the Sunday of Leprecon; the Japanese were thirsting for revenge from their defeat the previous day.

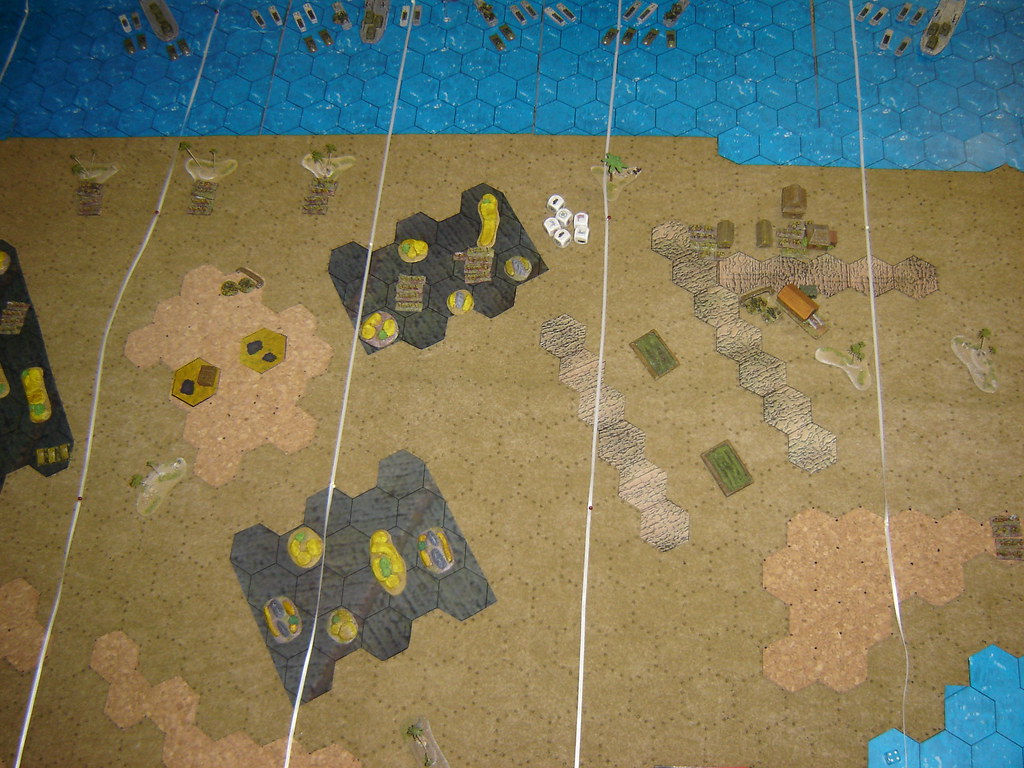
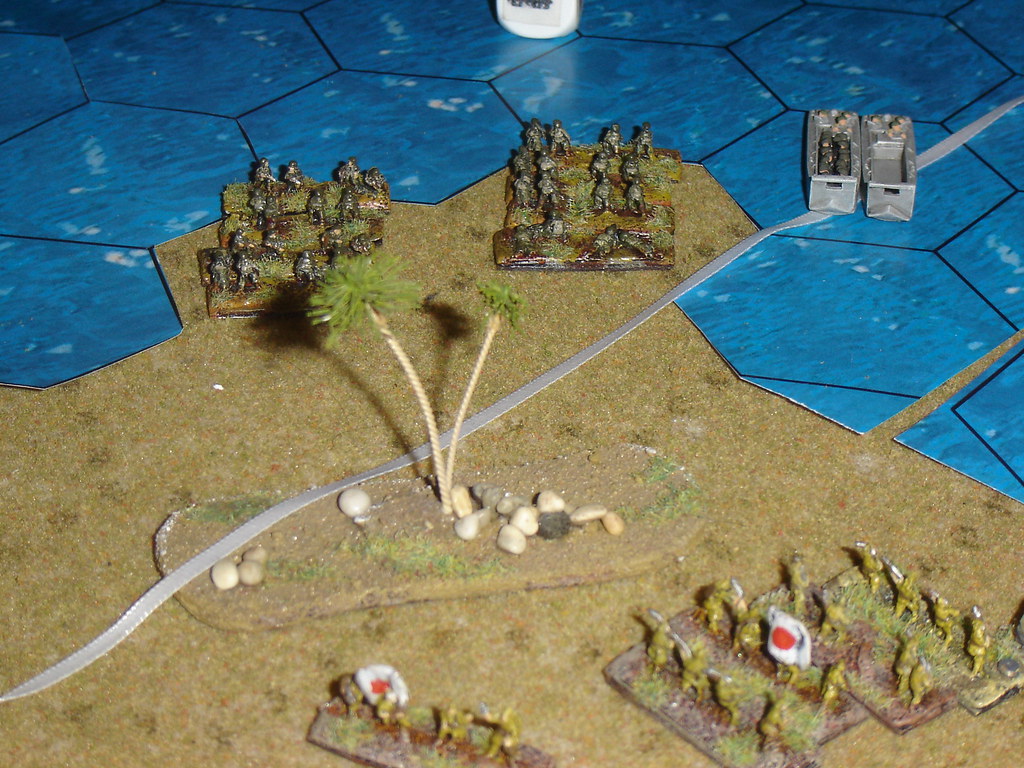
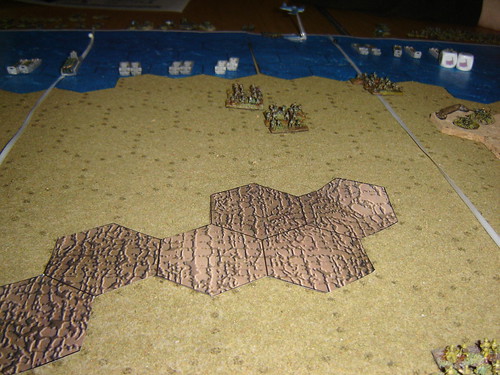
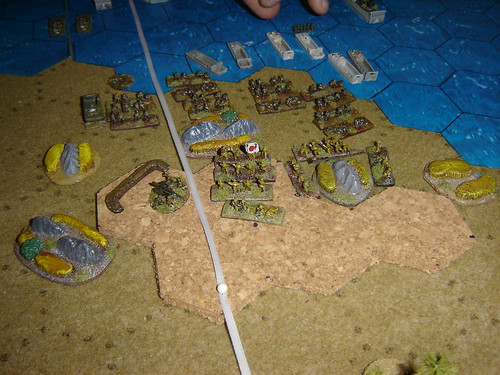
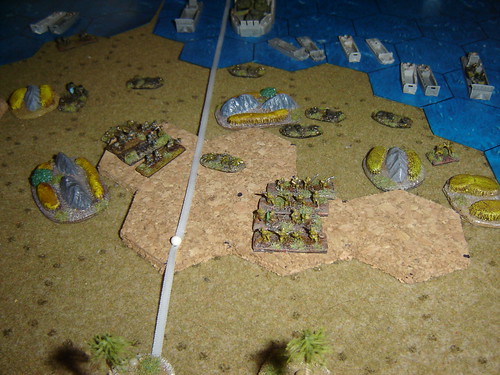
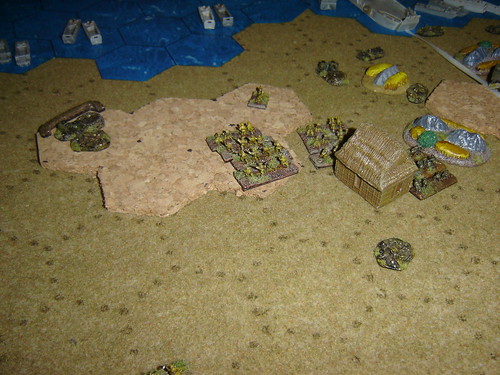
The Marines converge on White Beaches. This "aerial" perspective shows just how much cover the cane fiels would provide the Japanese if they decide to make their stand in the cave complex.

Marines converge on White Beaches

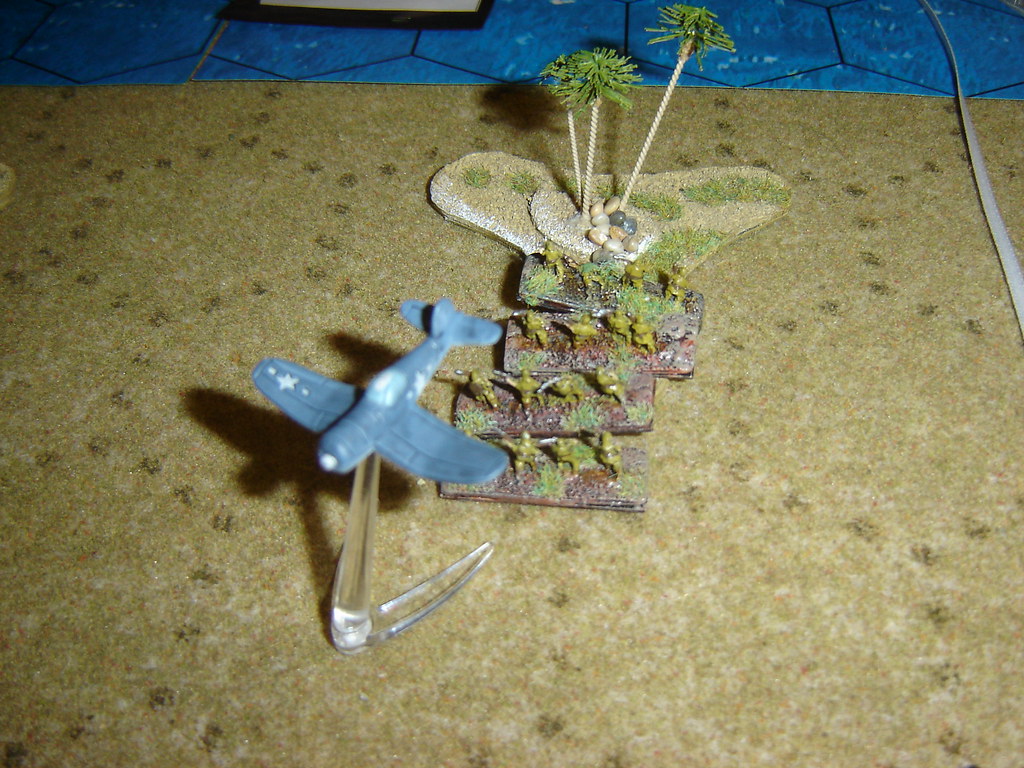
Corsair strafes Japanese infantry in jungle. Despite some early successes the air unit was shot down over the hills and another sortie was never launched.

Corsair strafes Japanese infantry in jungle

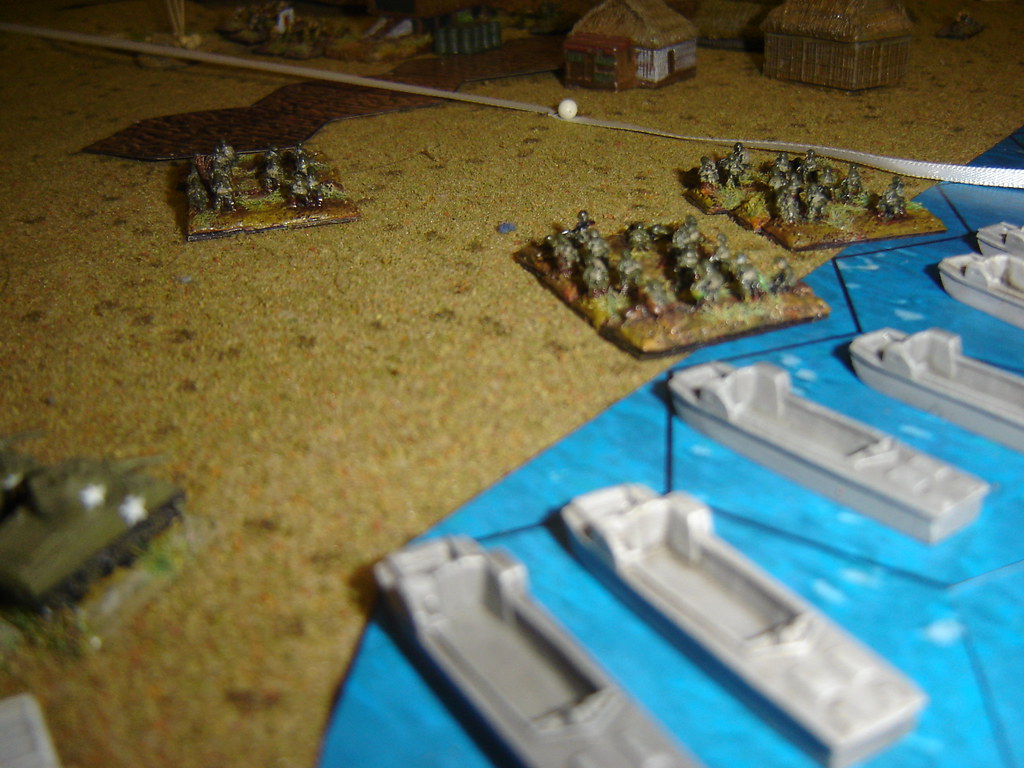
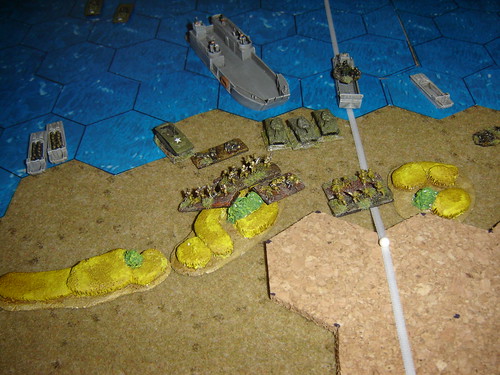
Marines storm off landing craft to take airstrip. Here the Japanese would be under huge pressure, with their initial counter-attack on the other side of the airstrip being wiped out by a well-timed (and well-aimed) naval salvo.

Marines storm off landing craft to take airstrip

Japanese counterattack catches Marine armour. The American armour unit made initial inroads, pushing Japanese infantry back into the cane fields, but is then caught and destroyed by a supporting attack. Colonel Ogata leads another unit to prevent a nearby Marine battalion from aiding the beleaguered tankers.

Japanese counterattack catches Marine armour

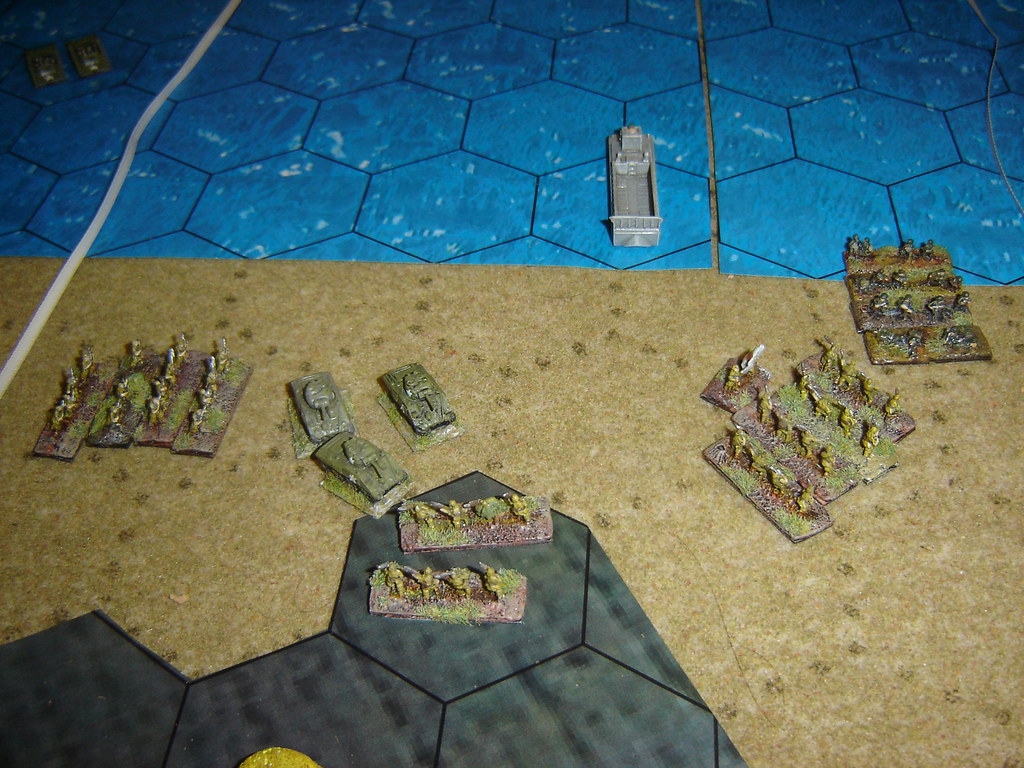
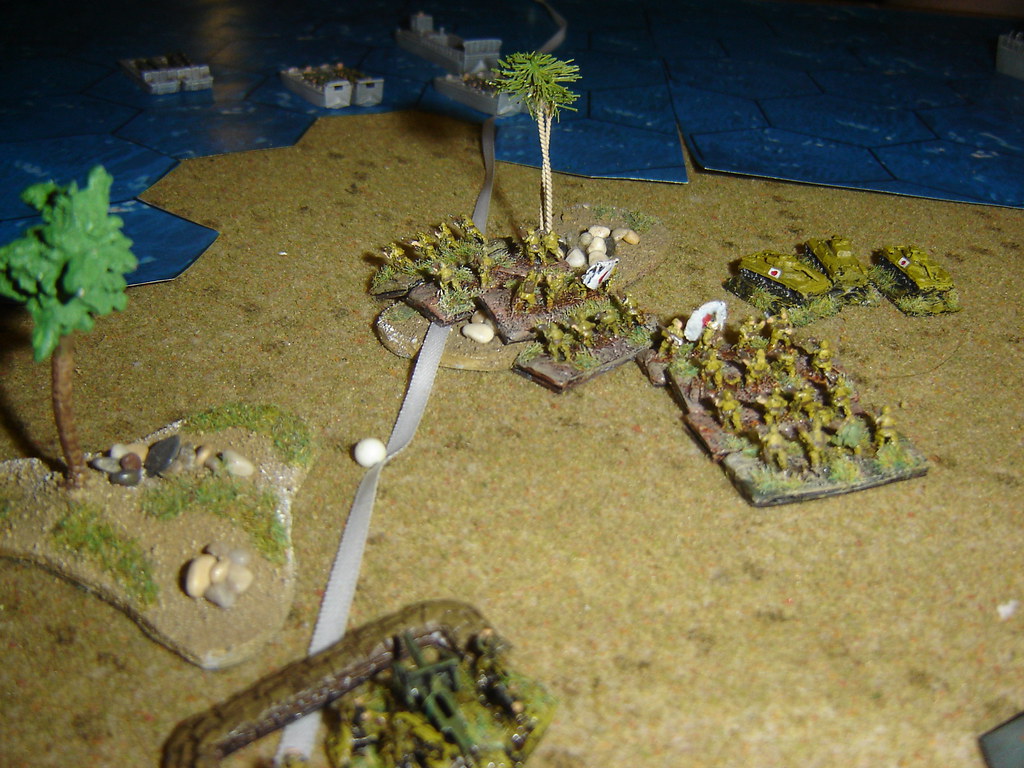
Japanese tanks ready for action as the Marines come ashore in strength. With infantry backing them up through the jungle and with artillery support, the Japanese are confident at this end of the island.

Japanese tanks ready for action

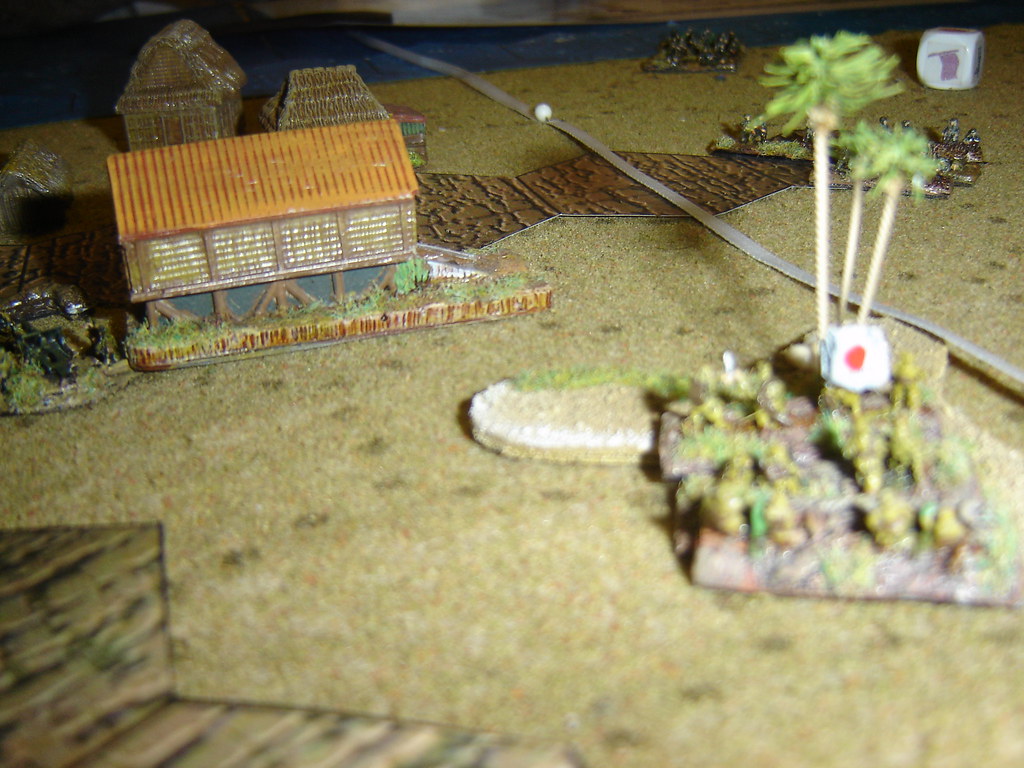
Japanese lurk in jungle to threaten Marine advance on the airstrip. A series of well-timed manoeuvres would see the Americans decimated here and without armour to back them up.

Japanese lurk in jungle to threaten Marine advance

Presence of Marine General bolsters centre. With the Big Guns having come ashore, the Americans are in a position to do real damage to the Japanese in the centre.

Presence of Marine General bolsters centre

Night falls, but the Japanese are not prepared for a night attack. Marines land on Faila San Hila Point, and begin to work their way towards their objectives. The long night actually suits the Americans, as it negates the Japanese advantage in artillery and prevents Japanese units from engaging in long-range firefights from cover.

Marines land on  Faila San Hila Point

Firefight rages in airstrip buildings. The depleted lone Japanese infantry battalion at the airstrip holds out but is eventually driven off. The subsequent assault on the artillery on the other side of the airstrip is unsuccesful and the Marines take point-blank artillery fire.

Firefight rages in airstrip buildings

Marines take ground and push towards emplaced artillery. After their initial success here, the Marines begin to feel the effects of close-in assault by the Japanese tanks. Previously kept at arms length by the Marine armour, but now freed up. They range up and down the shore driving unfortunate marines into the night-time surf.

Marines take ground and push towards emplaced artillery

Marines caught in crossfire. A final concerted attack on the marine battalion in the centre ends in its destruction along with the death of General Cates brings the defeat of the Marine task force as dawn breaks.

Marines caught in crossfire

An emphatic victory for the Japanese 21-6. As the game progressed it never seemed that decisive, and many Japanese units were on their last legs. One vital factor was the emphasis the Japanese placed on taking the Marine armour out of the game, allowing them to play to their advantages in close assault in the open.

28 February, 2009

Battle of Tinian

At Leprecon just gone, I ran this using Memoir '44

The 2nd and 4th Marine Divisions landed on 24 July 1944, supported by naval bombardment and artillery firing across the strait from Saipan. A successful feint for the major settlement of Tinian Town diverted defenders from the actual landing site on the north of the island.
The Japanese adopted the same stubborn defensive tactics as on Saipan, retreating during the day and attacking at night. The gentler terrain of Tinian allowed the attackers more effective use of tanks and artillery than in the mountains of Saipan, and the island was secured in nine days of fighting.
On July 31, the surviving Japanese launched a suicide charge.

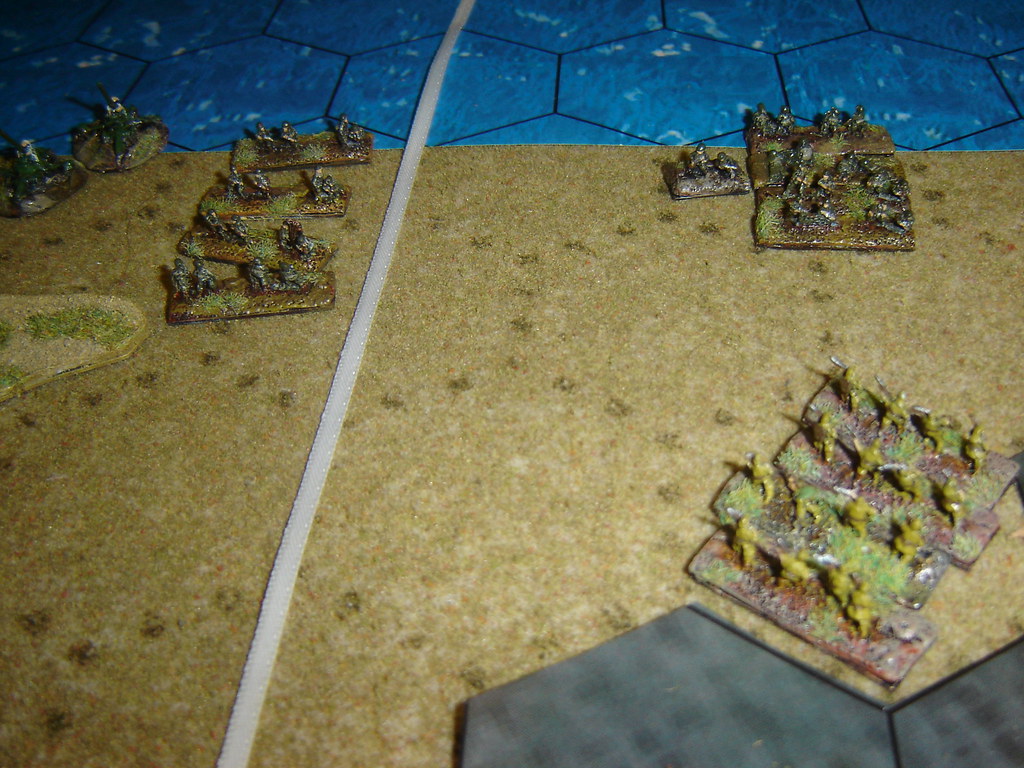
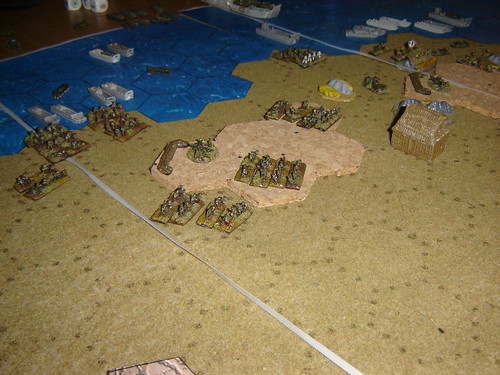
Japanese near airstrip await American landing craft. This position really allows no retreat. Unlike in the centre and left which have cane fields to cover a retreat to the caves.
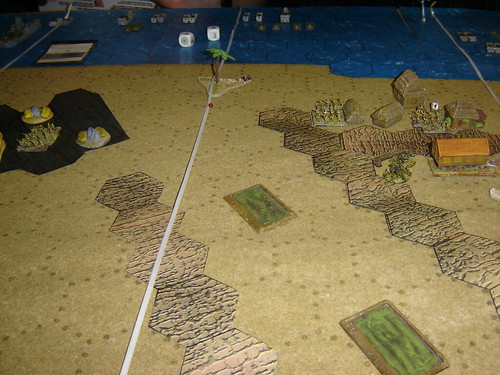
Japanese near airstrip await American landing craft

Corsair bombs emplaced artillery on Faila San Hila Point. The general on this flank made good use of his air sorties, using this aircraft to continuously attack the Japanese artillery and its supporting infantry, and positioning it to avoid the worst of the anti-aircraft fire.
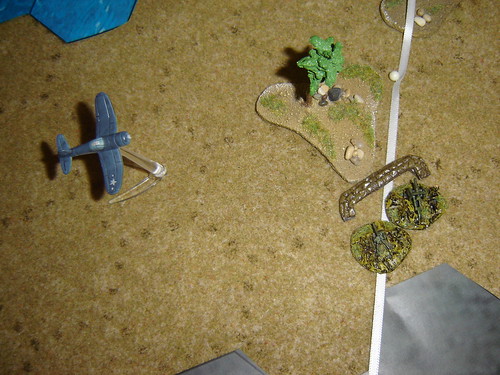
Corsair bombs emplaced artillery on Faila San Hila Point

Japanese charge Americans on beach. The initial wave comes in piecemeal, and with an amtrac attached this is too dangerous to allow develop, and too tempting to ignore.
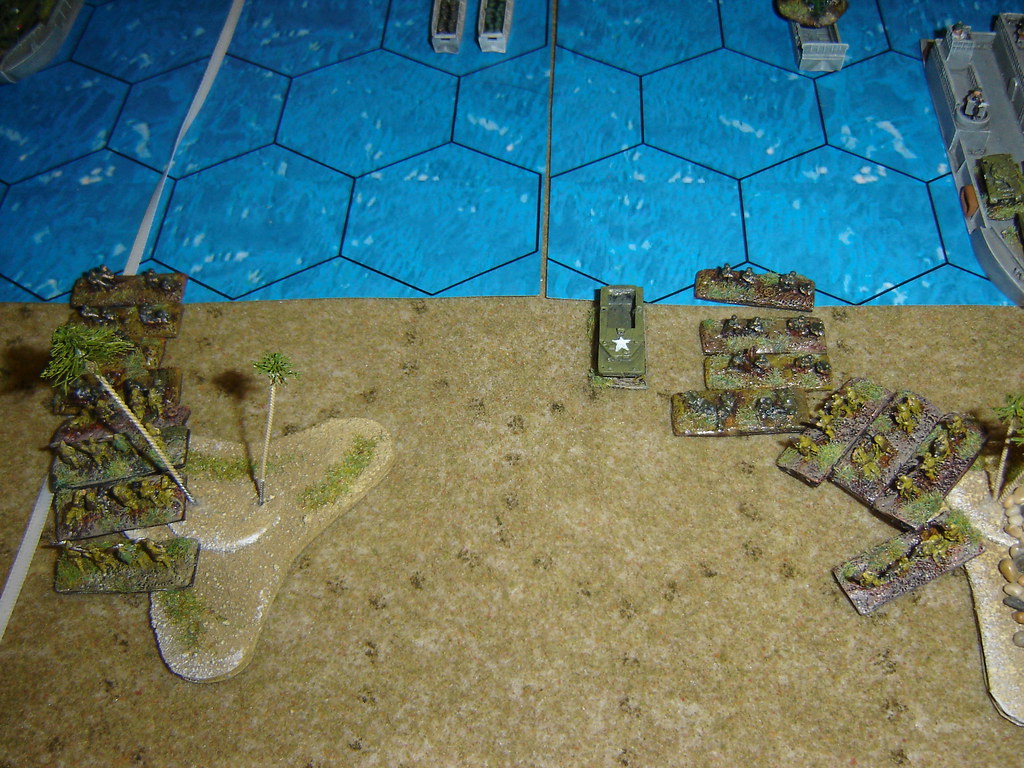
Japanese charge Americans on beach

Americans make it ashore with armour support north of airstrip. With more on the way in on the other side of the airstrip, this will be an important attack for control of the northern shore of the island.
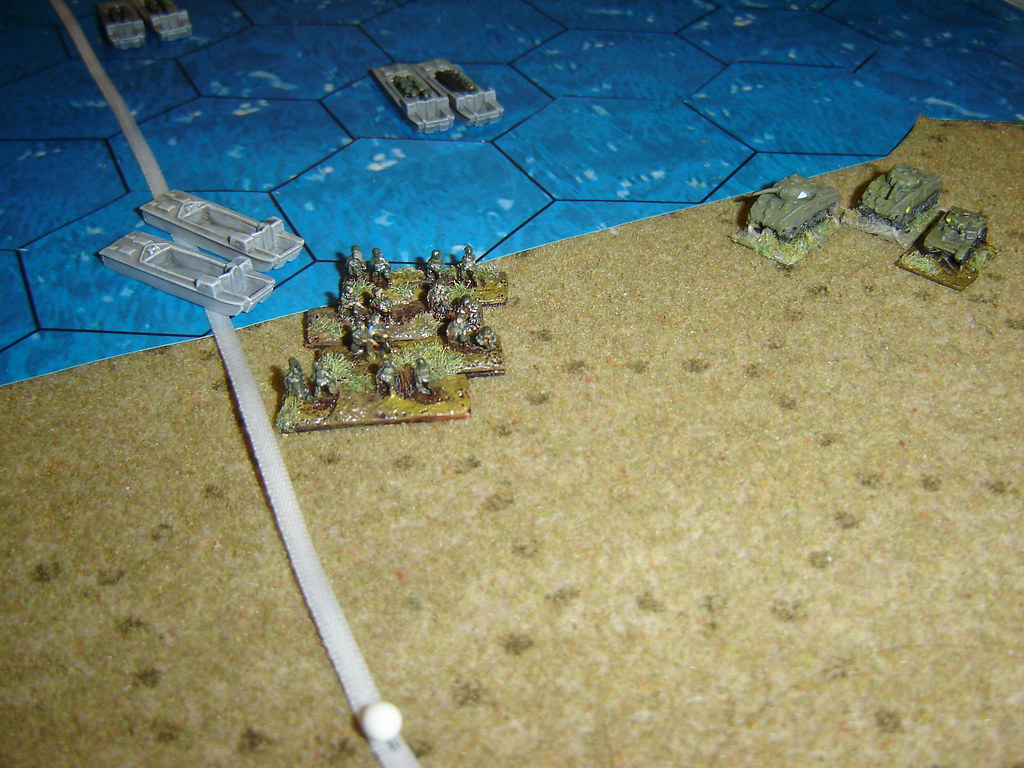
Americans make it ashore with armour support north of airstrip

LCT gives supporting fire. OK, so this has no game effect, I just leave the empty landing craft off-shore for visual effect.
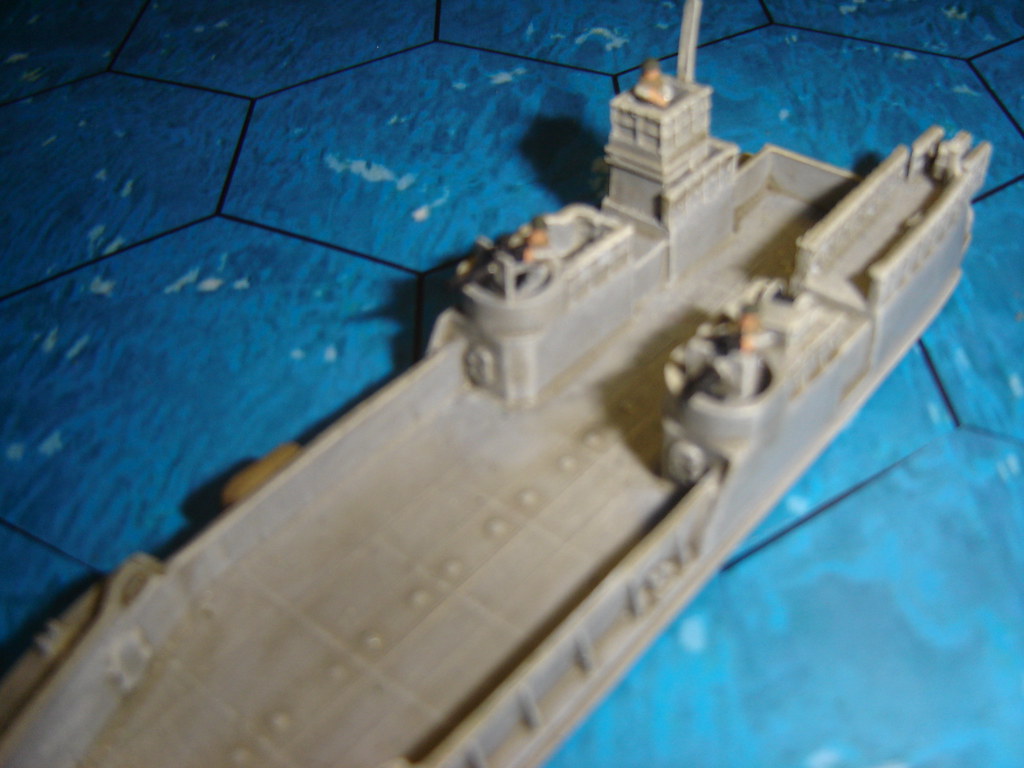
LCT gives supporting fire

Japanese in centre pushed back. With heavy losses and tanks ashore, the pressure is too much for the Japanese to bear.
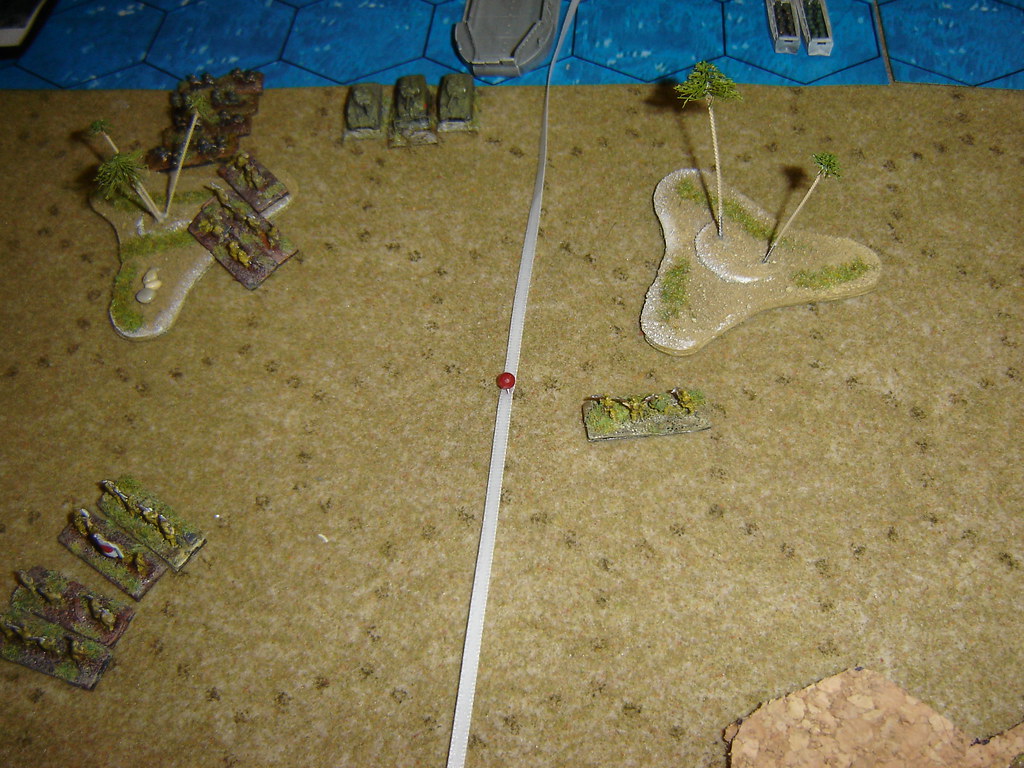
Japanese in centre pushes back

Armour skirts airstrip to find Japanese battalion lurking in jungle. This is just a lure to bring the Japanese out in the open, especially with supporting marines just out of shot.
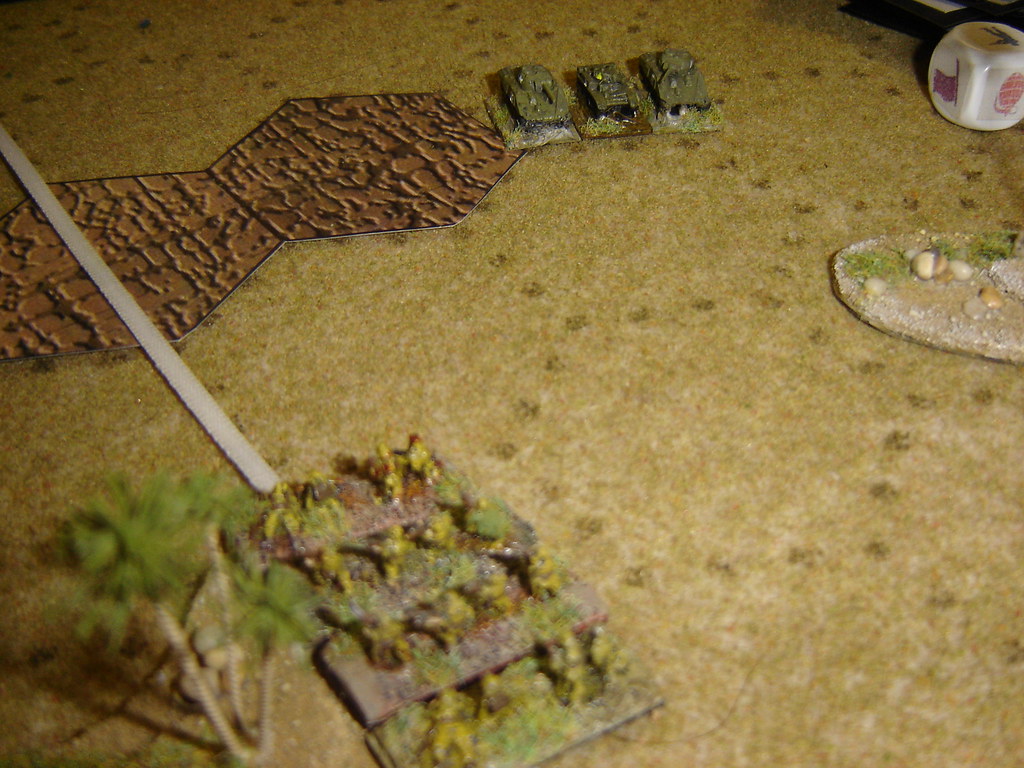
Armour skirts airstrip to find Japanese battalion lurking in jungle

American armour ambushed in cane fields. The cane fields don't affect the operation of armour half as much as the jungle, but they can still be ambushed to great effect.
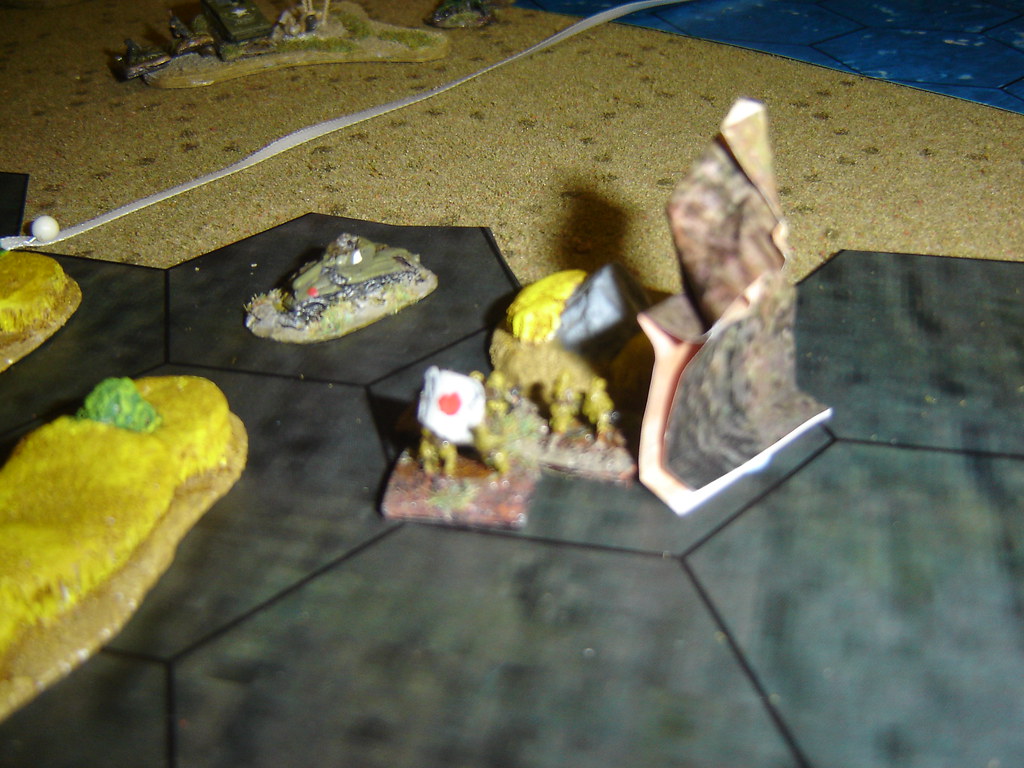
American armour ambushed in cane fields

Japanese counter-attack leaves American centre looking weak. Back-to-back banzai charges clear one of the beaches of marines.
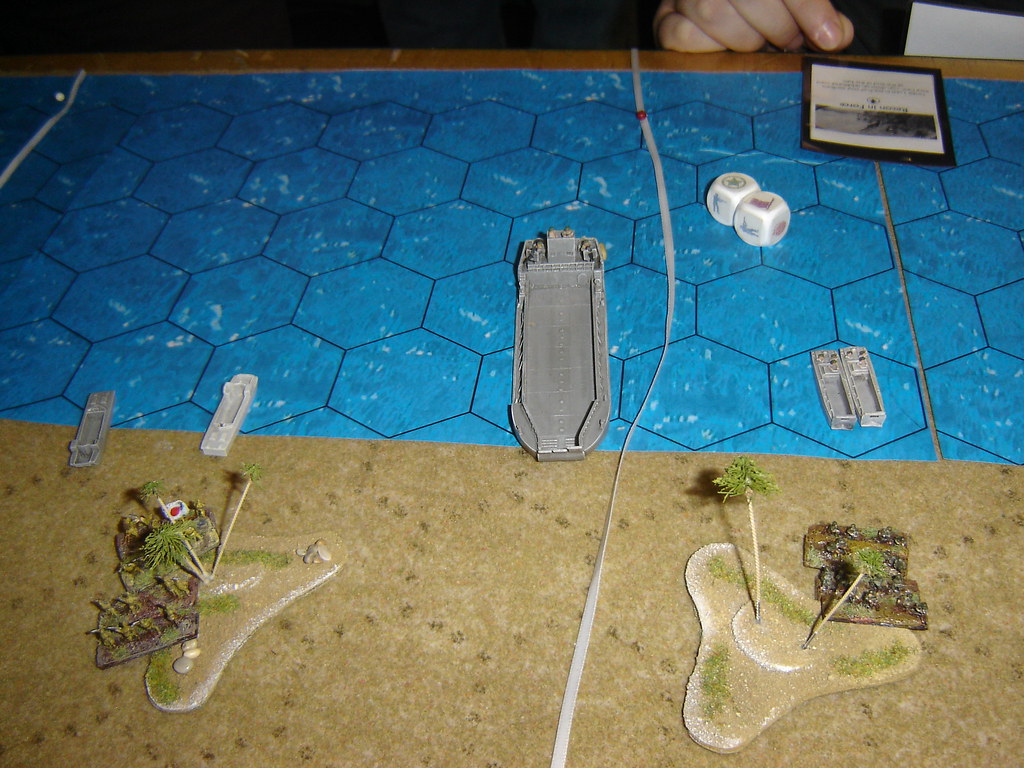
Japanese counter-attack leaves American centre looking weak

Japanese artillery on Mount Maga spots second American wave. This represents a vital fall-back positino for the Japanese, which will surely exact a heavy price for any infantry advance across the open ground.
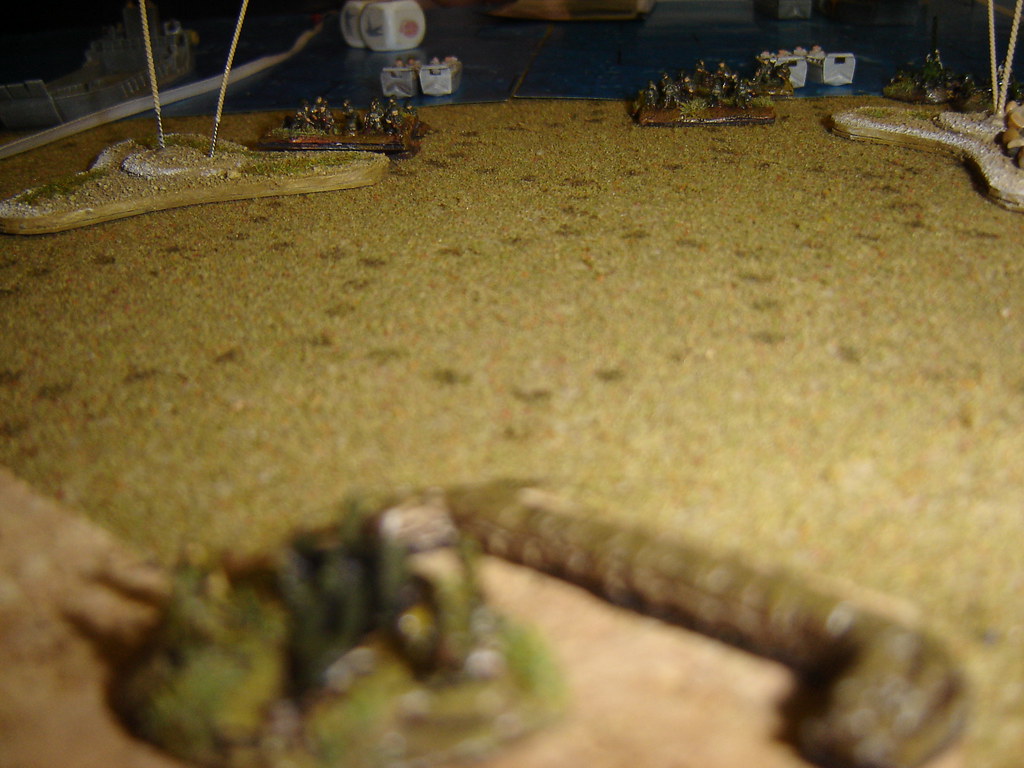
Japanese artillery on Mount Maga spots second American wave

Japanese armour works its way through cane fields. Having been very meagre with this unit, the Japanese have finally worked it into a position to hit weakened marine units are they work their way inland.
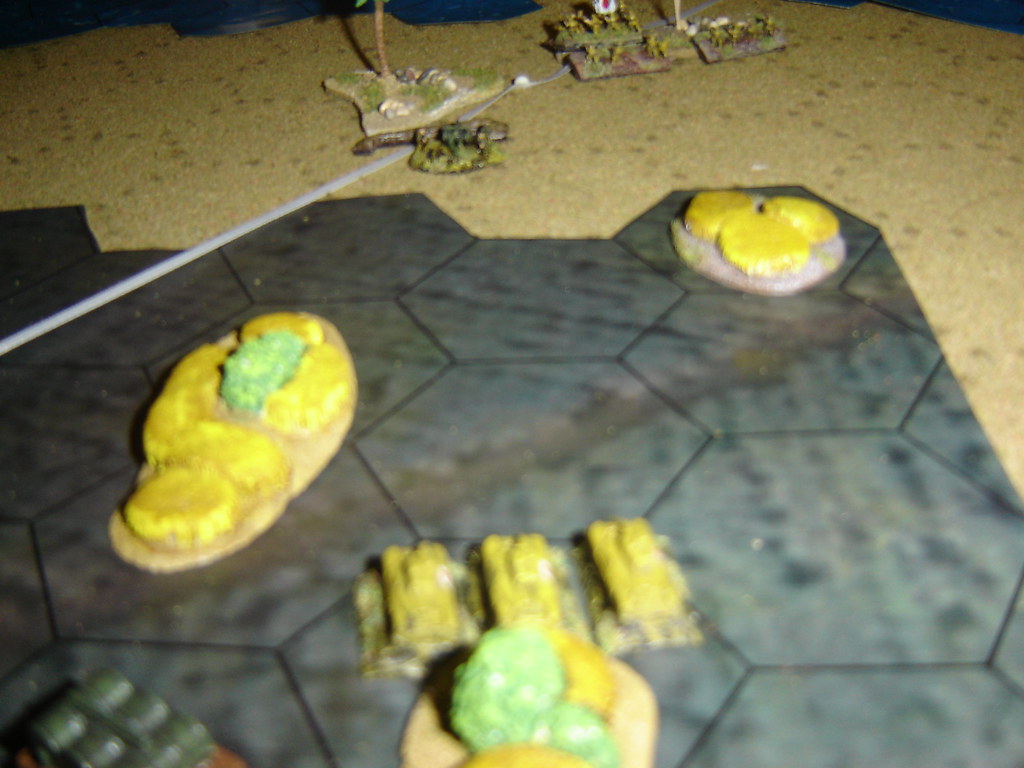
Japanese armour works its way through cane fields

Burning cane fields force Japanese retreat. A Japanese infantry unit, being commanded personally by Colonel Kiyochi Ogata, is forced to retreat back out of the cane fields as they catch on fire.
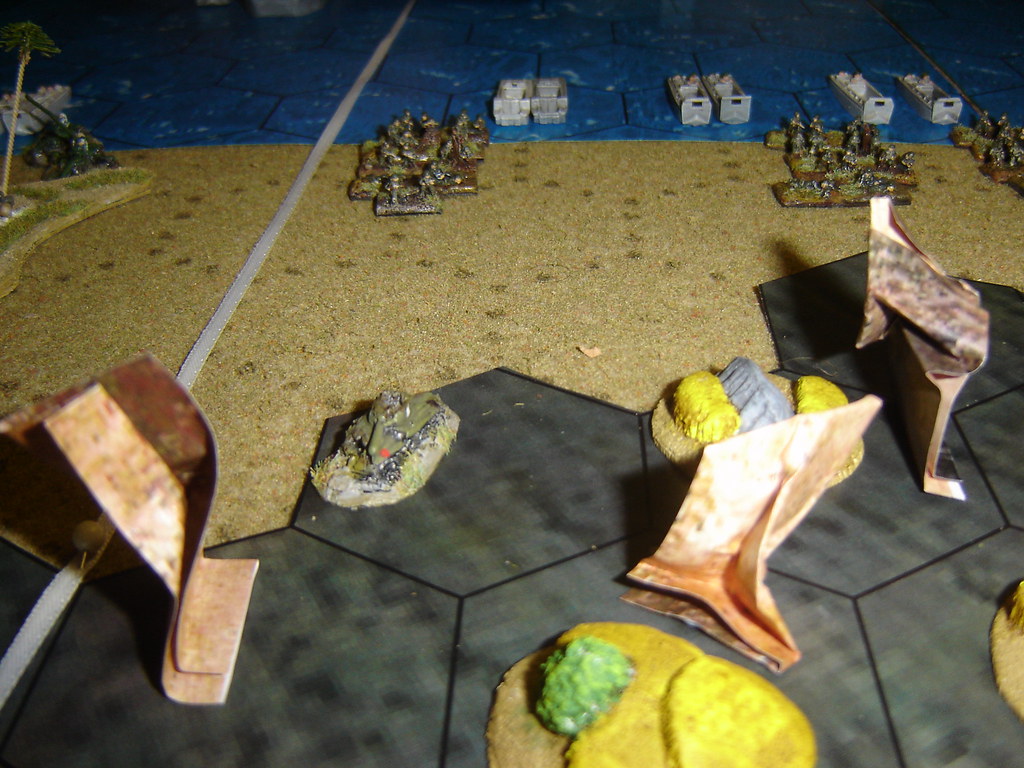
Burning cane fields force Japanese retreat

Japanese counter attack from airtrip hangers. With nightfall the Japanese have planned for a fierce attack designed to force the marines back onto their landing craft. It is successful, and day comes to find both sides on their last legs.
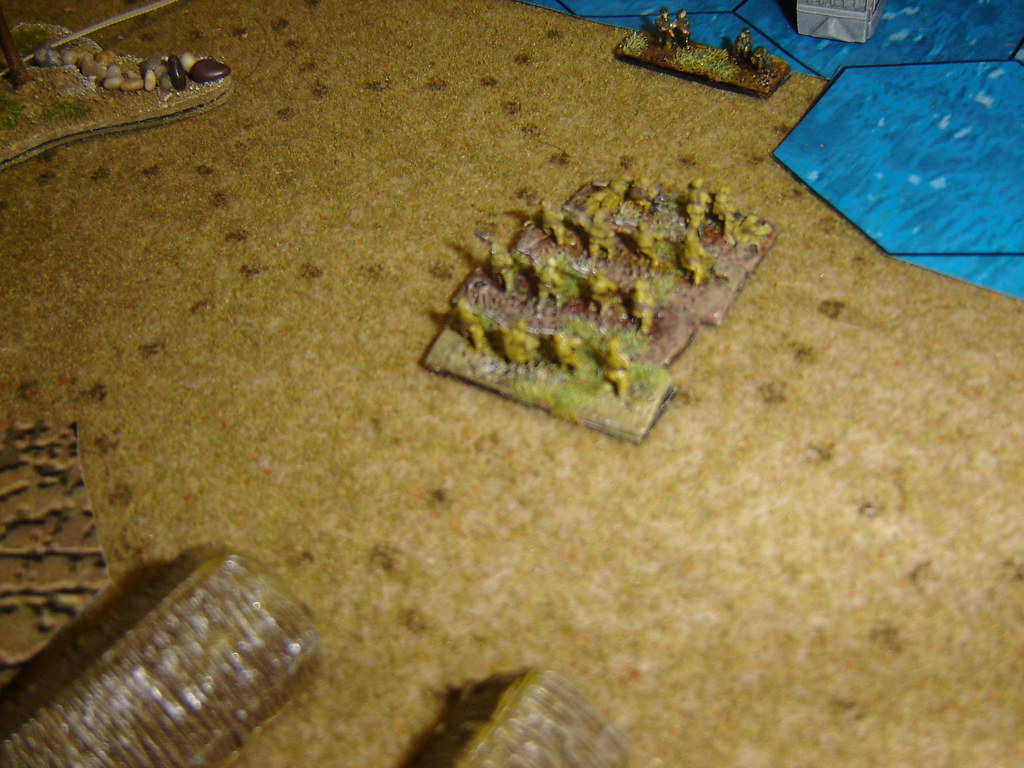
Japanese counter attack  from airtrip hangers

American foothold on Tinian secure. A barrage from the cave complex still held by the Japanese should obliterate a marine battalion on the beach, but does not. And with daylight restored a naval salvo destroys the entrenched artillery, an infantry battalion on Mount Maga and kills Colonel Ogata as well.
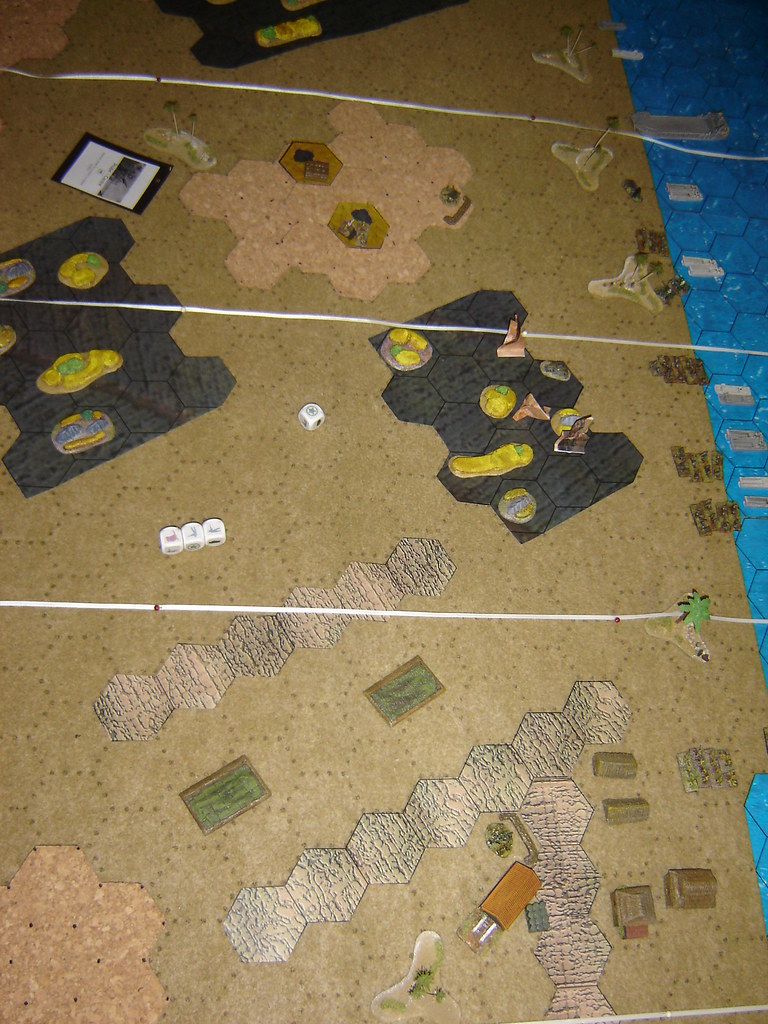
American foothold on Tinian secure

So victory for the Americans who won 11-17: by a whisker. Their break-point was 18.

01 February, 2009

Battle of Peleliu - redux

On the Sunday of Warpcon last week I ran the Battle of Peleliu scenario once more. Here is the result:
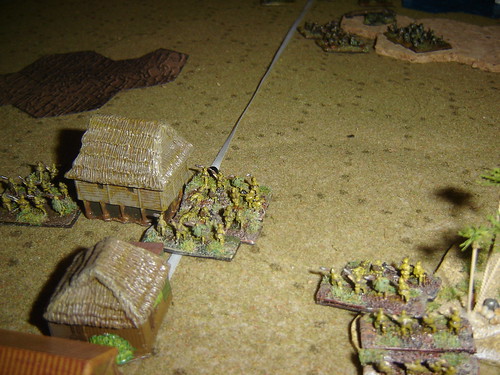
Day 1

Viewing Orange1 as a place for massive exploitation due to the scarcity of defenders close to the beach, the Marine commander puts major effort in getting the first wave ashore quickly. From there they can assault the bunkers over looking both White beaches.

Marines storm ashore near airfield

Over at The Point, the Marines come ashore in great numbers and threaten to overwhelm the Japanese immediately

Mass landing at The Point

A Marine battalion sweeps past the emplaced artillery on the hill leaving the final clearout of those positions to the second wave.

Marines sweep past bunkers

The armour company comes ashore to sharp resistance but it should be in a good position to make for open ground to its right.

Armour comes ashore to sharp resistance

Despite their overwhelming numbers and their success in knocking out the artillery position on The Point, the casualties amongst the Marines are very high indeed. A sniper unit of the Japanese is causing havoc against incoming landing craft.
Despite the potential of an armoured company inland, it goes after the Japanese snipers in the elephant grasses and palm trees along The Point, taking hours in the hunt, even with air support.

Carnage of Marine casualties

A second line of Japanese infantry awaits in the barracks at the airfield and at the jungle edge adjoining.

Second line of Japanese defenders

Coming ashore at Orange2 armour with attached flame-throwing tanks wreak havoc with the emplaced Japanese positions there, now occupied by infantry. But seeing the advance by the Japanese light tanks decides to engage them, with telling effect against the inadequate armour of the Type 95 Ha-Go.

Armour engagement

As the second wave of Marines come ashore on Orange3 a counter-attack by two scratch companies has astounding success, but this is only temporary.

Japanese counter attack on Orange3

At Orange1 also, Japanese success is turned, as their position is surrounded. One company is wiped out, and another high-tails it at breakneak pace down the airstrip!

Marines surround Japanese on Orange1

Back at Orange3 the Marines heavy artillery comes ashore and with infantry support pushes inland to take control of the village overlooking the mangrove swamp on the other side of the island.

Heavy artillery pushes inland with infantry support

The crafty Japanese have camouflaged their position and the Marines must close with them in order to fix their positions to bring in effective artillery fire.

Defenders of Mangrove Village camouflage themselves

The Night

Just as the Marines set up position for the assault night falls. Despite the known skill of the Japanese during darkness Colonel "Chesty" Puller personally leads a company (with two in support) in close to smoke them out with bayonets and grenades. They run into a devastating ambush, wiping out the company to a man. Puller escapes but the two companies in support are mauled by the devastating banzai charge which follows up the ambush.

Devastating Banzai charge

Back at The Point, using cover of darkness the Japanese have had huge success in pushing the Marines back from their position of strength and retaking The Point.

Japanese retake The Point

The battle really did swing one way and them another. During the outstanding early manoeuvring and concentrated fire of the early game, the Marines were having good success in taking control of the dominating positions over the beaches. 4 of the first 5 Japanese units wiped out were artillery.
Despite some success in Japanese counter-attacks, the Marines were in a good position to win the game, and were trailing 12-16. But some conservatism in laying low, retreating and regrouping off the beaches allowed the Japanese to strike late in the day, and them assault all-out come nightfall to win 23-12 in the end.

It's a good job the 81st won at Angaur, as following this battle, the Marines were going to need all the help they could get to take Peleliu.

I've just posted this game we played last March of the Battle of Angaur here as well.

More like this