Trouble at Peterson's Mill

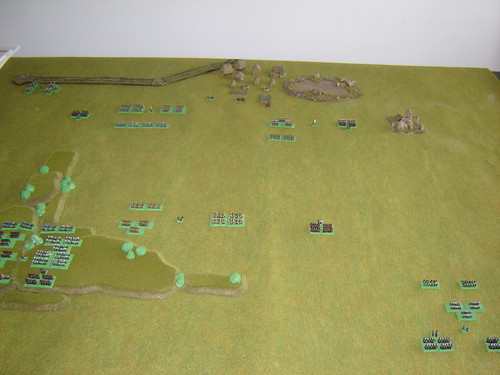
With the approach of the railroad and rumours of gold in the hills near Caspar, Wyoming; the prominent family of the Vanderbolts has contracted the Pinkerton Agency to acquire land in the Caspar area. Stalwart of the fledgling community are the Petersons who run a mill outside of town.
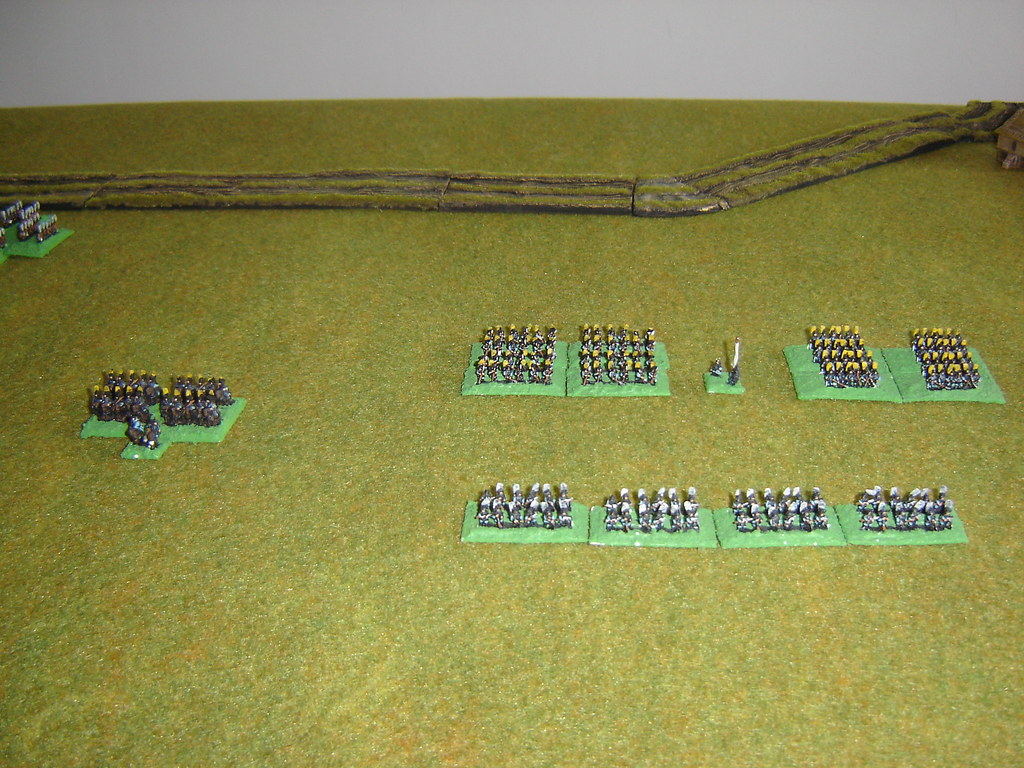
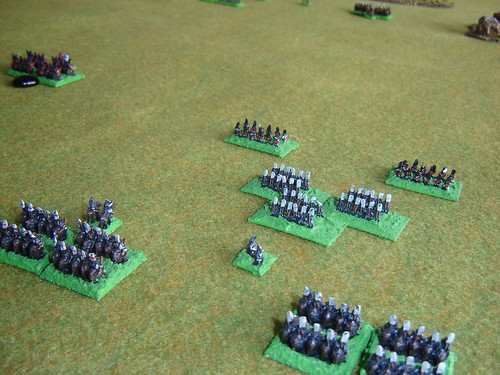
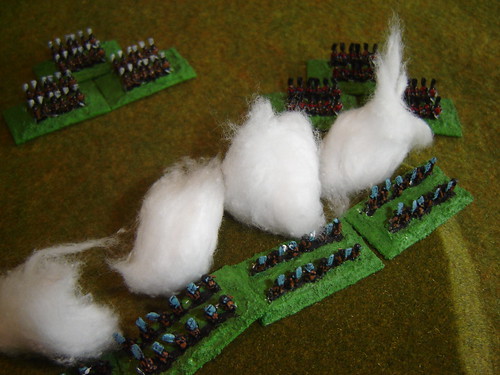
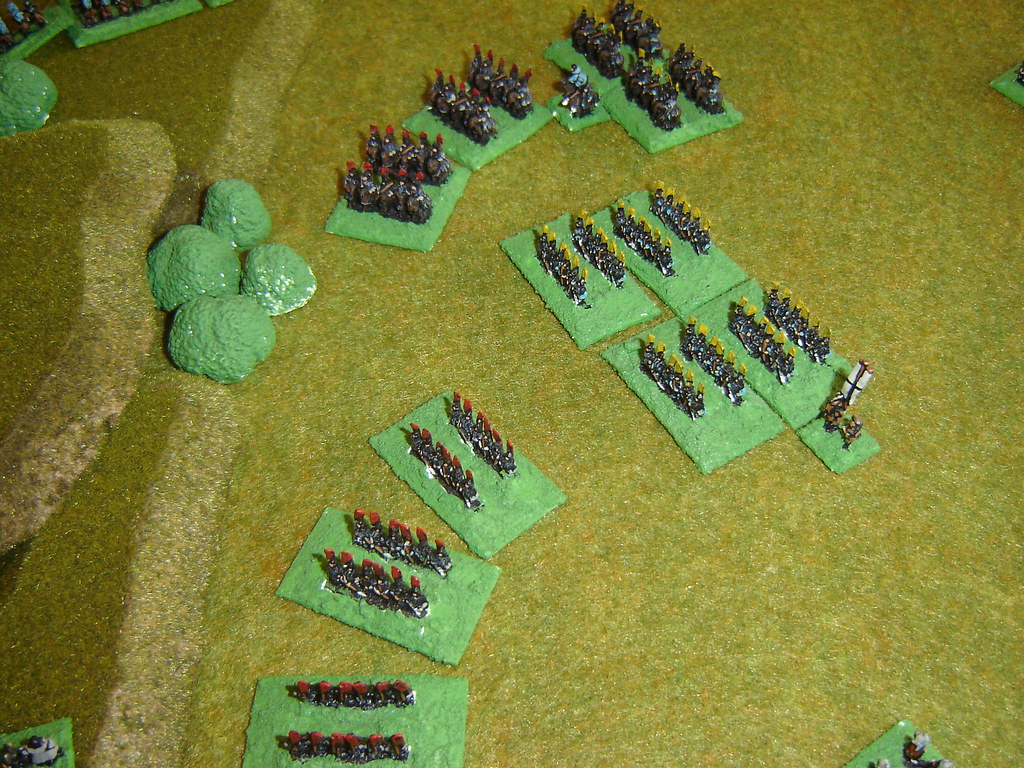
The Petersons and their mates have gathered just south of the mill once they heard of the Pinkertons' approach. They know their skill and weaponry isn't a match for the Pinkertons but they are definitely up for a fight.
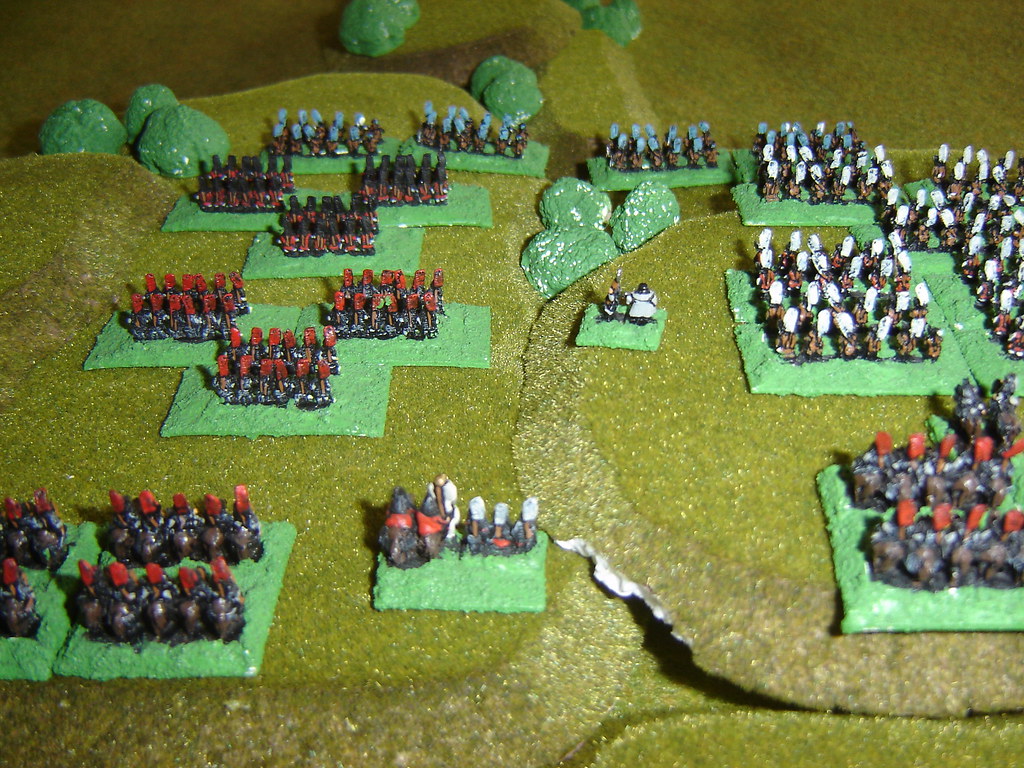
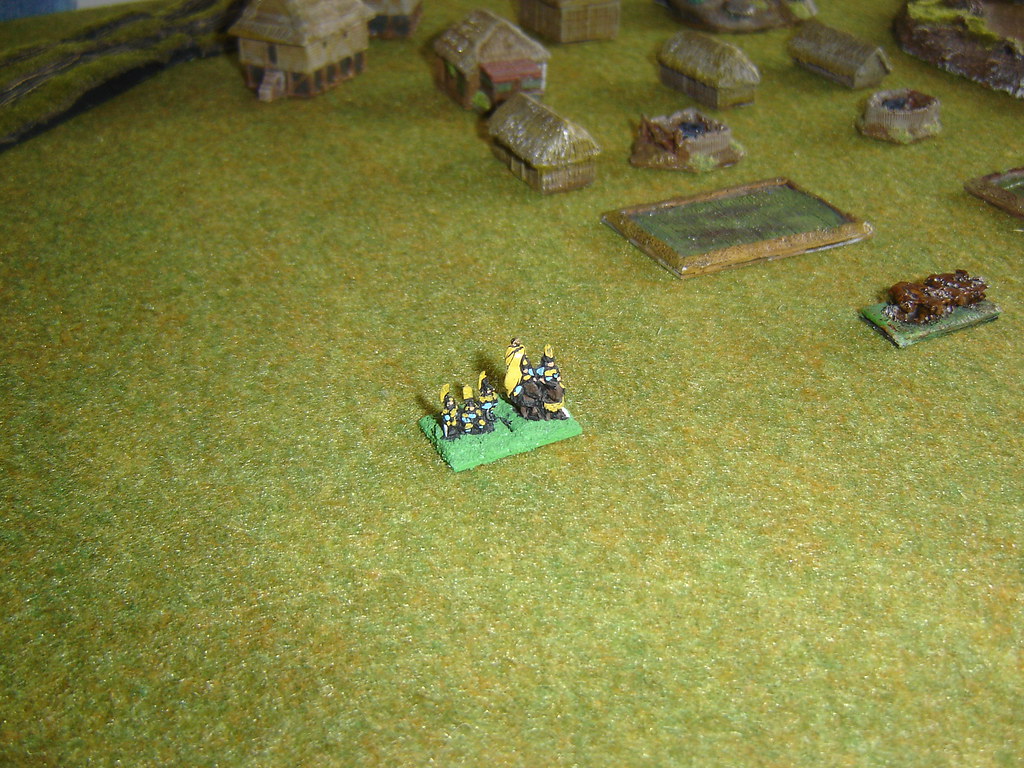
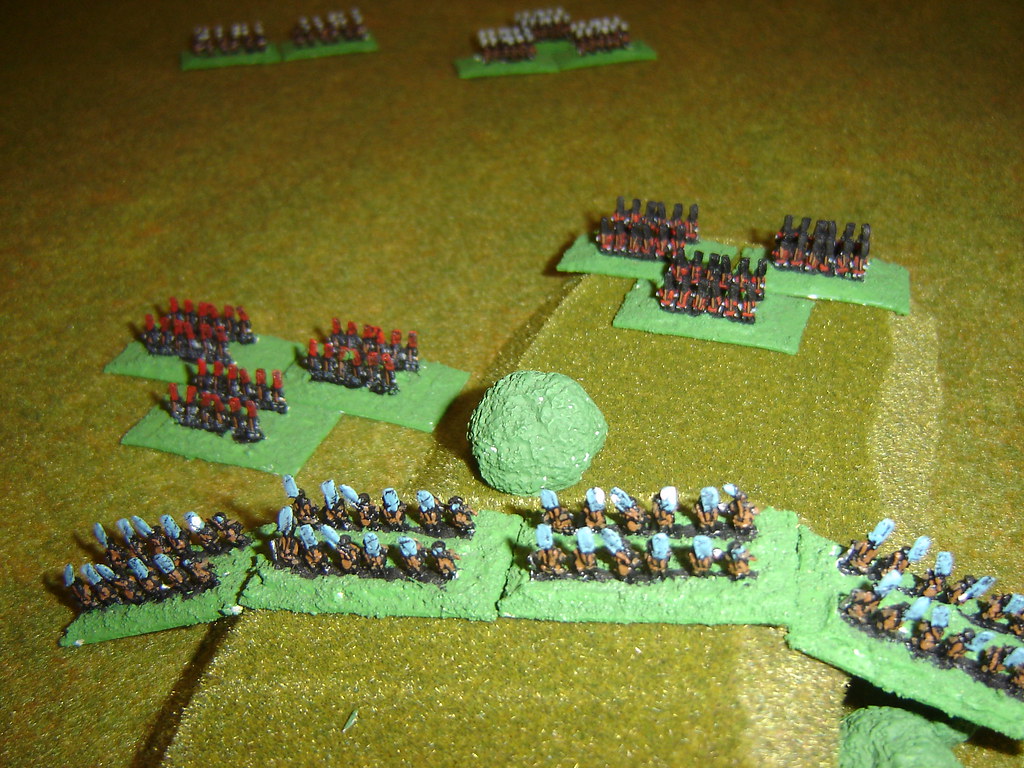
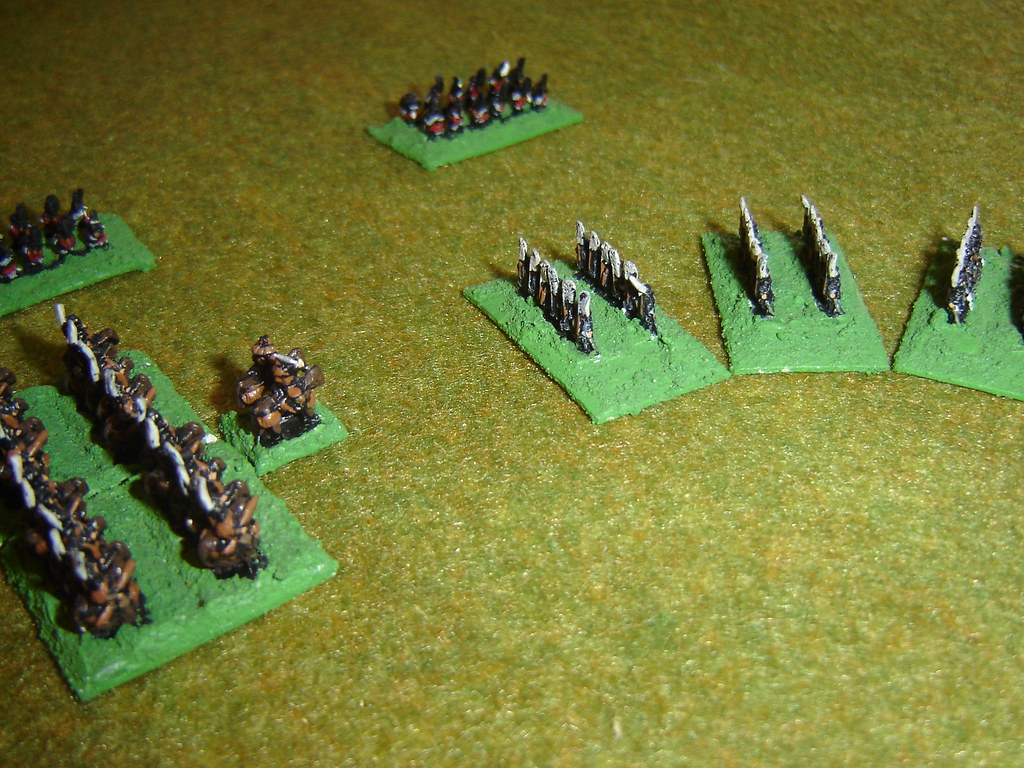
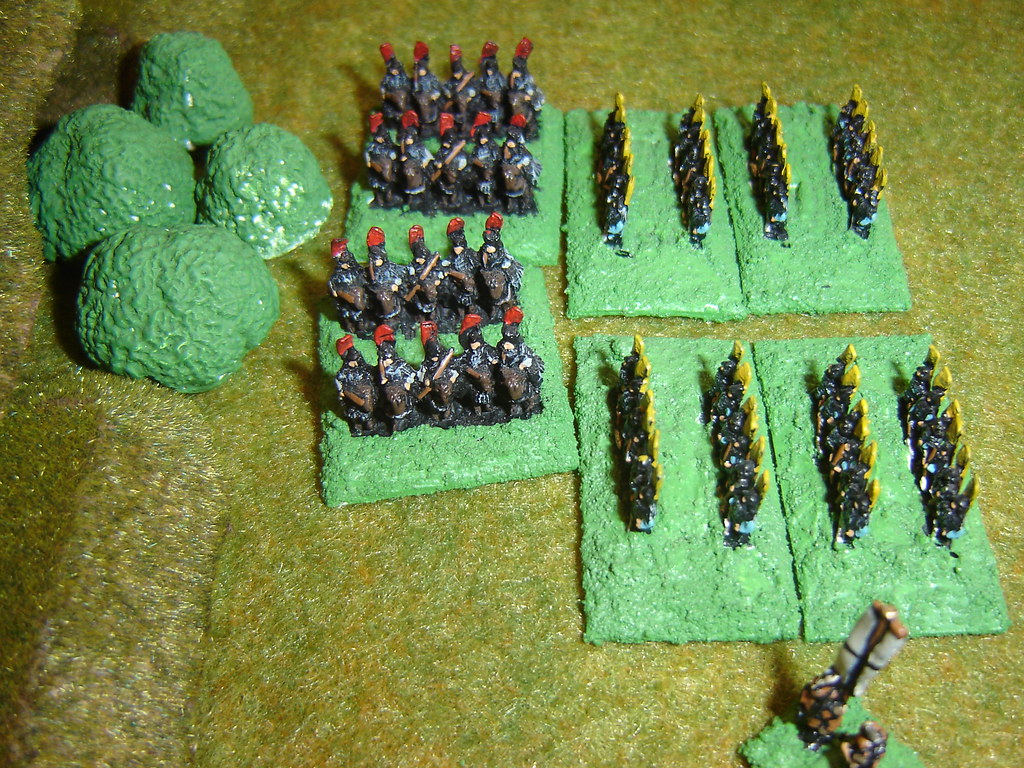
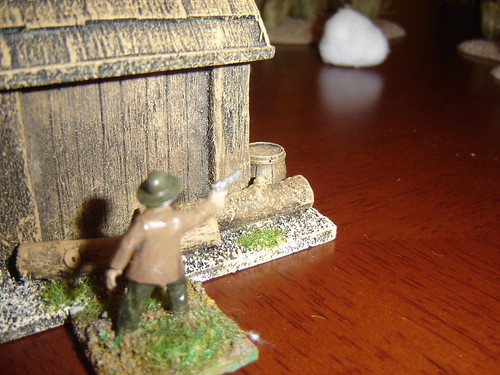
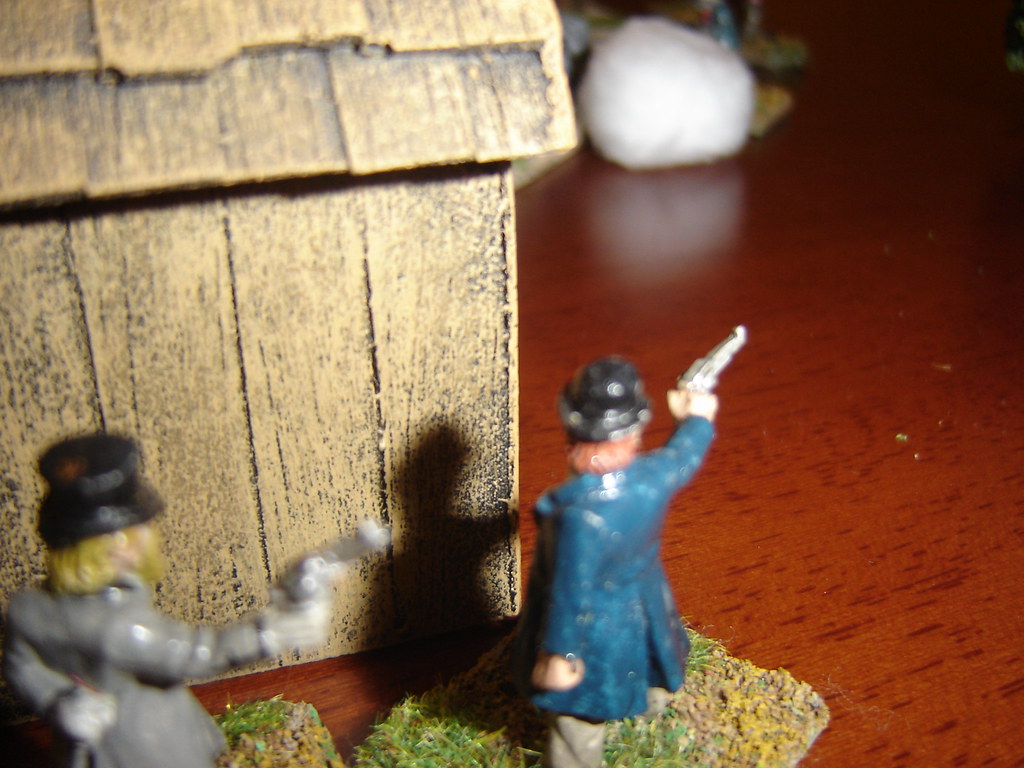
The Townsfolk near the small barrel storage barn

The rest of the Townsfolk near the Smithy

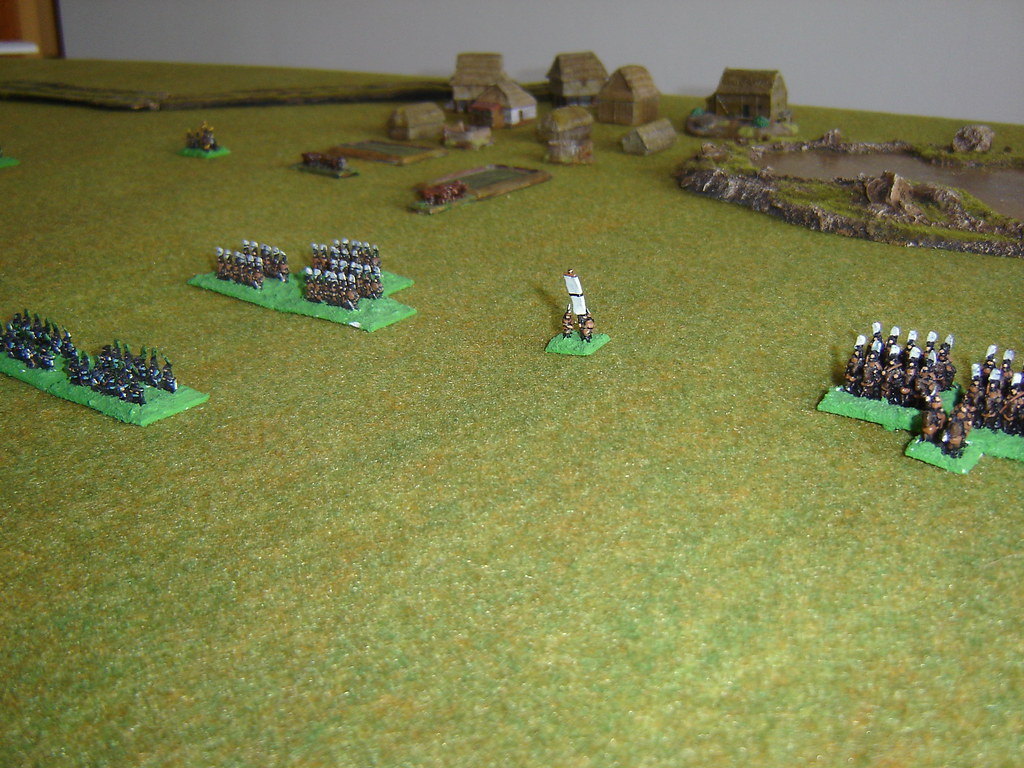
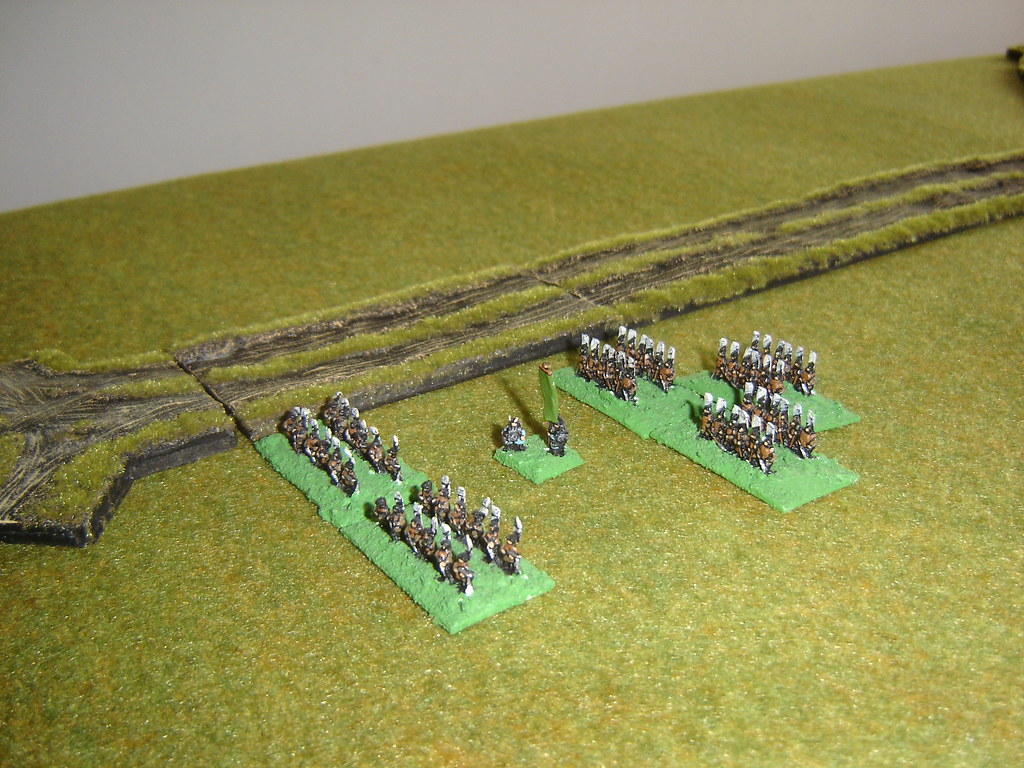
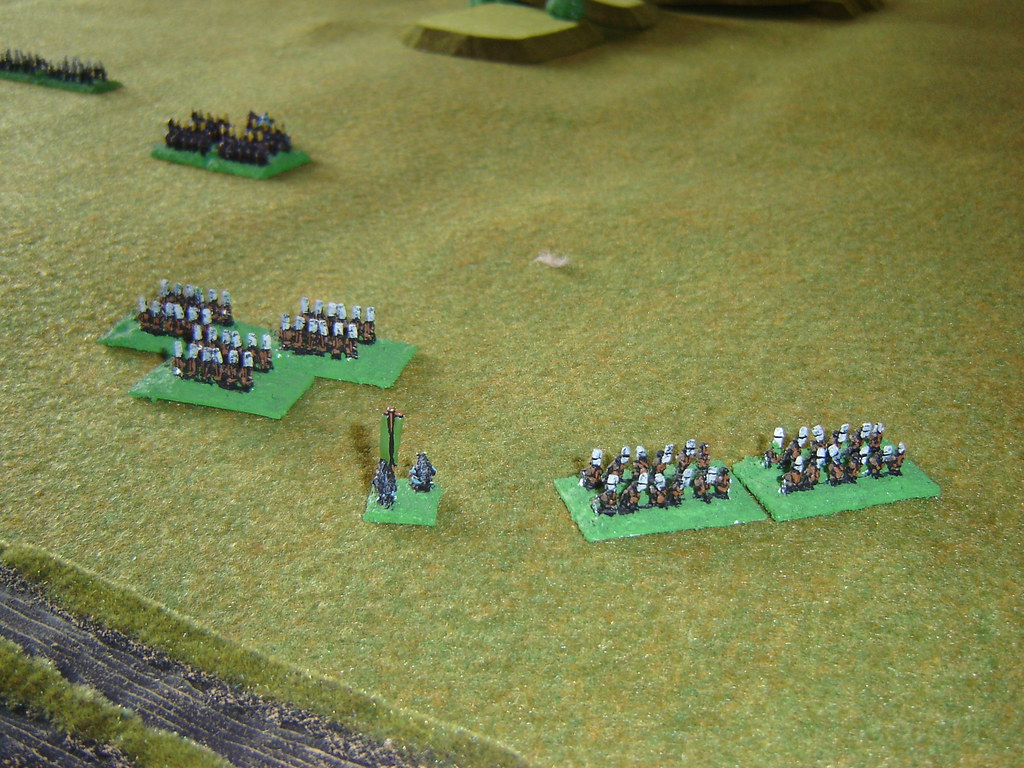
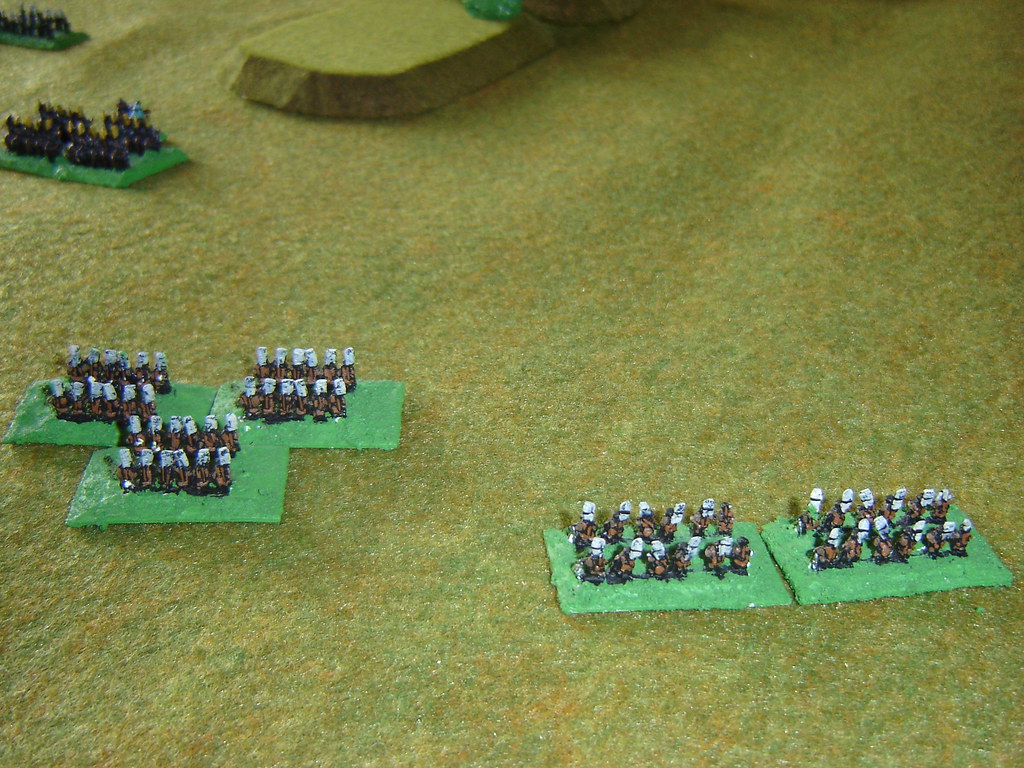
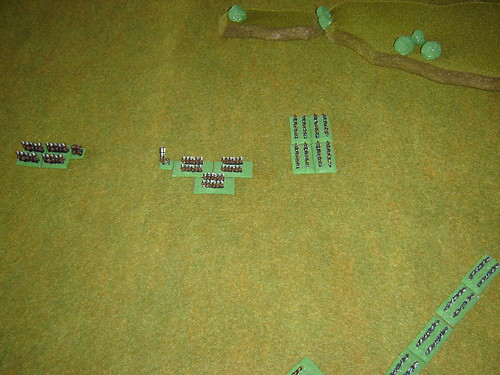
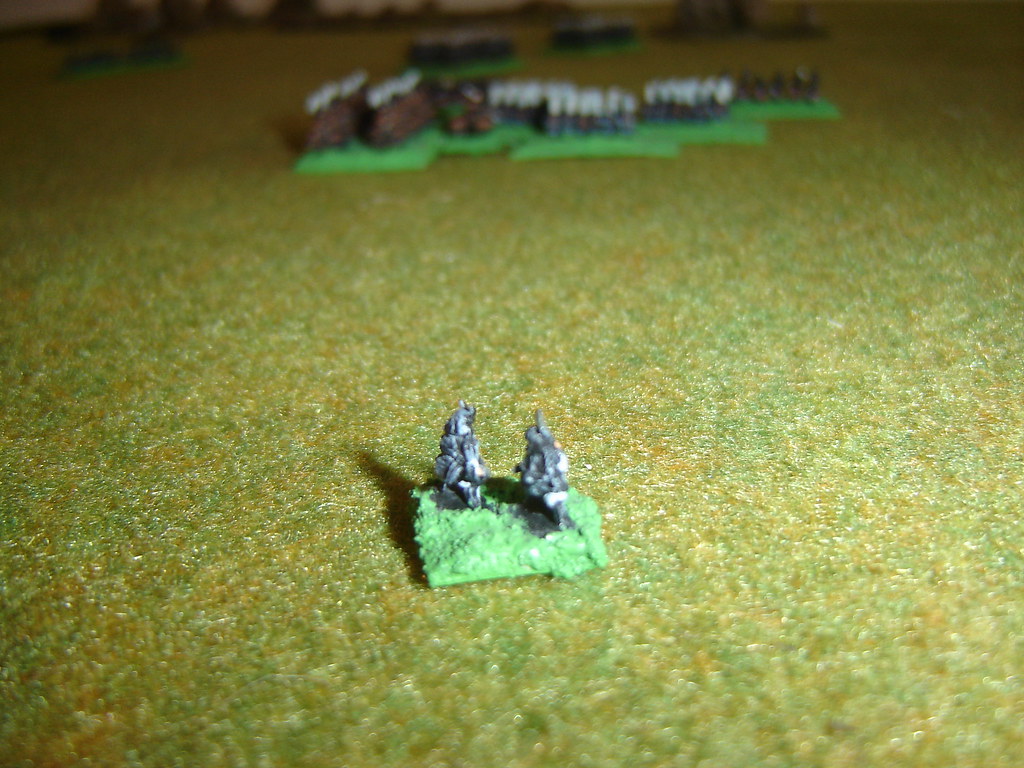
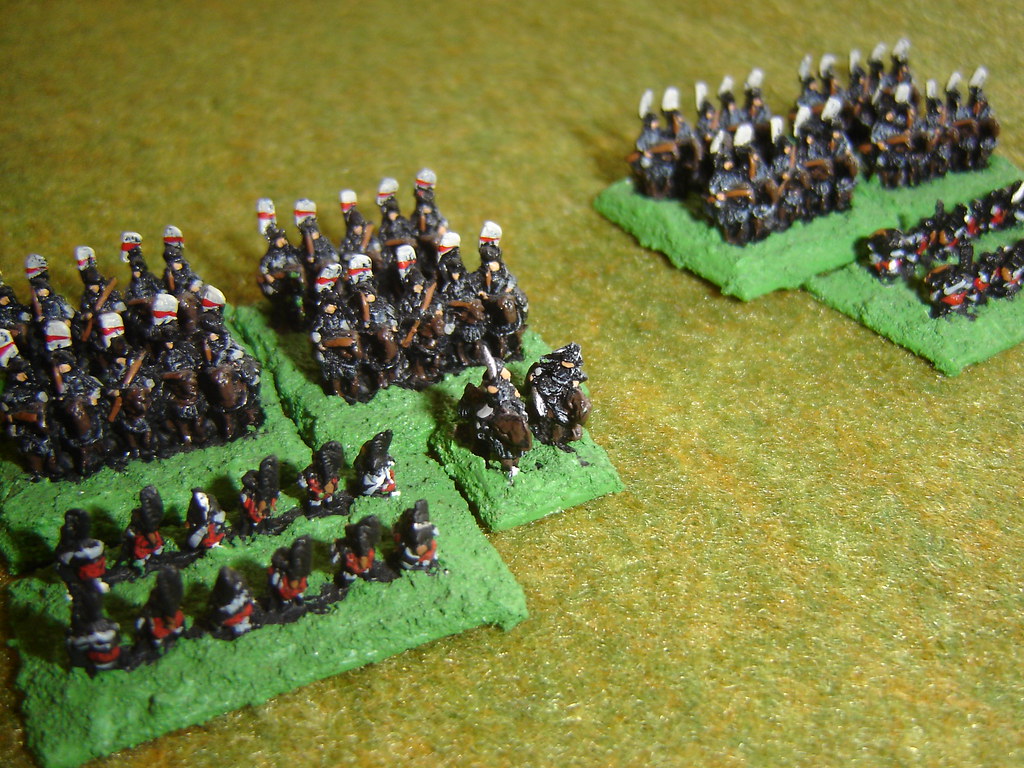
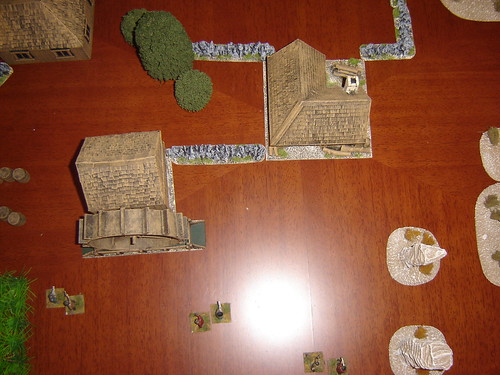
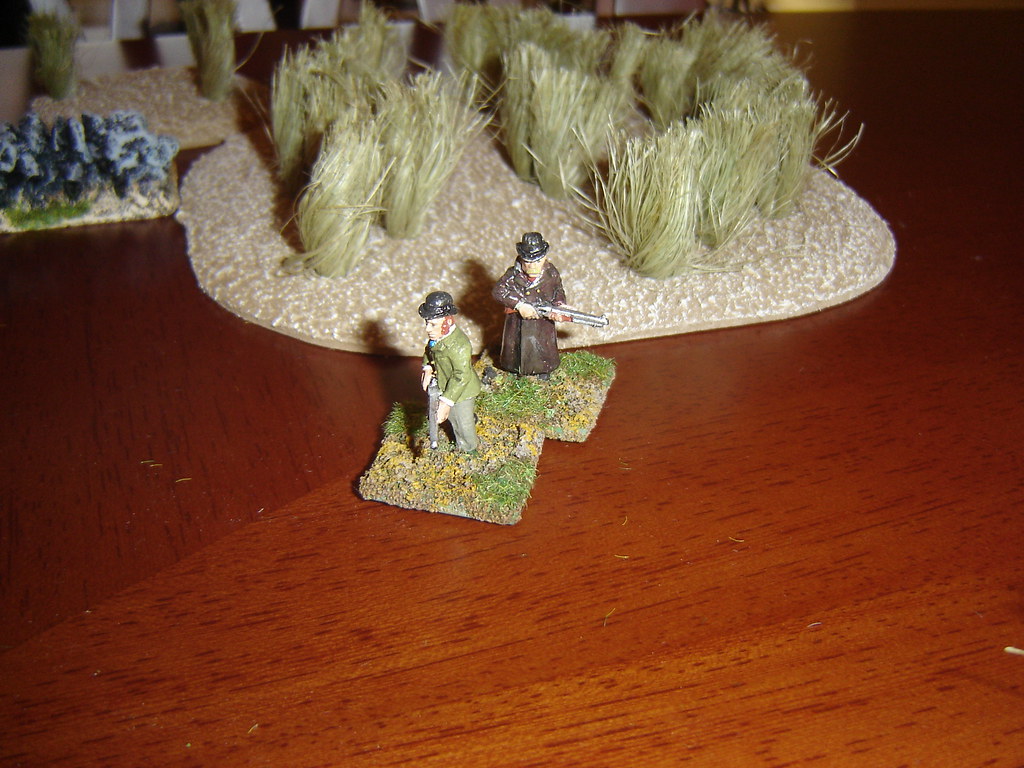
The Pinkertons approach in two pairs, one near the Farrell's House
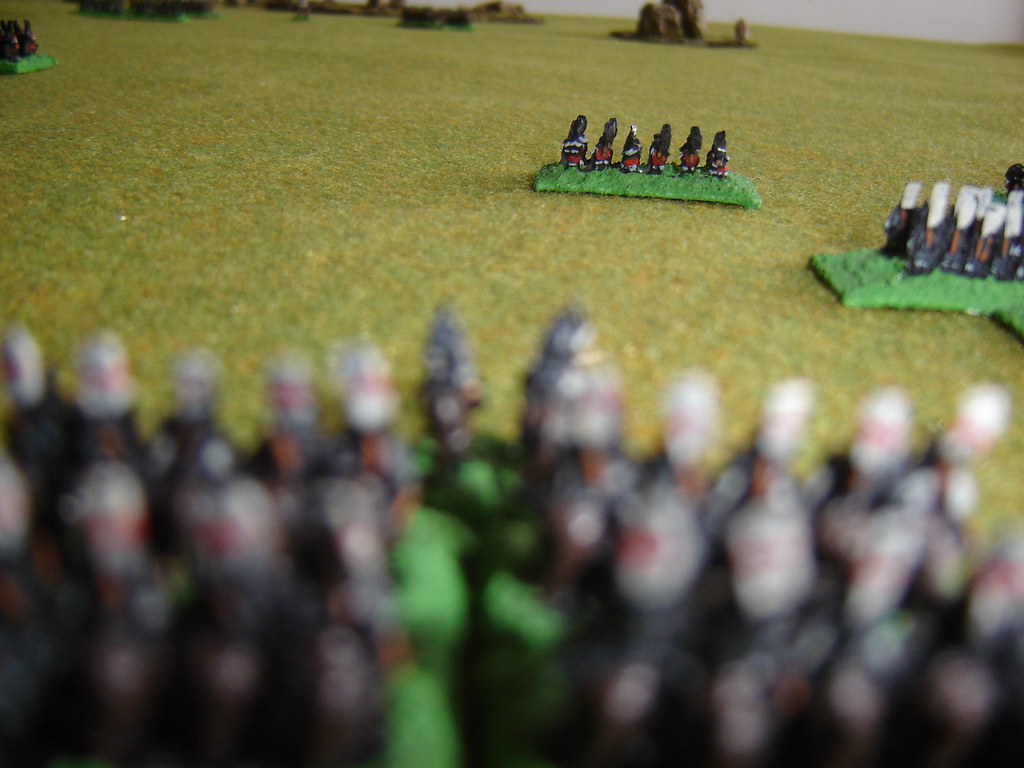
The other two Pinkertons come in through the scrub.
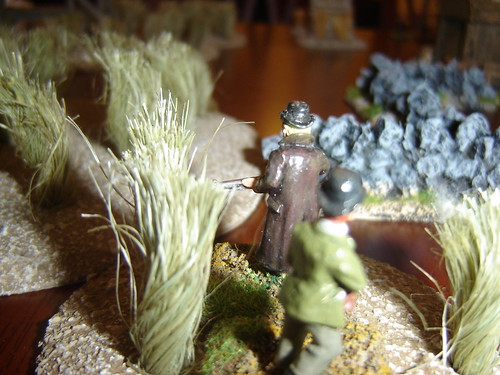
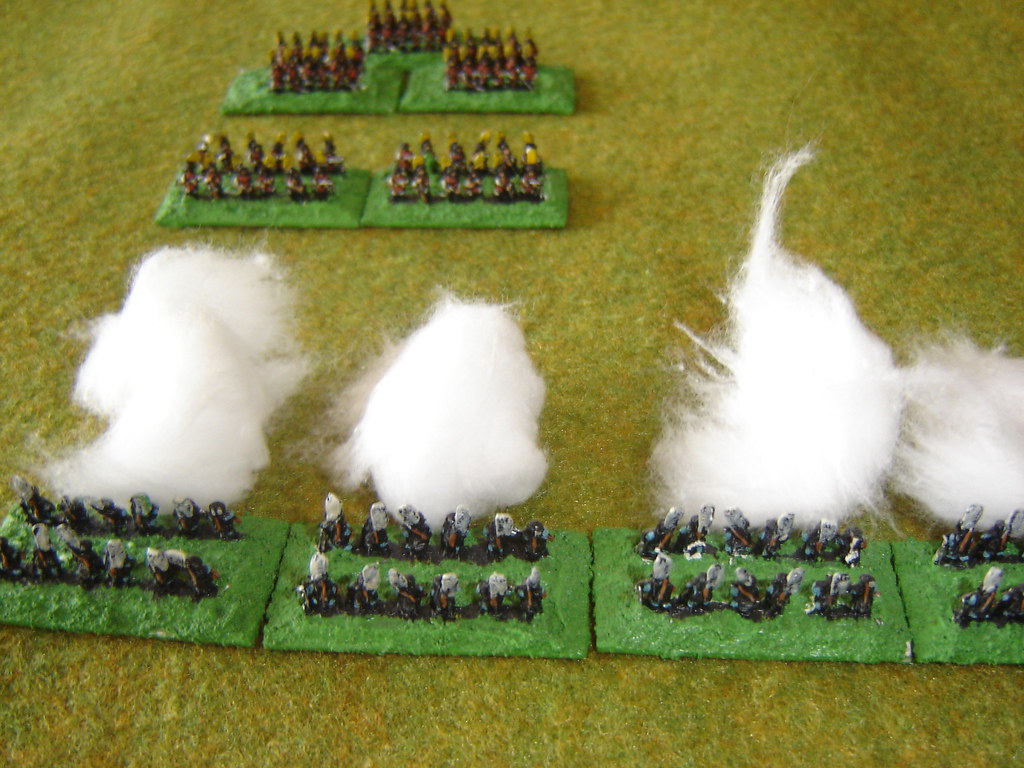
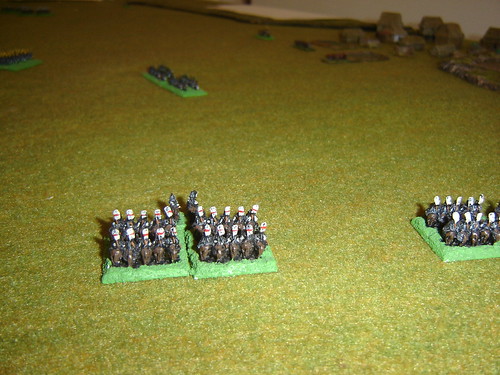
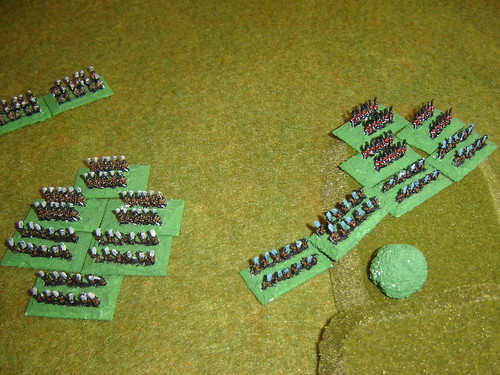
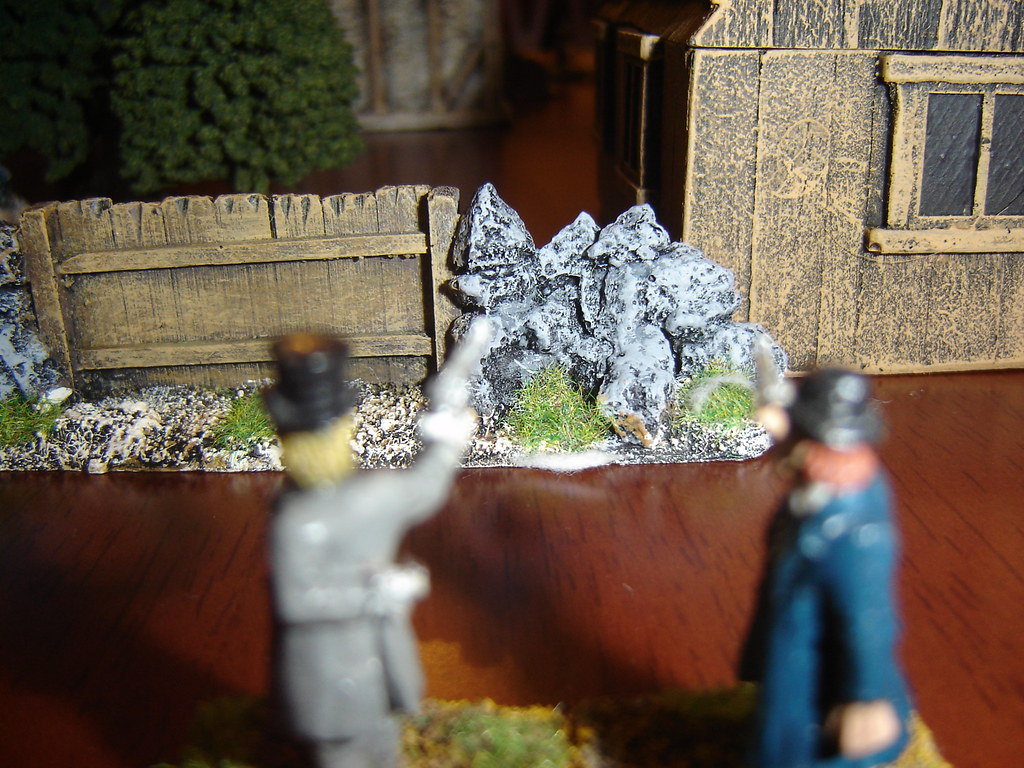
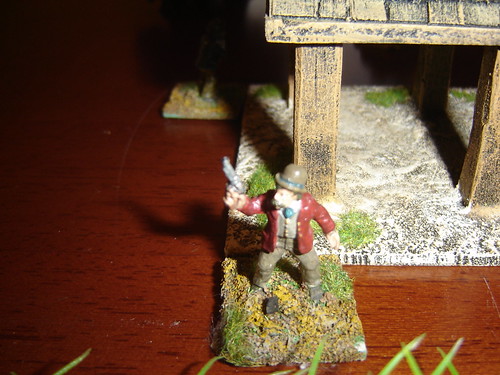
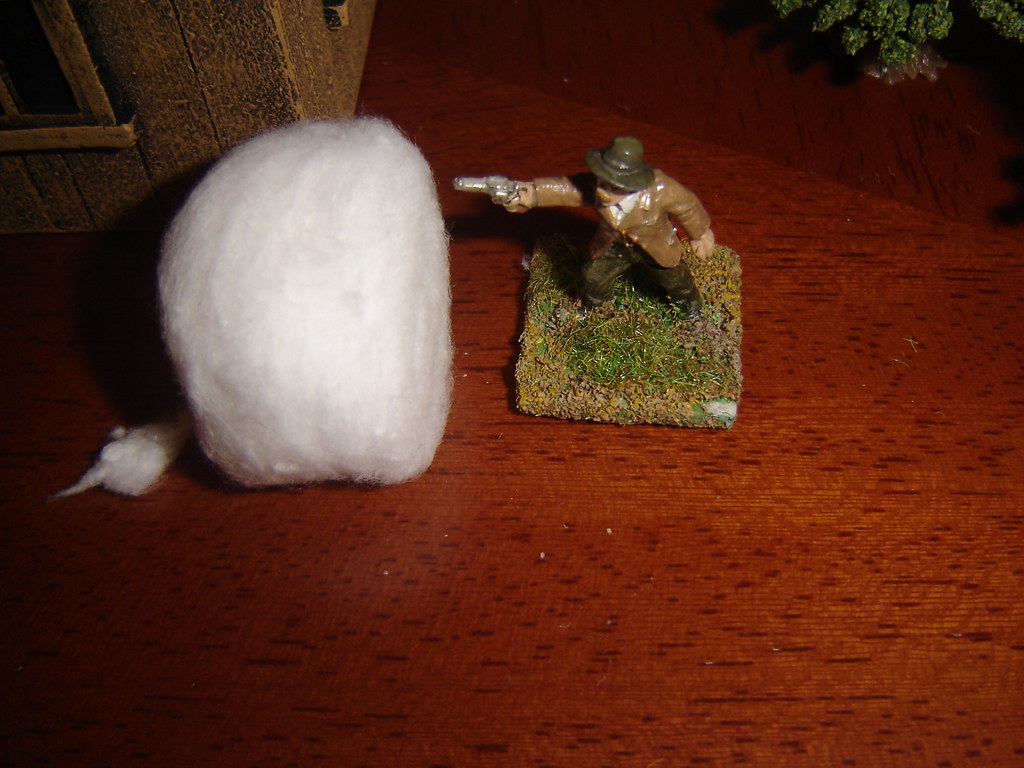
Jim McFarland and Zeke White come out through the scrub shooting
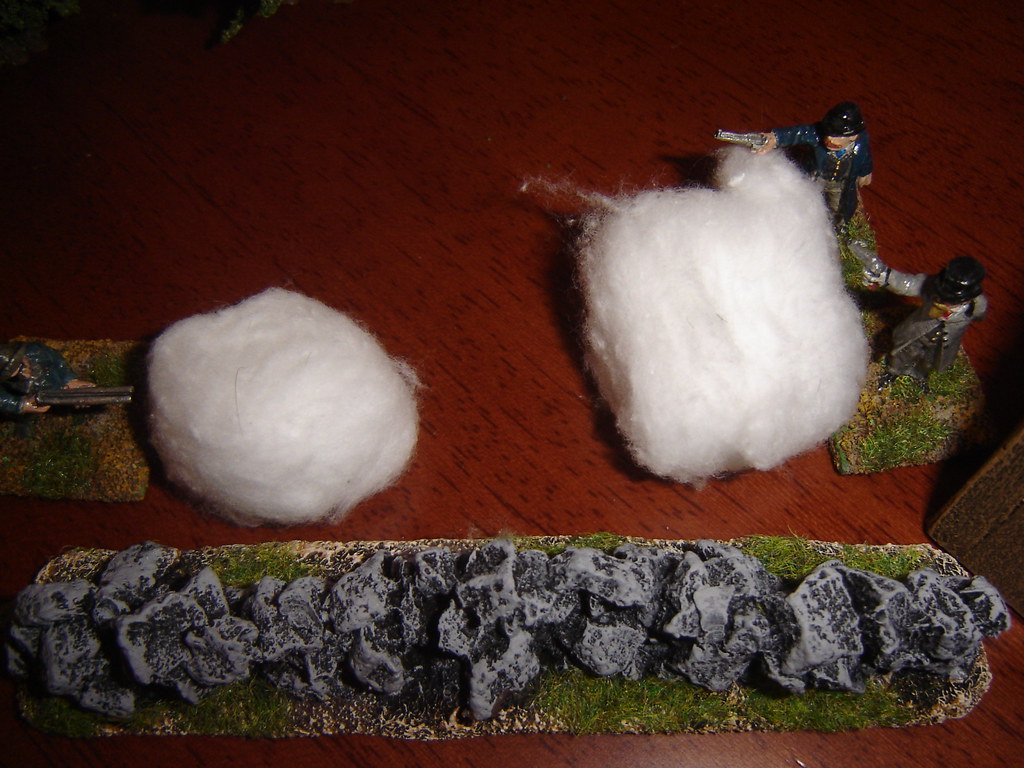
Batt Farrell returns fire and while he doesn't hit anything, the Pinkertons withdraw to take some cover in the tall grass.
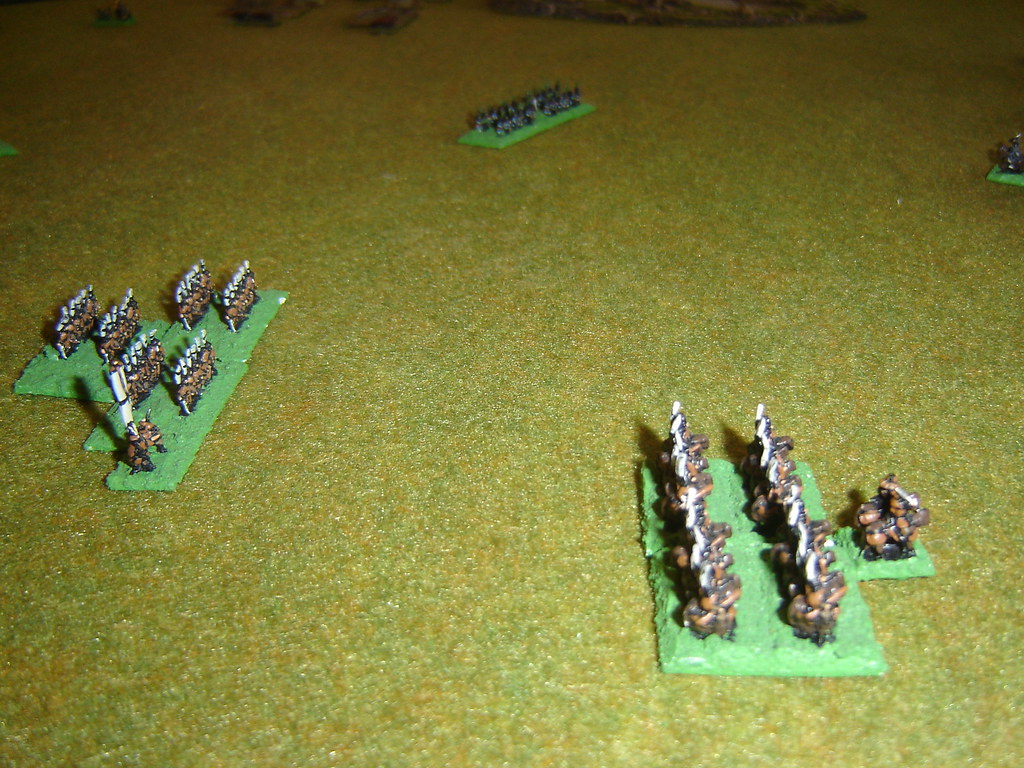
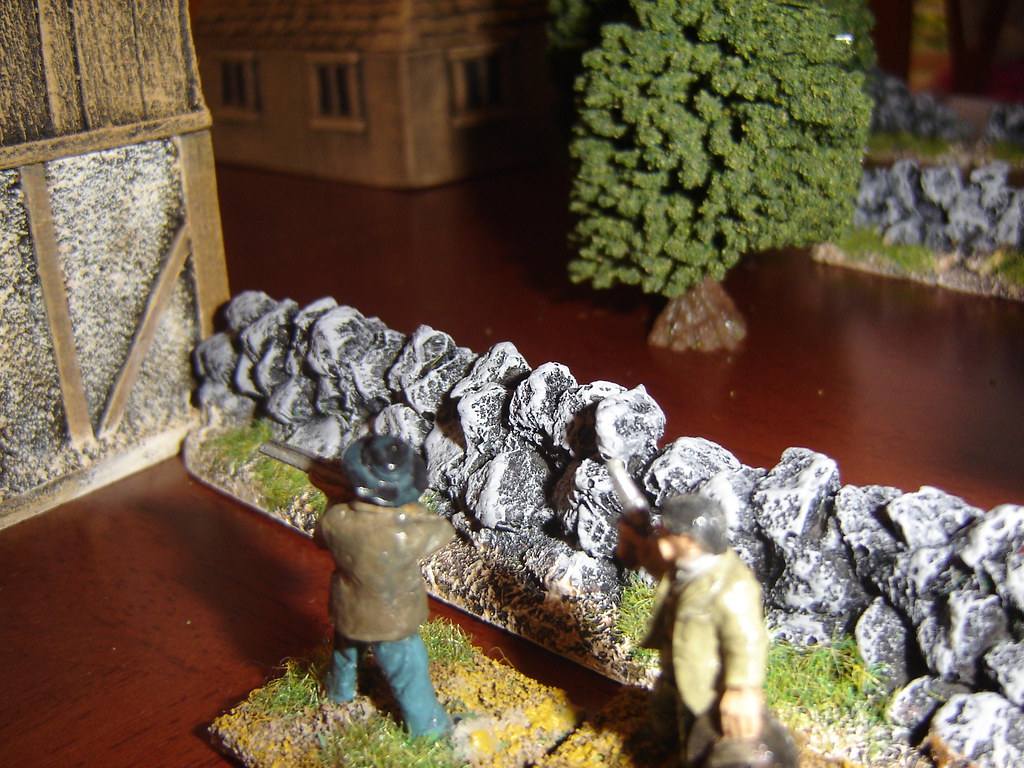
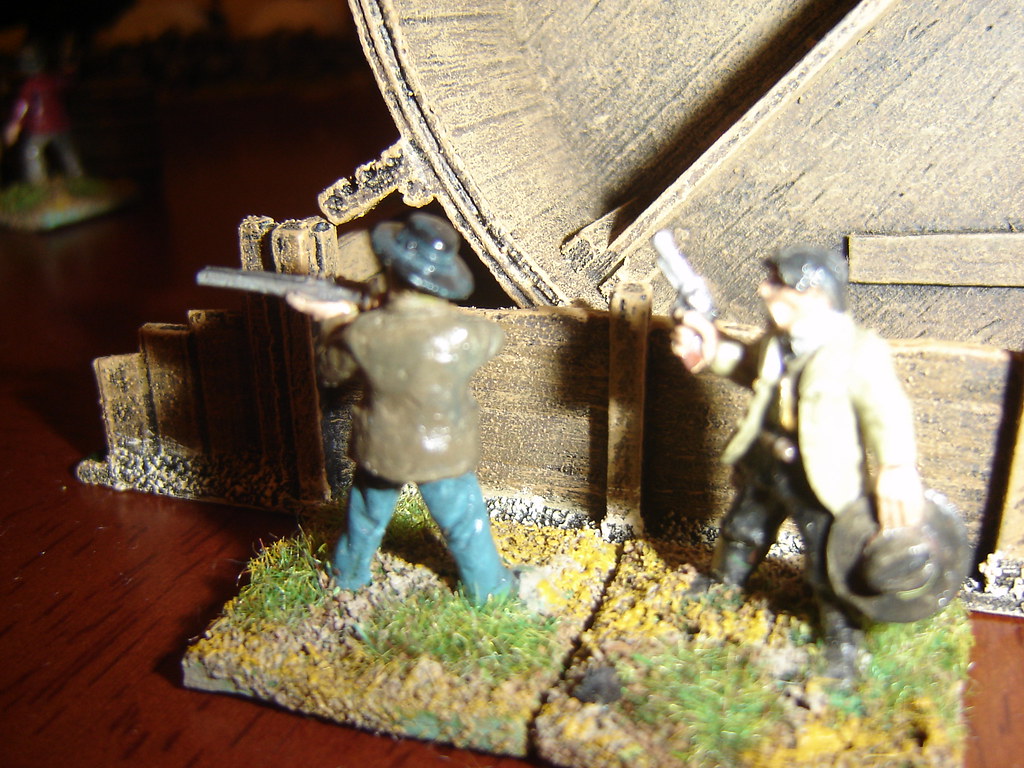
Jake Peterson and Ol' Jeb Masterson take cover behind the barrels and take aim at the two Pinkertons over the wall. Some fire is exchanged and Jake is clipped by a round, but he shruggs it off.

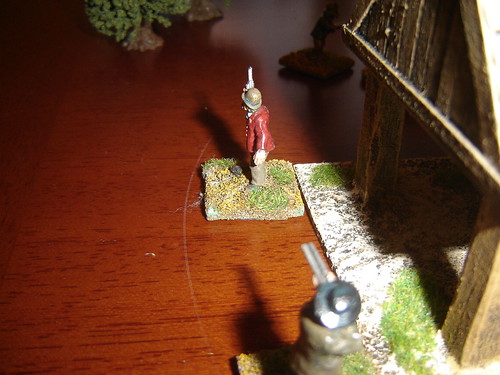
Marty Evans pokes his head around the Smithy to spot the Pinkertons in the scrub.
Danny Peterson and Andy O'Reilly can't see the Pinkertons from the side of the mill, and can't decide who should jump over the wall first.
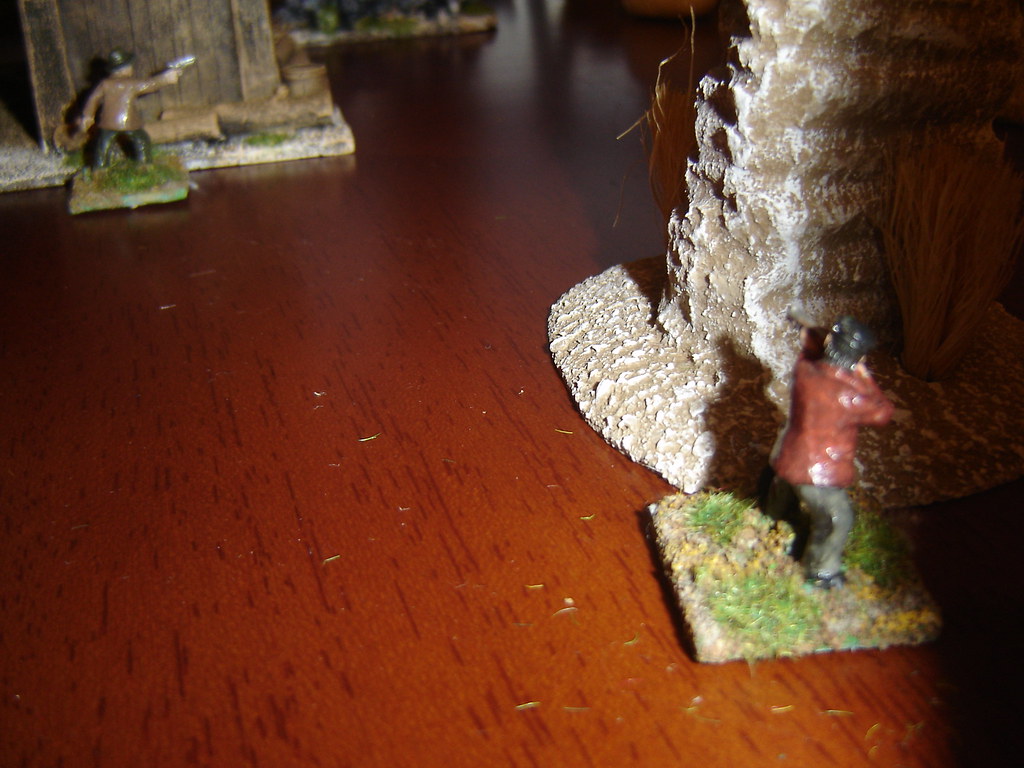
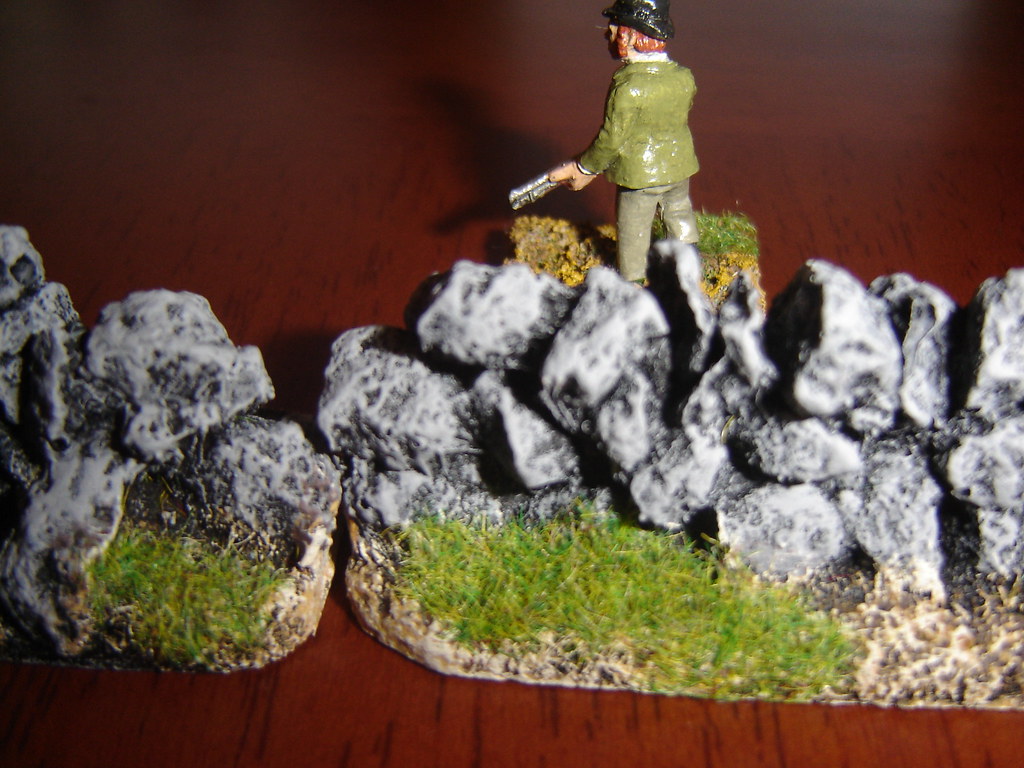
Farrell move up behind a rock column, searching frantically in his pockets for more cartridges for his rifle.
Danny Peterson and O'Reilly change their minds about jumping the wall and move around the Mill to join the others near the barrels.
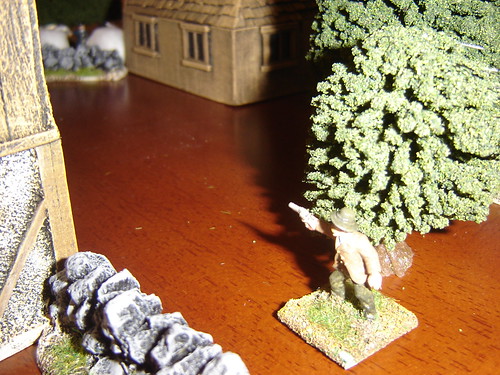
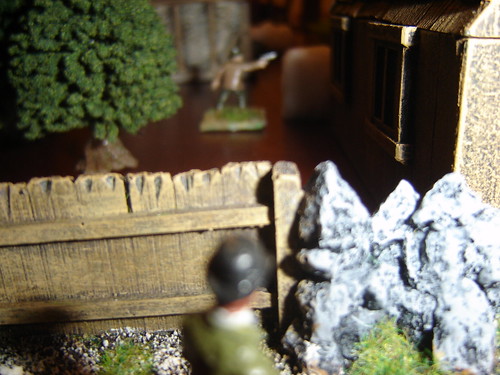
Evans moves through the darkened Smithy in an attempt to outflank the Pinkertons.

Evans move through the trees until he can see the Pinkertons near Farrells'
Jake Peterson follows Ol' Jeb around the Barrel Hut. Ol' Jeb wanted to get up close with his double-barrel shotgun.
Farrell and O'Reilly shoot at the Pinkertons once they take up their new position.
Danny follows his brother Jake, he can hear lots of gunfire from Farrells'.
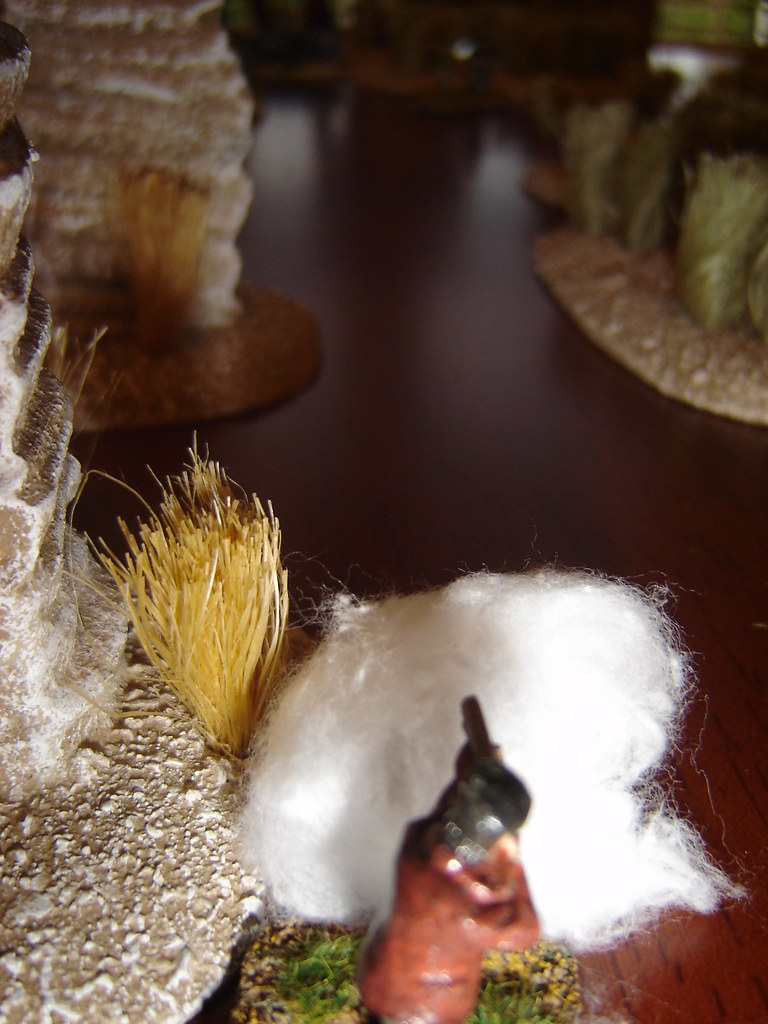
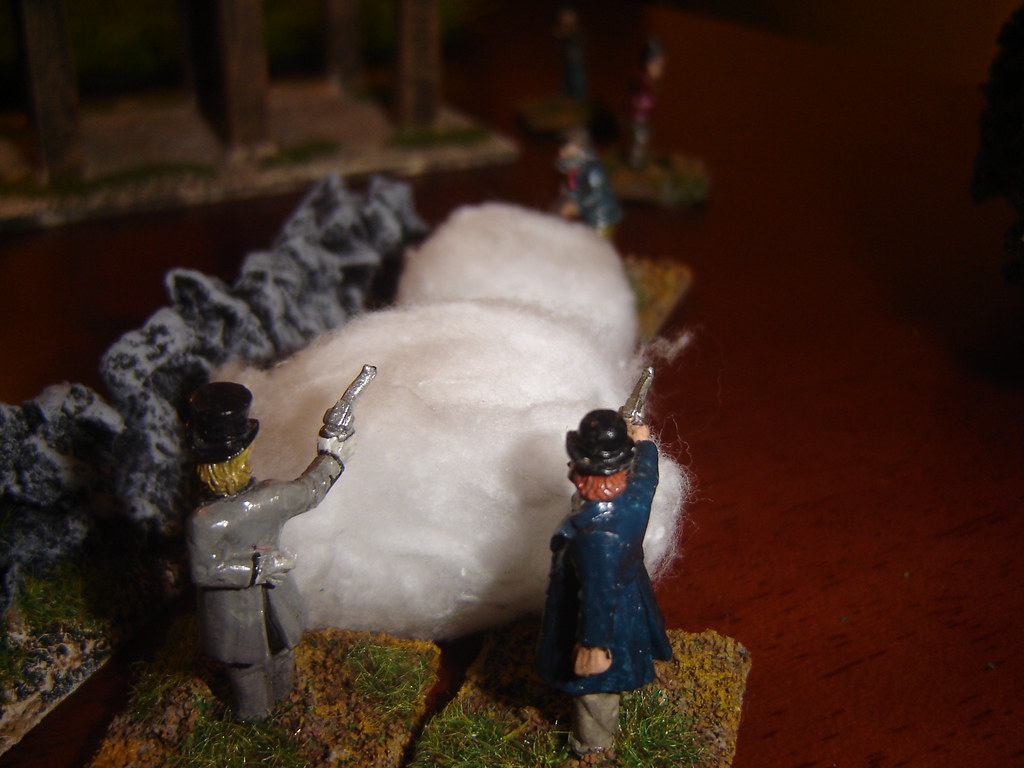
Ol' Jeb unloads the shotgun at Rucker and Walsh: he's caught them loading but somehow they are unscathed!
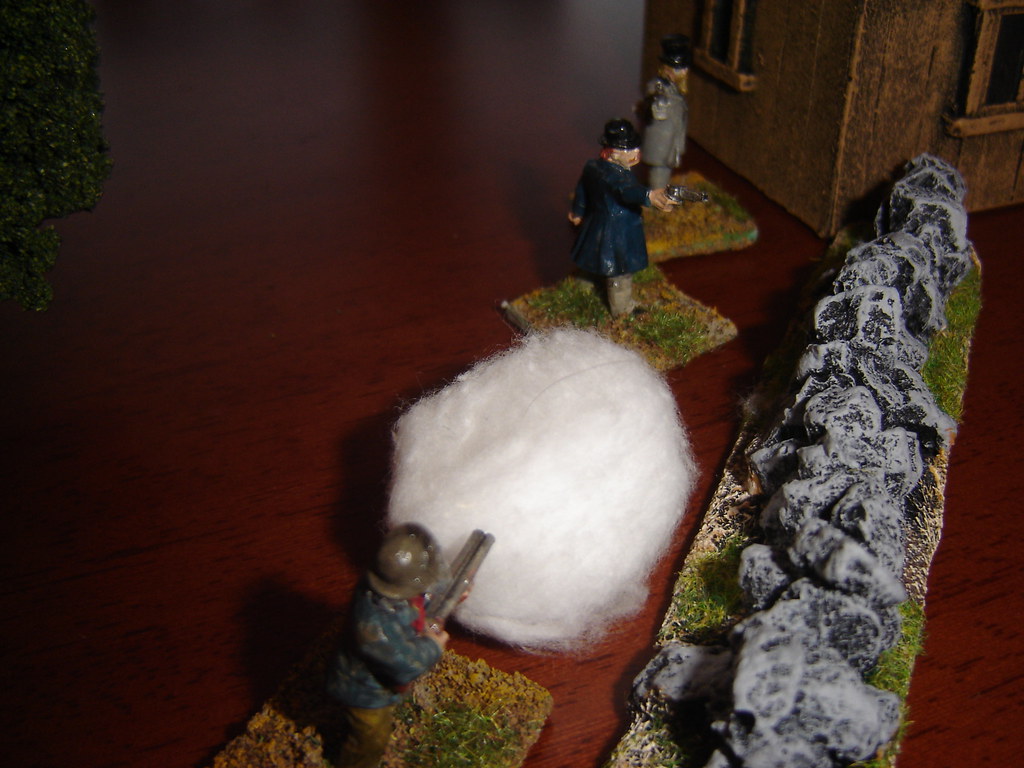
They unload a torrent of fire back at him, while backing away.
McFarland runs down the laneway to support the guys at Farrells', leaving White behind.
Evans shoots at the Pinkertons but comes nowehere close to hitting them
McFarland catches Evans dead to rights and inflicts a serious wound on him, driving him back to the cover of the trees.
The shells continue to fly near Farrells', Ol' Jeb is hit several times by Walsh but he grits his teeth and reloads. He's had far worse when he fought in Mexico and at Mill Springs. He unloads again into Walsh who feels it this time.
With five of the Townsfolk now working their way towards them, Rucker and Walsh withdraw around the Farrells' House and the Pinkertons make their getaway. But they'll be back...
The Townsfolk high morale kept them in the game, and although no one was killed, it wasn't for lack of effort! (More down to our inability to roll high when wounding)
First time playing the game, and at half two in the morning after a long day, you might have expected it to be tiring or difficult, but it wasn't. While I can't say the rules are especially well written, they are good. We expect to play more of this.