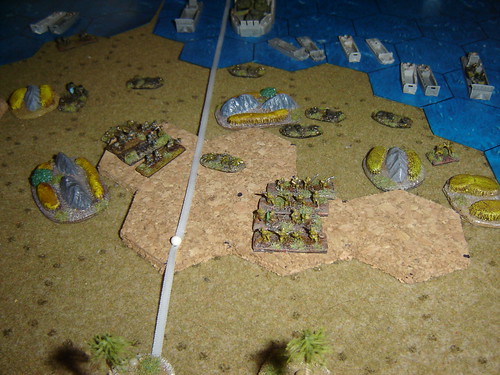
10am to 12 noon
Napoleon surveys the battlefield from la Belle Alliance
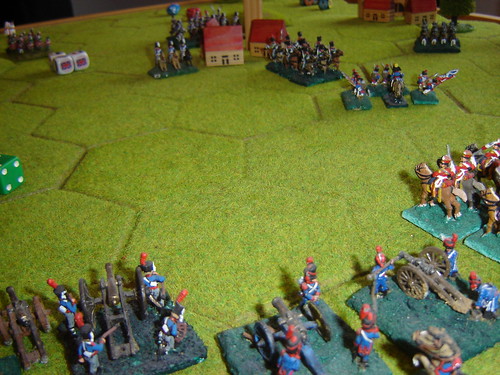
The French Grand Battery aims towards le Haye Sainte
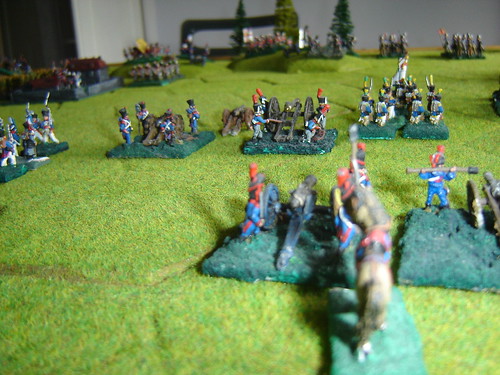
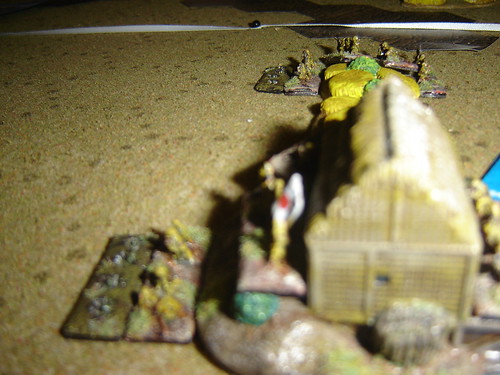
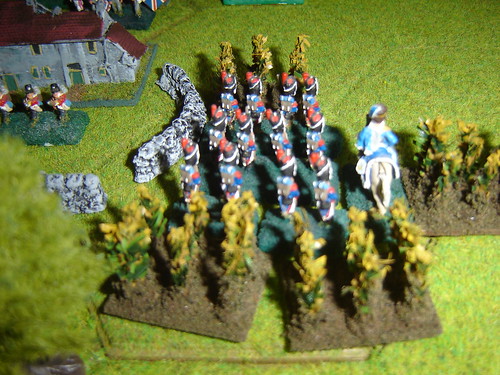
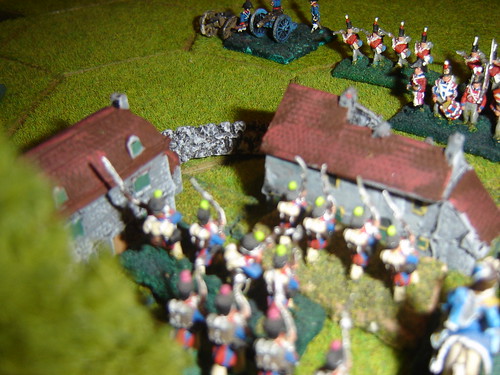
The attack on Hougomont begins
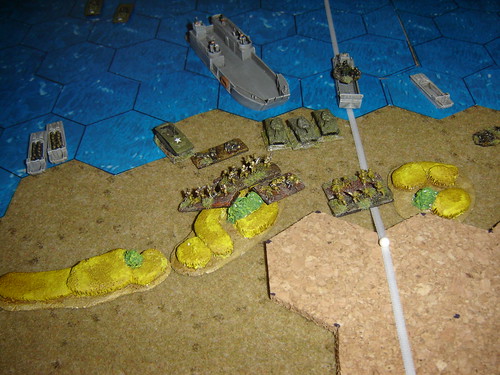
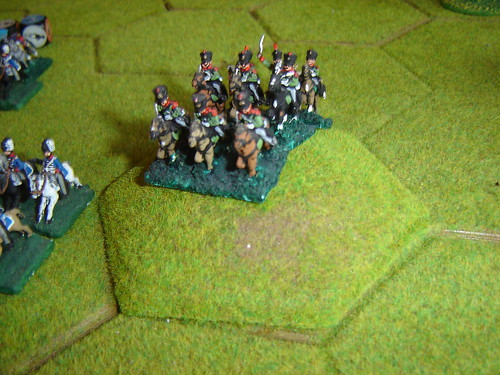
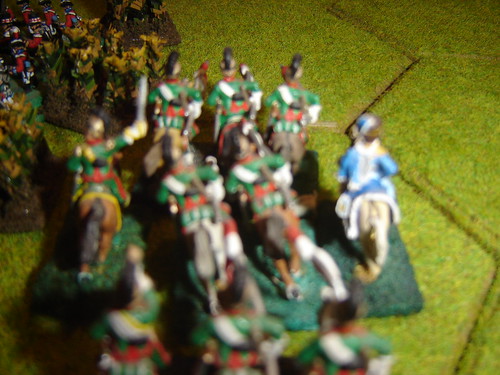
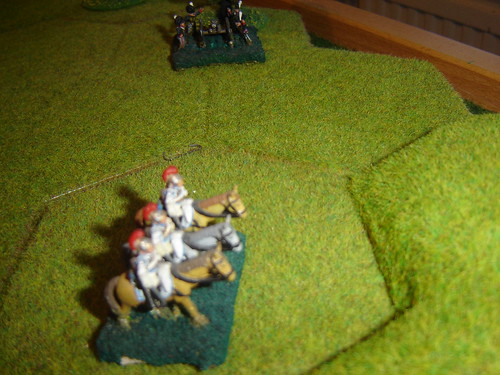
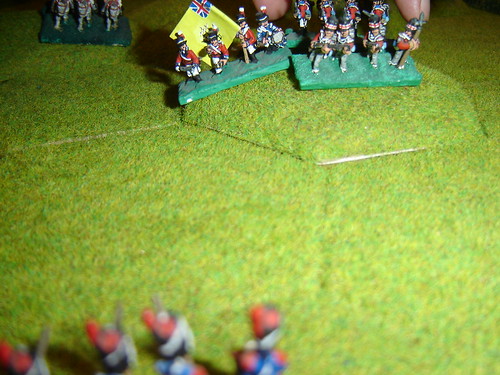
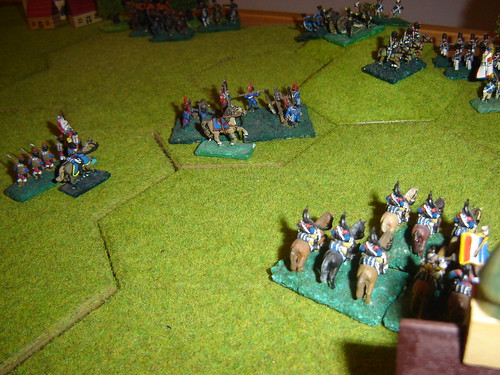
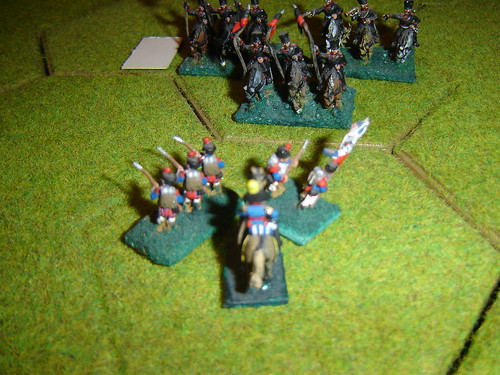
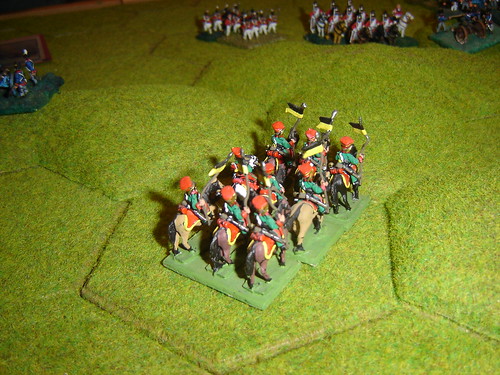
French Hussars make a gallant attempt on the guns north of Hougomont
But are driven back with dreadful losses, and later are driven from the field by well-aimed English musketry
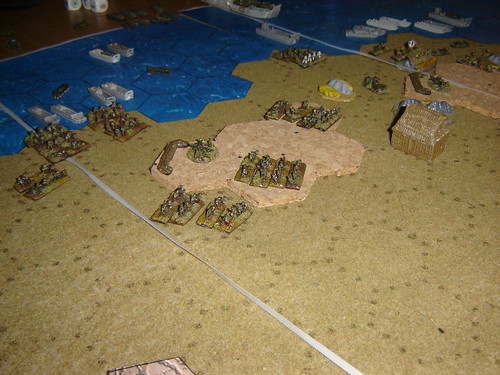
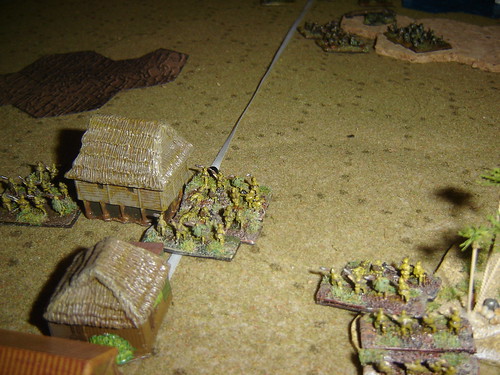
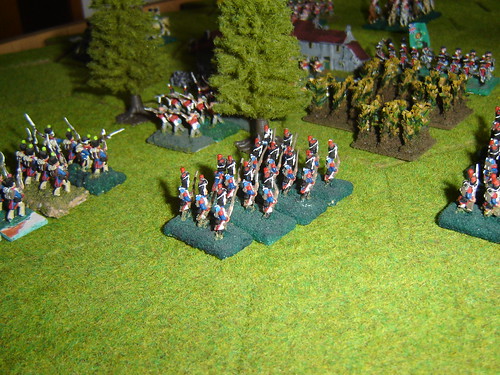
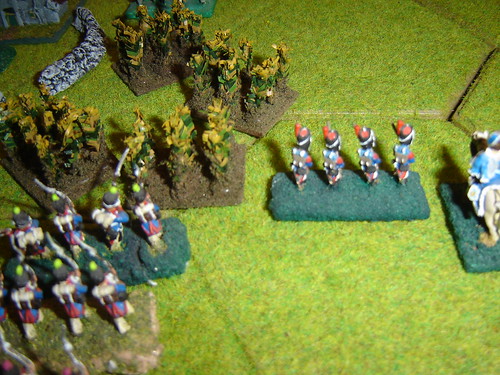
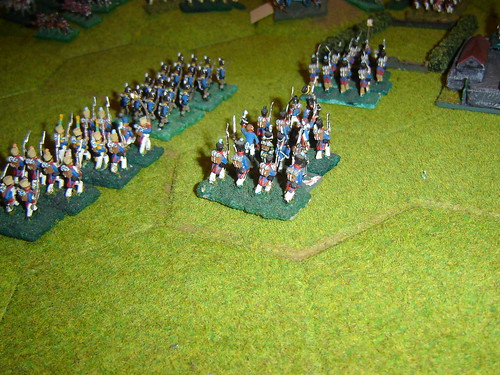
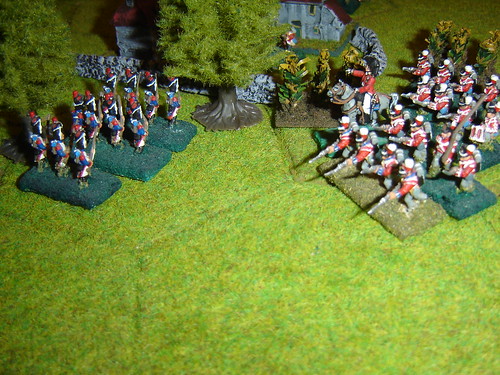
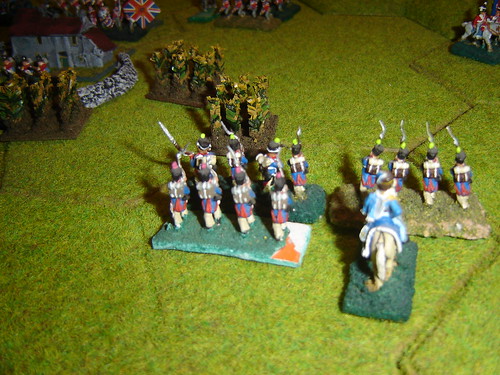
The French under Reille advance through Cornfield just east of Hougomont
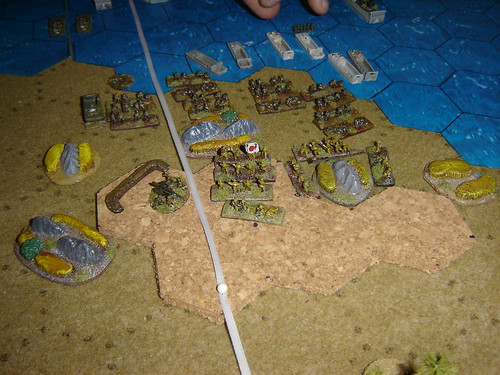
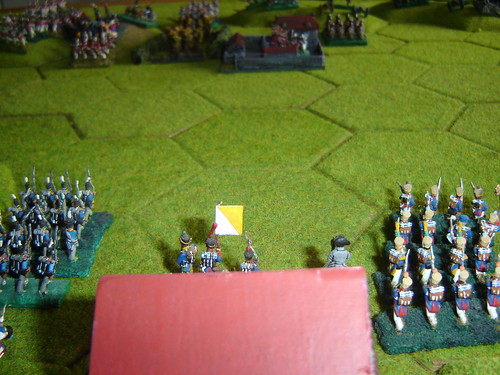
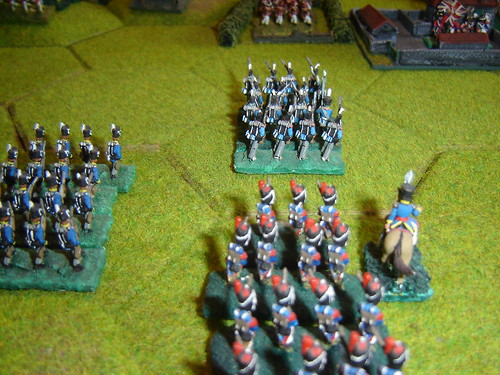
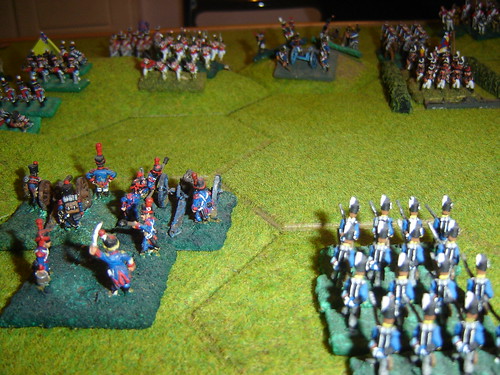
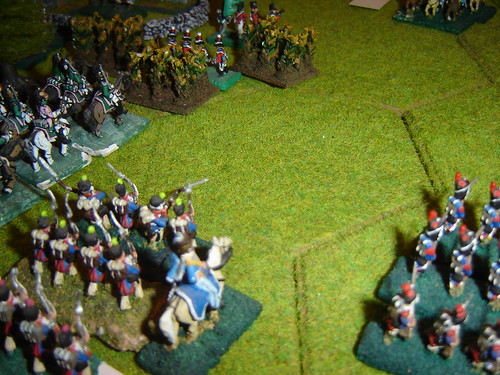
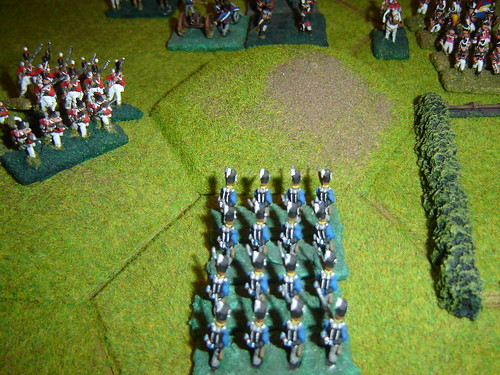
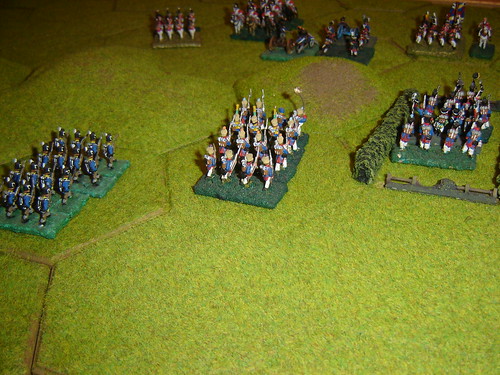
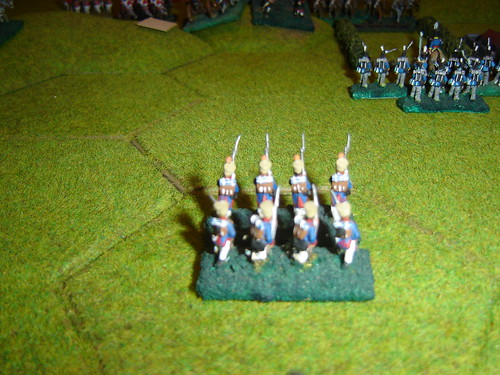
French infantry advance in the centre is supported by artillery
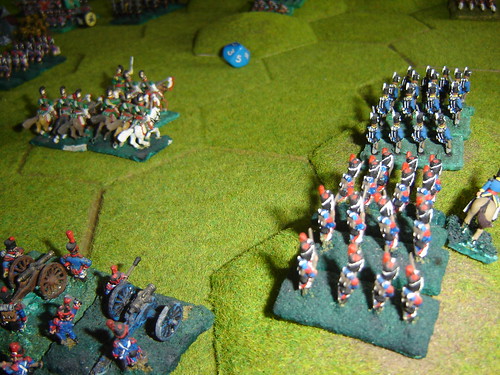
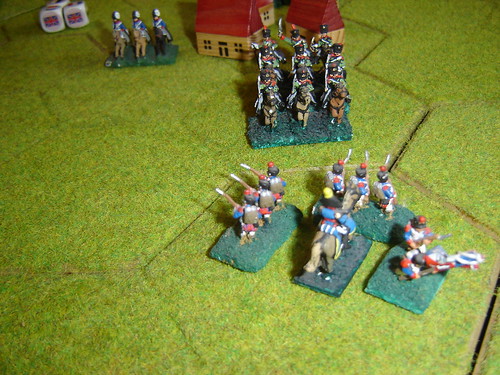
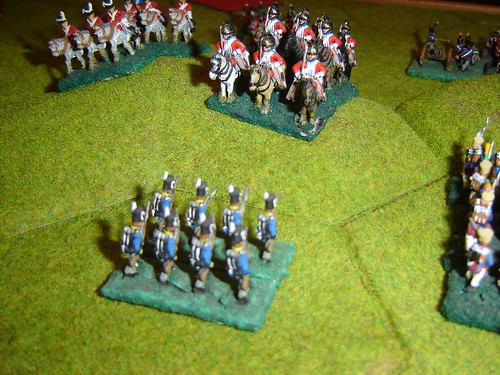
and also supported by the threatening movement of Cursaissiers
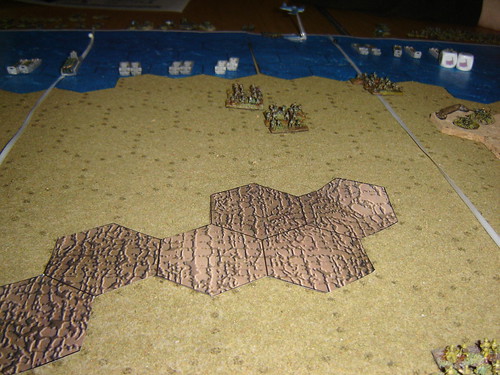
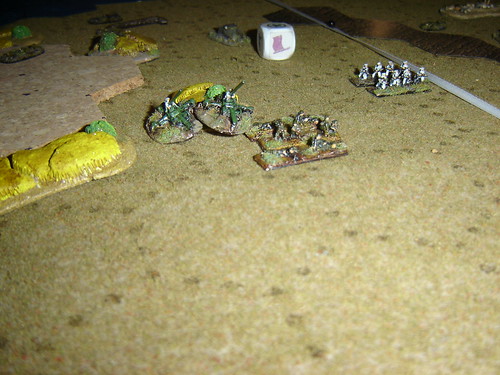
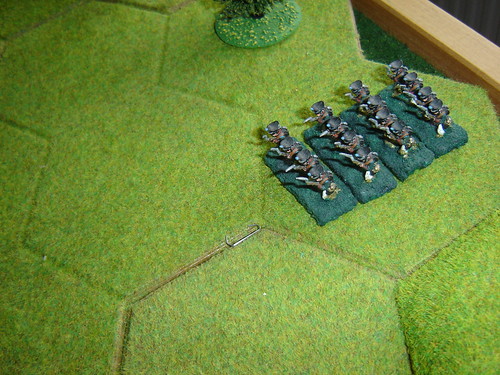
The first Prussians arrive just south of Frichemont
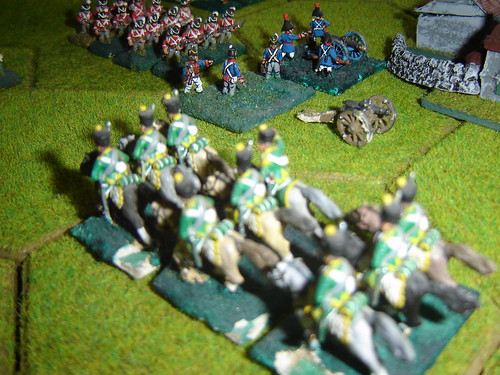
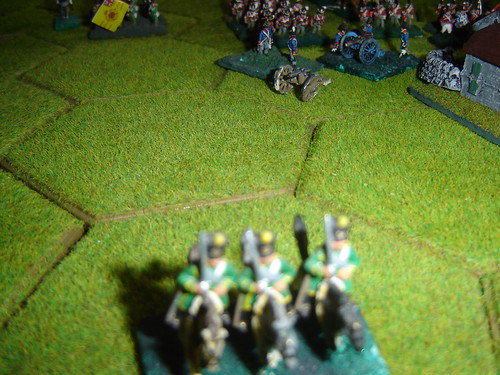
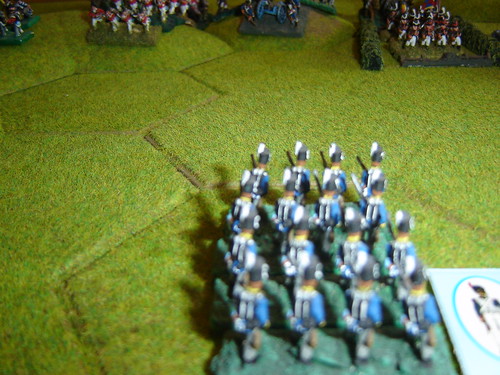
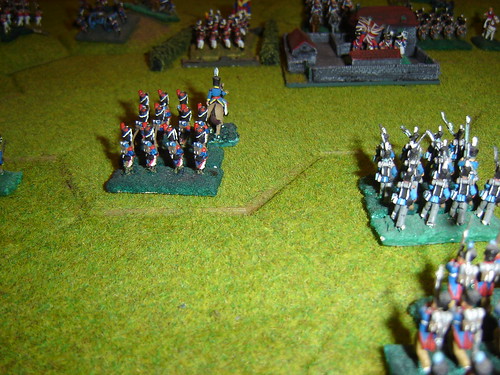
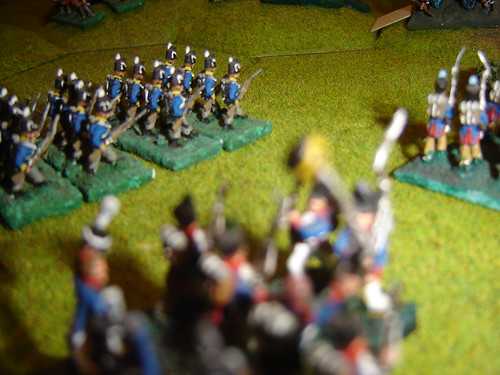
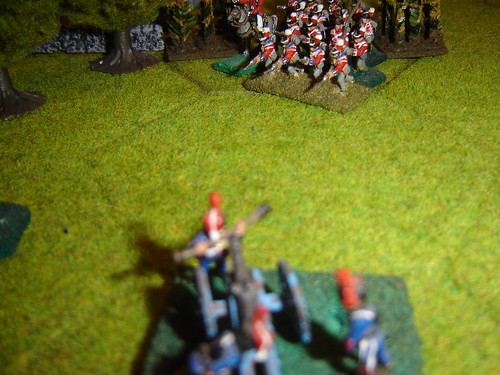
French infantry advance into the guns holding the centre of the English lines
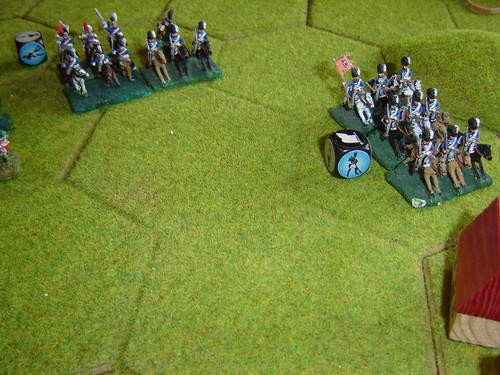
Massed English cavalry advance behind Papelotte
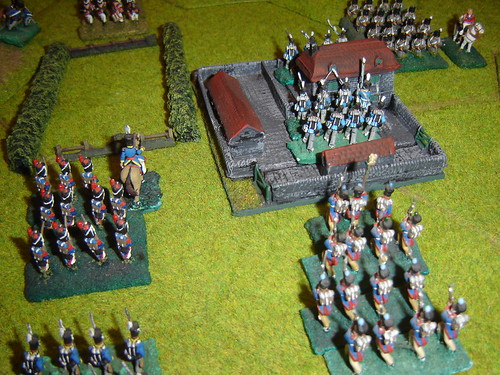
Lobau leads the attack on le Haye Sainte
More Prussian infantry arrive
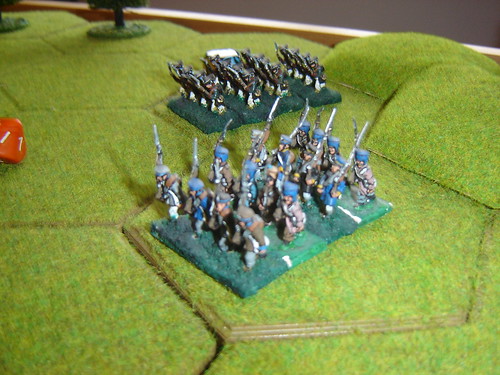
along with Prussian cavalry who join their English allies
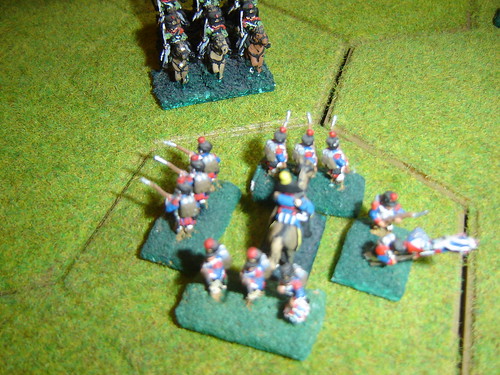
French Lancers fall on the Prussians
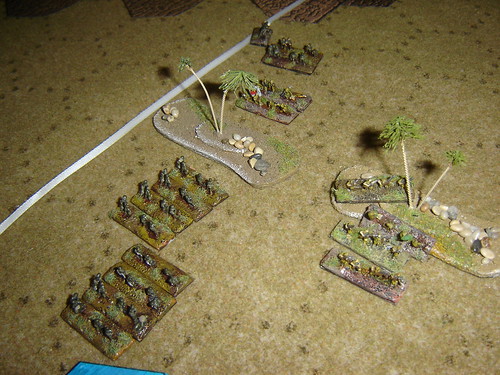
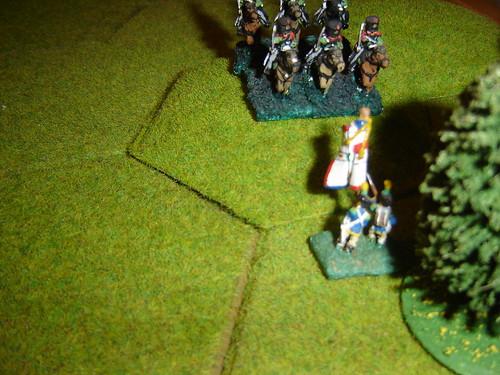
D'Erlon leads the attack to drive back the Prussians
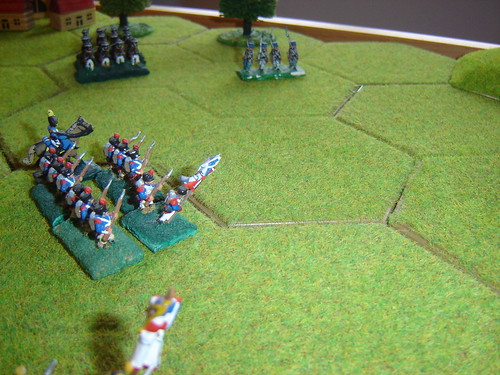
D'Erlon forms square against the Prussian cavalry
12 noon to 2pm
Even with the Grand Battery and cavalry in support, D'Erlon looks isolated
and under pressure
The attack on Hougomont breaks down
as Reille is left trying to rally broken units
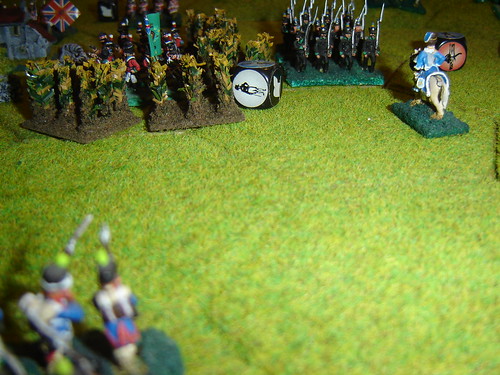
French battery has worked its way close to the English line in the centre
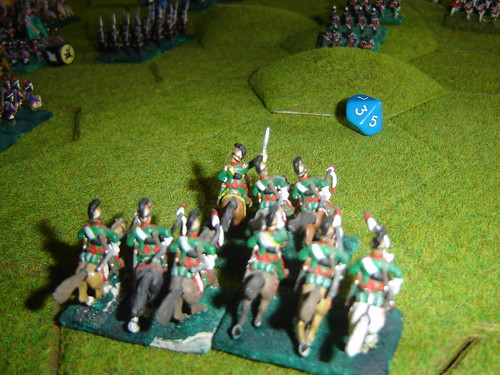
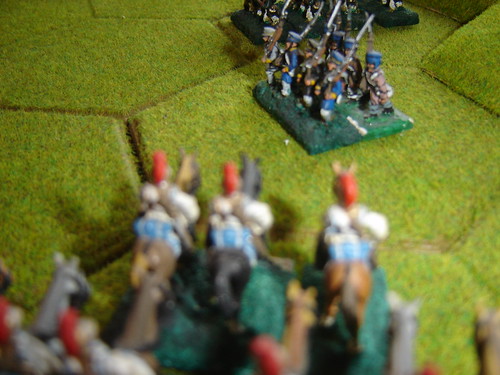
Reille leads heavy cavalry against the English in the cornfields
The attack on le Haye Sainte is blunted
Newly arrived Prussian artillery pours fire into flank of the French infantry
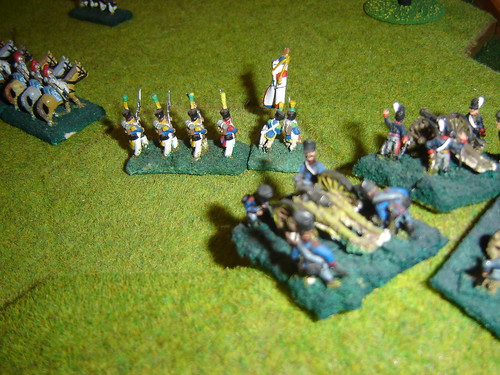
French heavy cavalry complete the charge on the guns despite fearful losses
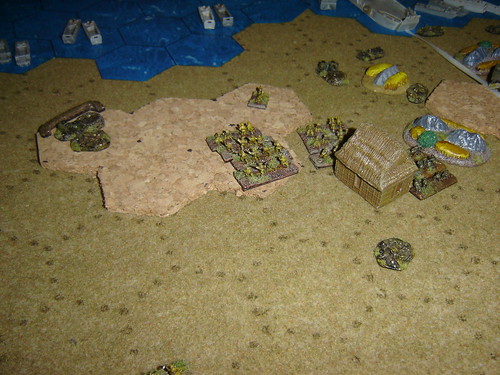
Renewed effort against the English near Hougomont
Brave French infantry stand their ground
2pm to 4pm
French cavlary see off attackers
English advance to edge of ridge in centre
French take le Haye Sainte
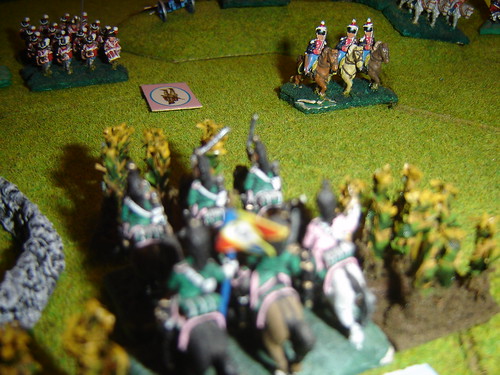
French centre reinforced to expoit their success
Spirits are high in the French centre
Those valiant French infantrymen continue to hold out against Prussian attacks

D'Erlon begins to contract his lines against renewed Prussian pressure
Clinton outflanks French infantry outside Hougomont
English counterattack in centre
English infantry face French artillery fire
4pm to 6pm
D'Erlon holds out against Prussian lancers
Reille advances towards cornfield at Hougomont once more
French clear central ridge of English defenders
but charge by English cavalry reserve exacts heavy toll
French troops in le Haye Sainte under pressure

French take Hougomont
French forced to retreat from le Haye Sainte
French hussars successful charge against blown English heavy dragoons
The battle hangs in the balance. The French right is virtually cut off and must be overwhelmed soon, without any reasonable hope of relief. They have bled the Prussians dry though due to their aggressive defensive stance.
The French left has fought over Hougomont and has held its own, but is unlikely to be able to take more than a holding role.
The French centre has been thrown back, but the Guard remains, and a well-worked attack there, supported by the heavy batteries could be decisive...