05 April, 2011

The Battle of Blasthof Bridge

First of the games played at the weekend was an adaptation of the classic Battle of Blasthof Bridge for C&C Napoleonics.


Both sides move onto the board using the usual command cards, which can give a player enough rope to hang himself! I found my right flank dangerously weak and unable to use several cards there.

French cross the river upstream from Blasthof
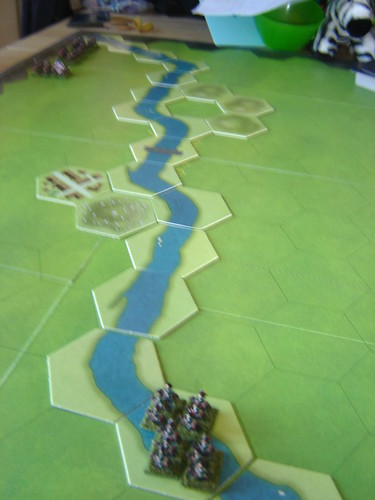
French cross the river upstream

British guns set up at a frightening pace, but their cannonade lacks accuracy and their position, though threatening is dangerously vulnerable
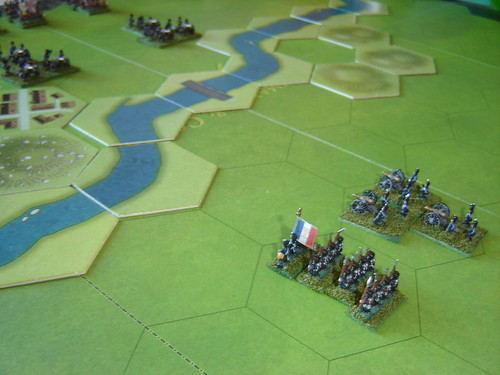
British guns set up at a frightening pace

The general leads the way, holding the bridge for quite some time before being forced back
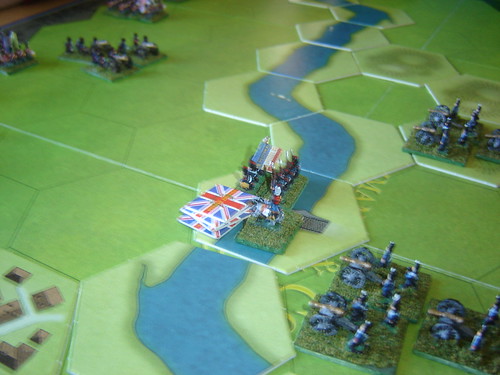
Holding the bridge

French batteries lay into advancing British
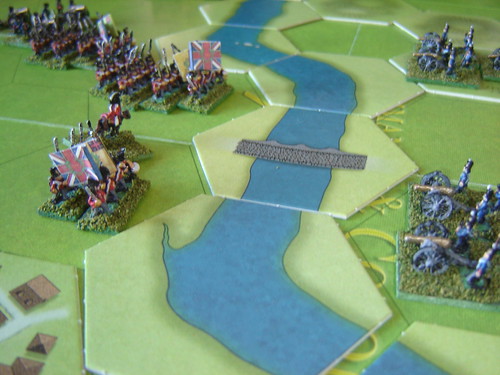
French batteries lay into advancing British

French glory as they wipe out the charging British!
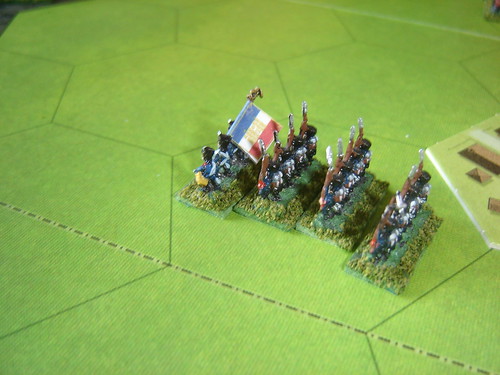
French glory as they wiped out charging British

British overlook the bridge

British overlook the bridge

British dragooons cross river
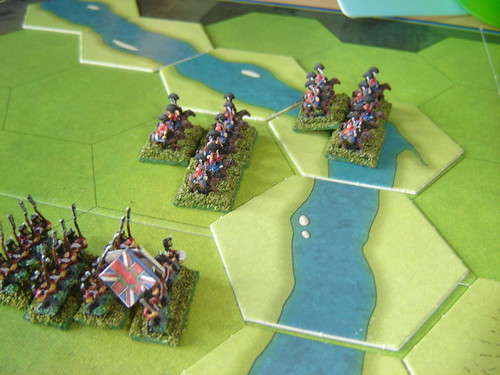
British cross river

Mass charge wipes out British guns
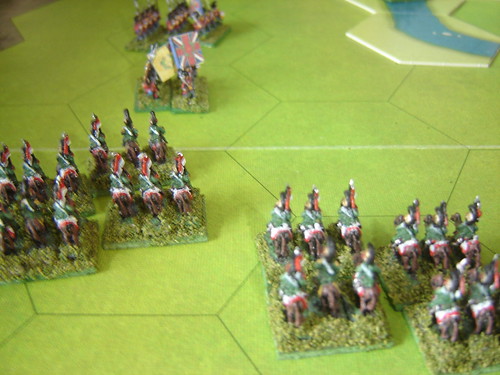
Mass charge wiped out British guns

British cavalry repulsed, but they have done their job and prevented a timely destruction of the bridge.
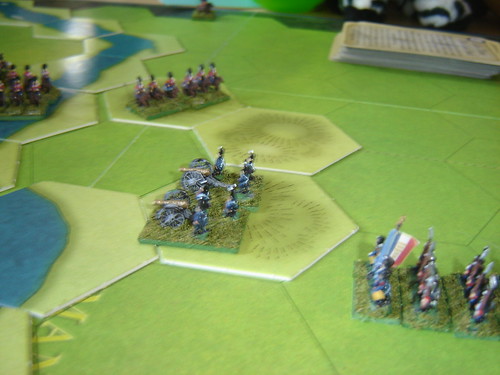
British cavalry repulsed

I'm not sure how this plays with Charge! but it may be that the bridge is too far away from the starting point, especially given that you're not guaranteed a move with units in C&C. The timeline might just be too tight in that regard.

We played the game again, but with a looser ruling on what consituted control of the bridge. If the retreating force had more units adjancent or on the bridge than the attackers, then they controlled the bridge. Unfortunately I forgot that we also shortened the turns required for this from 6 to 4 and neglected to contest when I thought it was pointless. I also had a dry run in the centre (a typical excuse from a defeated C&C player!)

The performance of the French lancers was again outstanding, managing to pin three British units in square, and doing severe damage to two of them over the duration

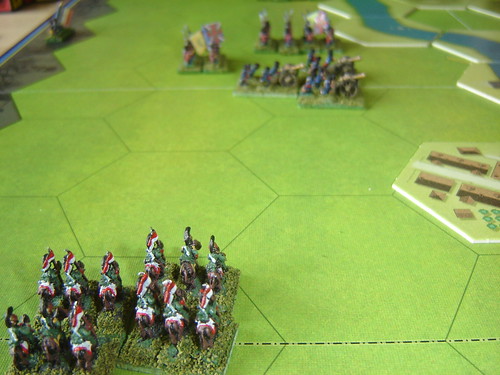
[2] French lancers terrorise British infantry

I may take a look at Sittangbad myself as this was a challenging scenario with definite re-play value.

01 April, 2011

Now that's what I call Service!

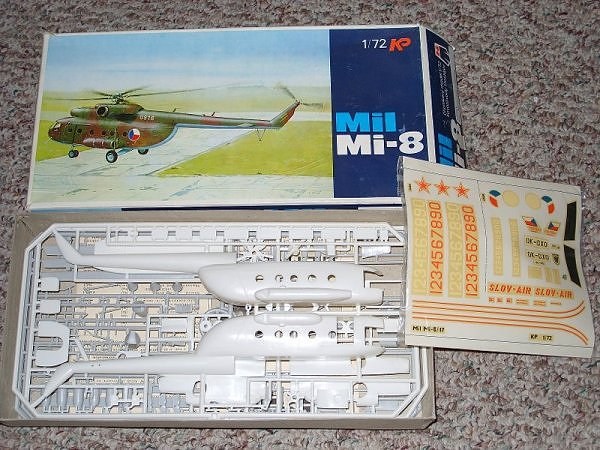
I was looking for an Mi-8/17 to do a bit of heavy lifting for the Soviets in Afghanistan and couldn't really find anything which was both reasonable and had decent postage costs attached.


I sent Brian of Hobbyden a PM the other day. While there wasn't any on the site I thought he might have one knocking about somewhere in the depths of his shed.
He got back to me yesterday to let me know he did have one, quoted me a very reasonable figure and off to PayPal I strode.

Got back from work today to find this waiting for me


So, obviously fantastic service (and I'm not just saying that because he's behind me with a razor!).

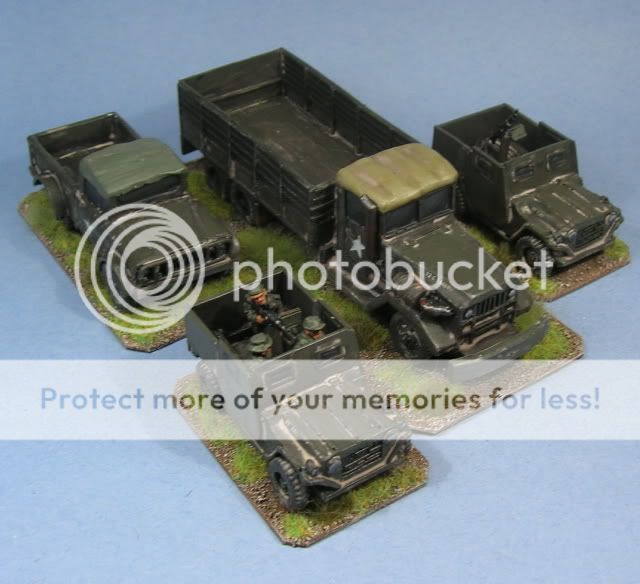
Brian's also been doing some fine sculpting work recently - doing some modern US vehicles (though I gather there's some more in the works)


So wander over to thehobbyden if you do have any requirements for random hobby stuff!

28 March, 2011

Battle of Sacile - Scenario

In April 1809, Archduke John invaded north-eastern Italy in conjunction with the Austrian advance into Germany. On 15 April at Pordenone, the Austrian advance guard routed the French rear guard, inflicting heavy losses. Undeterred by this setback and believing he enjoyed a numerical superiority over his opponents, Eugène attacked the Austrians east of Sacile the following day. Though the two sides were equal in numbers of foot soldiers, the Austrians possessed a two-to-one advantage in cavalry.


Here's the full C&C: Napoleonics scenario

Click to view a larger version

Battle Notes

Austrian Army Commander: Archduke John of Austria
5 Command Cards

French Army Commander: Eugène de Beauharnais
5 Command Cards
Move First

Victory

6 Victory Banners

Special Rules

The Austrians gain one victory banner for holding the bridge at Sacile.
The French gain one victory banner for holding the bridge at Fontana Fredda

The Map

The Austrians ‘Foot Artillery’ units actually represent Guard Artillery The ’Portuguese’ units represent Italian Allies The water course on the French right is fordable for its entire length.


Some additional comments:

I couldn't figure out how to place labels on the map.
Fontana Freda is the town occupied by an Austrian Light infantry unit in the centre of the map. The bridge is just beside it.
Sacile is the town at the bottom of the map, the French Line Infantry with the general are occupying the hex with the bridge.
The Artillery on the Austrian left is occupying another bridge.

I don't think there are this many bridges in the hex mix, but marking two of them with relevant VP markers should suffice.

Obviously I've had to use the British as Austrians and the Portuguese as Italians.

While both Archduke John and Eugene were notoriously poor generals, I reckoned that playing this with a hand of four cards would've been torturous...

More like this