The Takeda Army of 15,000 was caught besieging Nagashino Castle by the 30,000 strong Oda Army and the 8,000 strong Tokugawa Army. Takeda Katsuyori, against the advice of all his generals decided not to cut and run but to face his enemies in open battle. Takeda left a small
force to continue the siege and advanced towards the Oda Army.
Meanwhile Oda Nobunaga sent a force of 3000 men to relieve the siege.
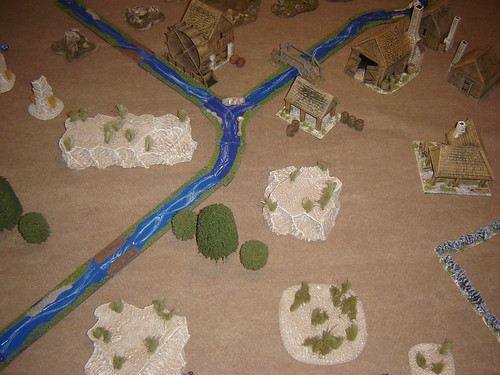
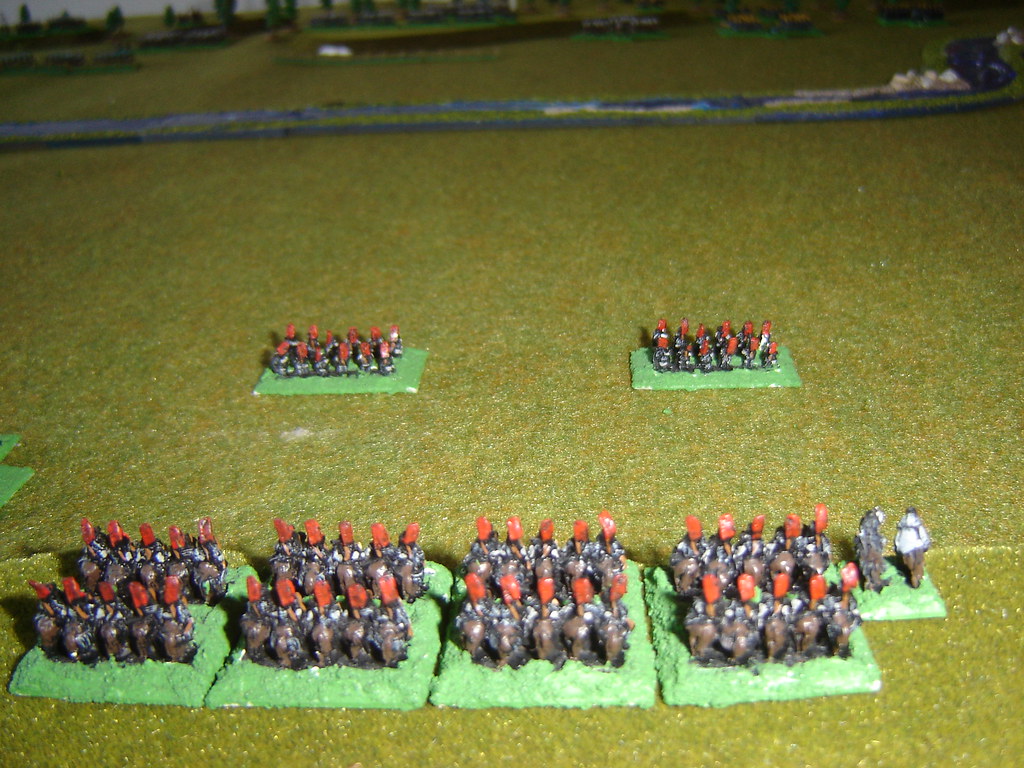
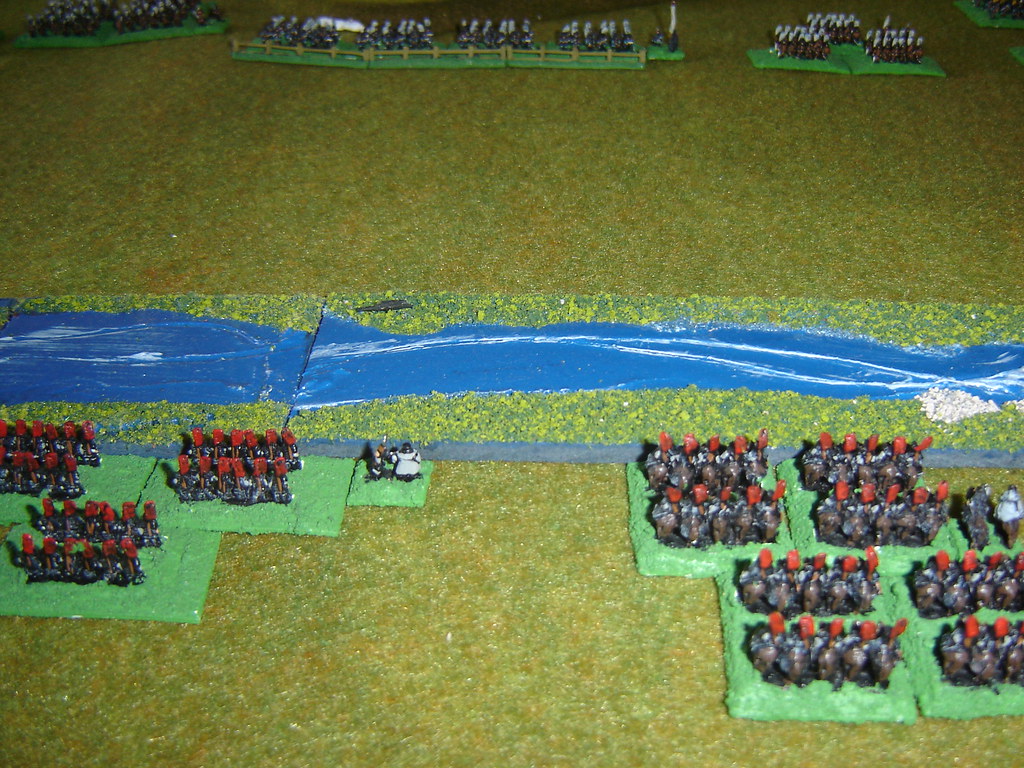
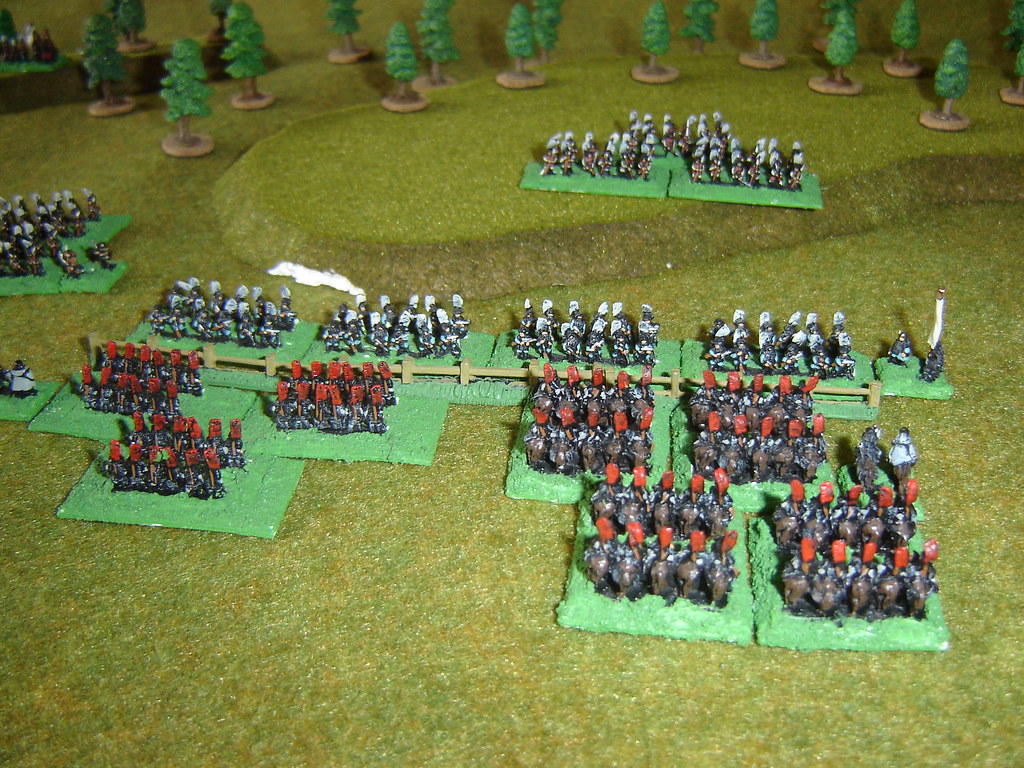
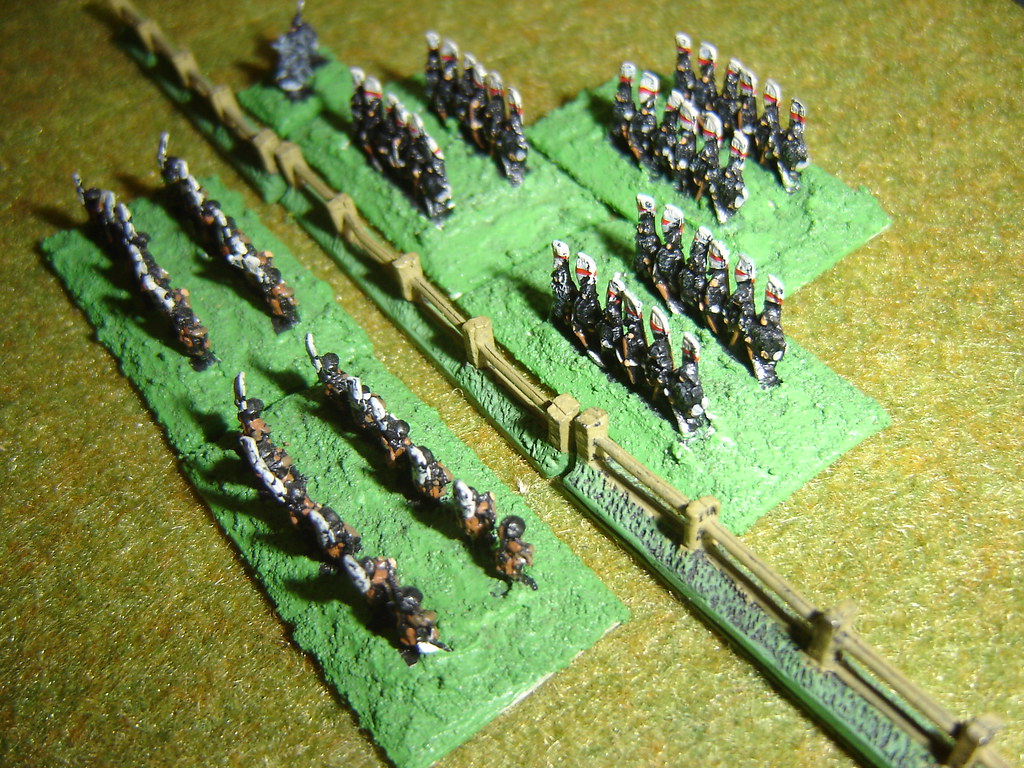
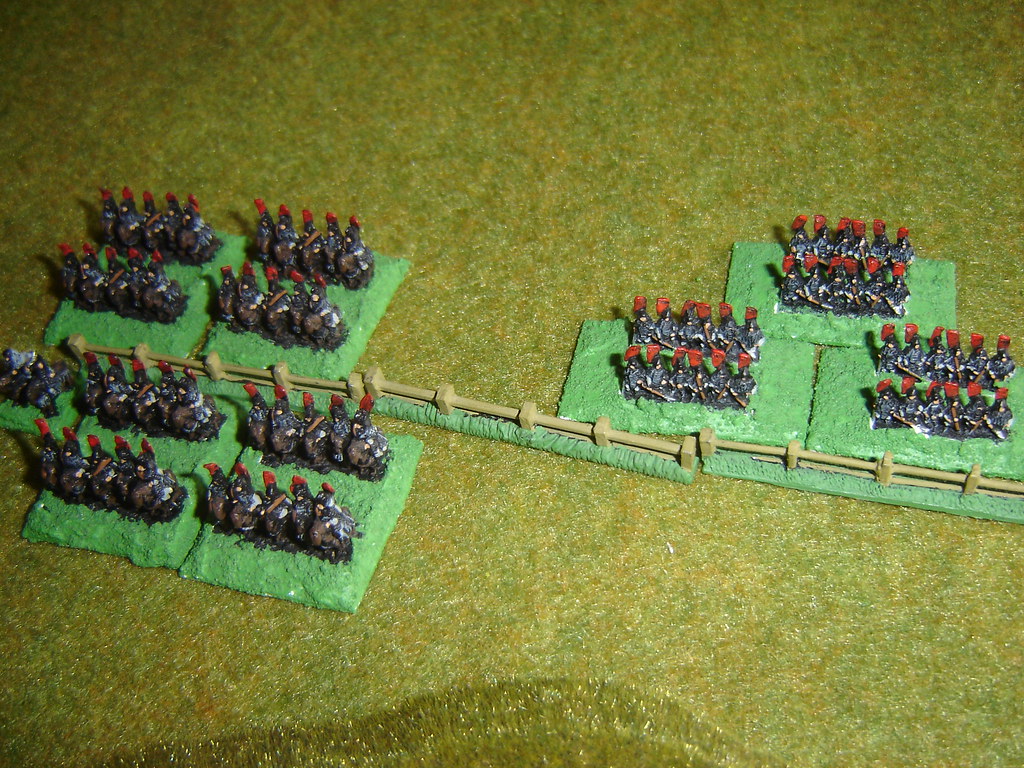
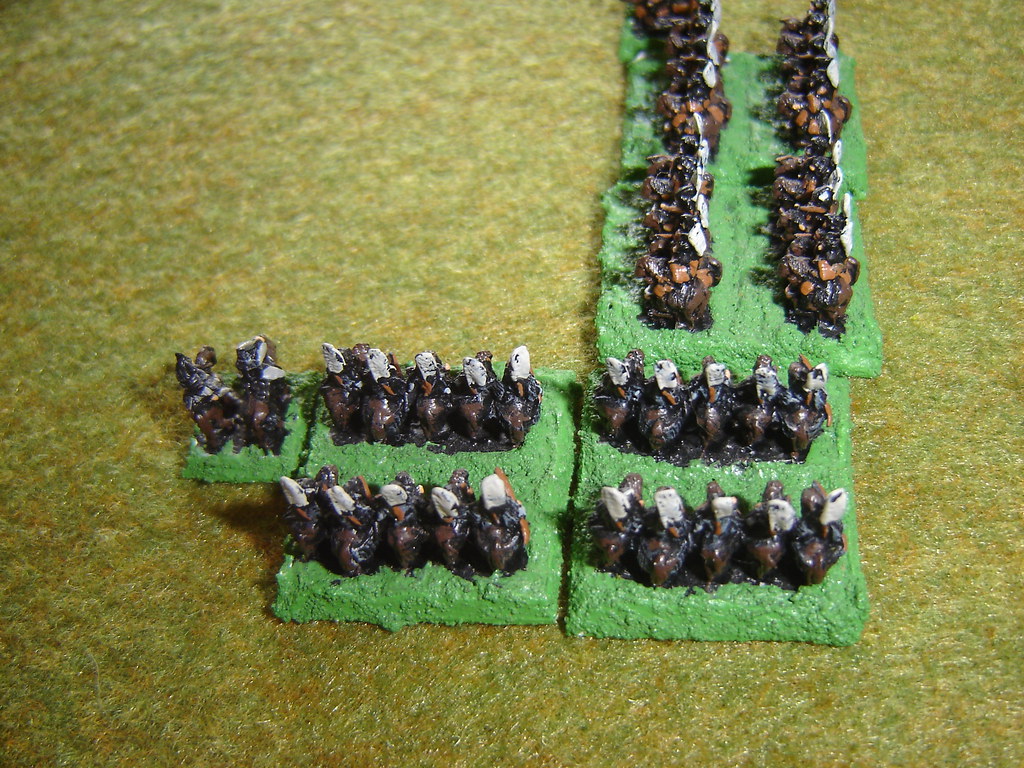
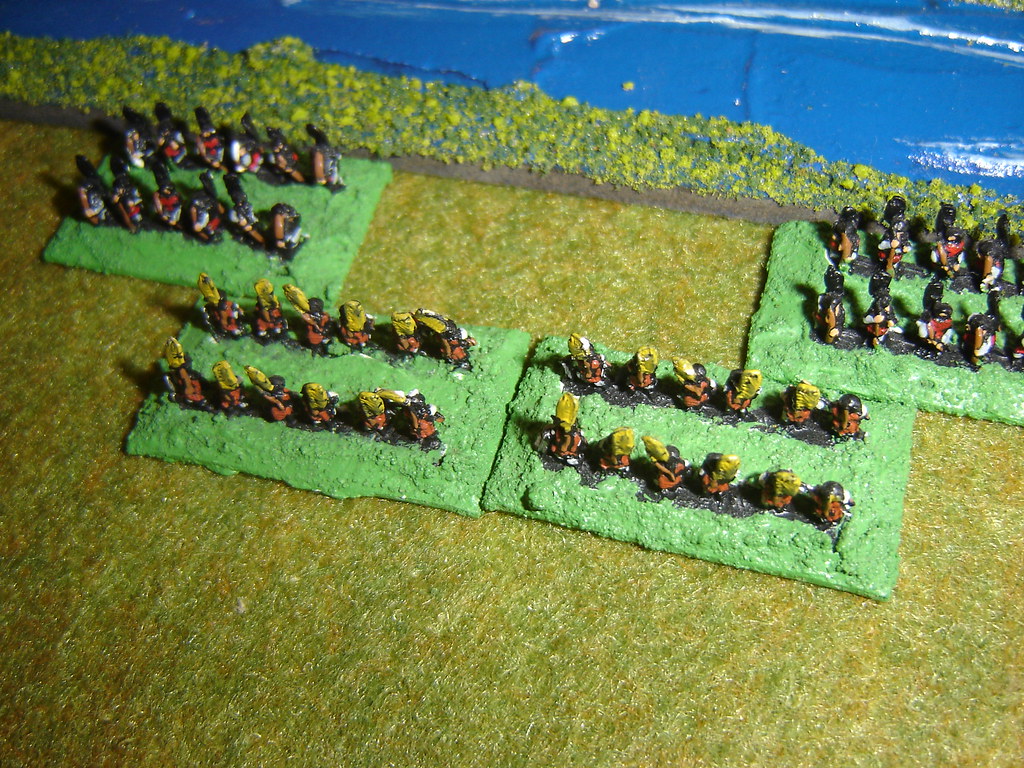
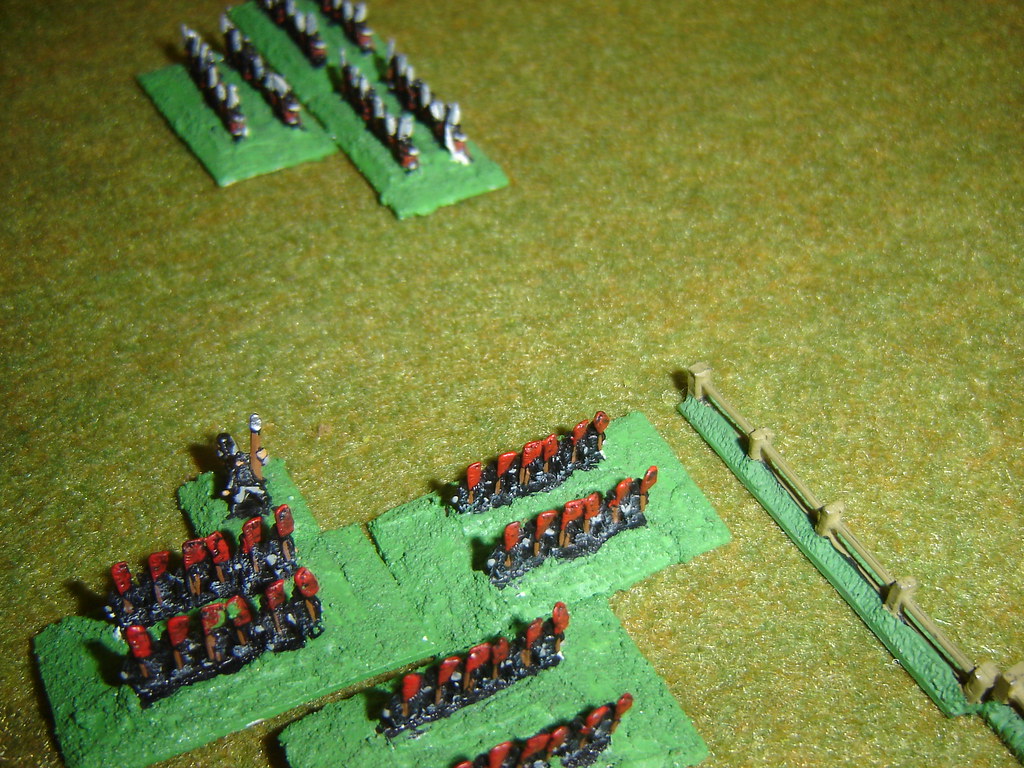
The Oda and the Tokugawa having learnt to fear the Takeda Cavalry deployed with them in mind. Putting their well trained and well led arquebusers behind a palisade and behind a stream and deploying the Samurai to exploit the effect of their fire.
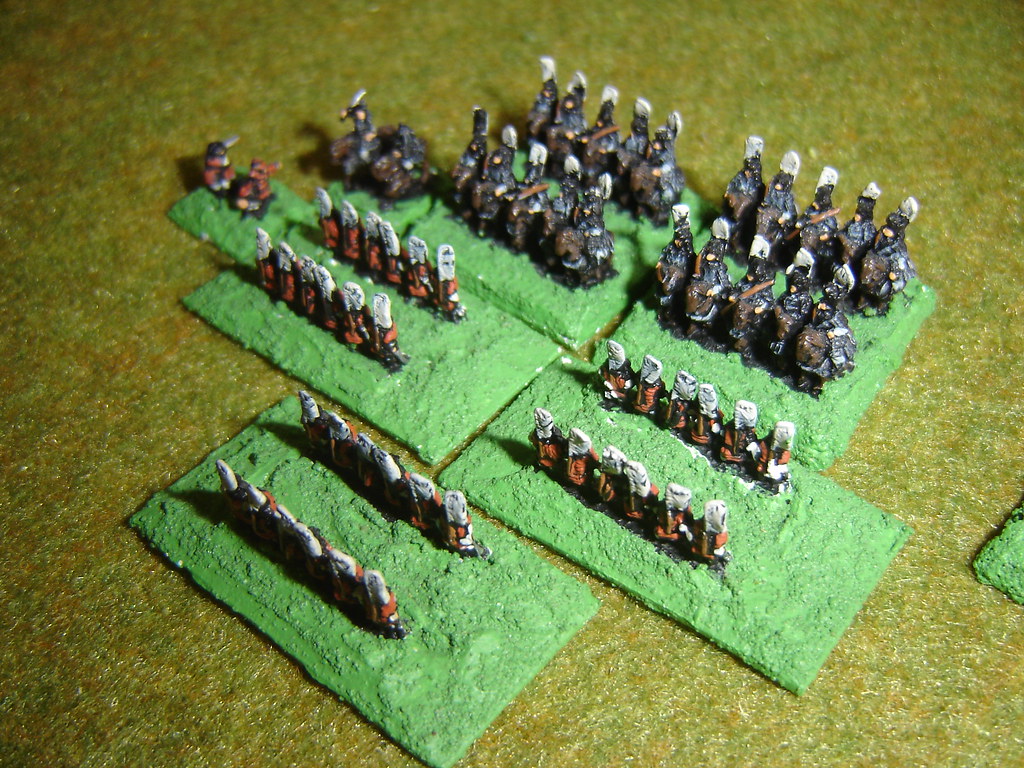
The Takeda trusted in the effectiveness of their Cavalry to break the enemies lines.
The Army Characterization process was surprising, to say the least. The Tokugawa ended up with a hidden palisade. The Takeda ended up with a good possibility of rain, and with the
highest quality of cavalry due to the army effect cards drawn.
It was decided that all the Commanders could also act as heroes – so that when joining a unit they gave that unit Fearsome status, and the
ability to treat Heroic Moments as Wild Cards. With the Personal Leadership rules that unit would also be up 1 die type on rolls for fire, melee, morale and rallies. This wouldsacrifice the ability of the commander to rally other units in his
command, and obviously the risk of leader death was present.
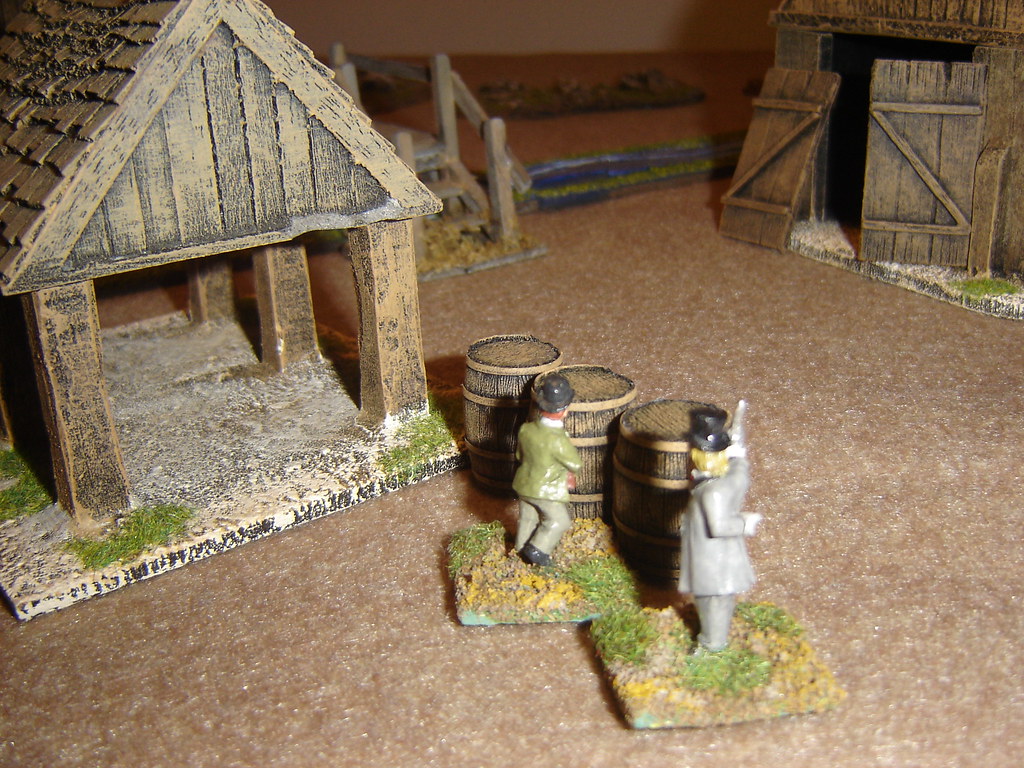
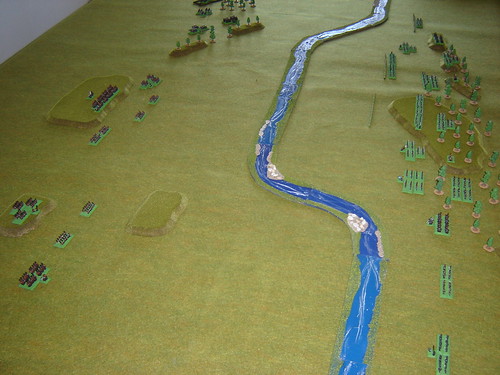
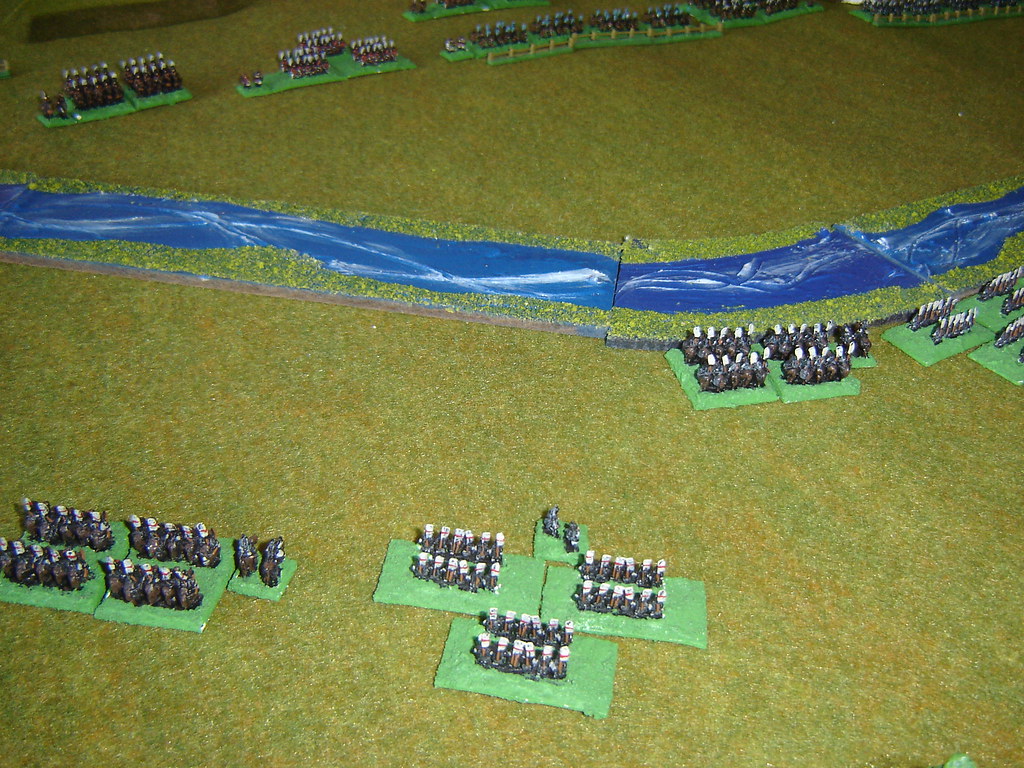
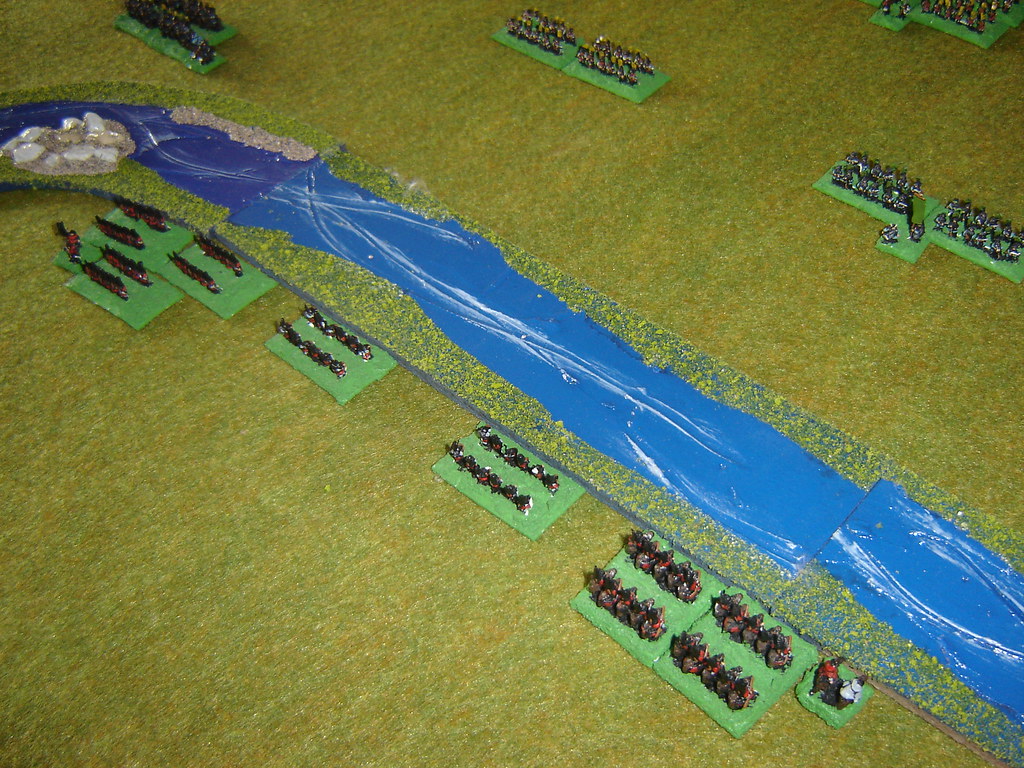
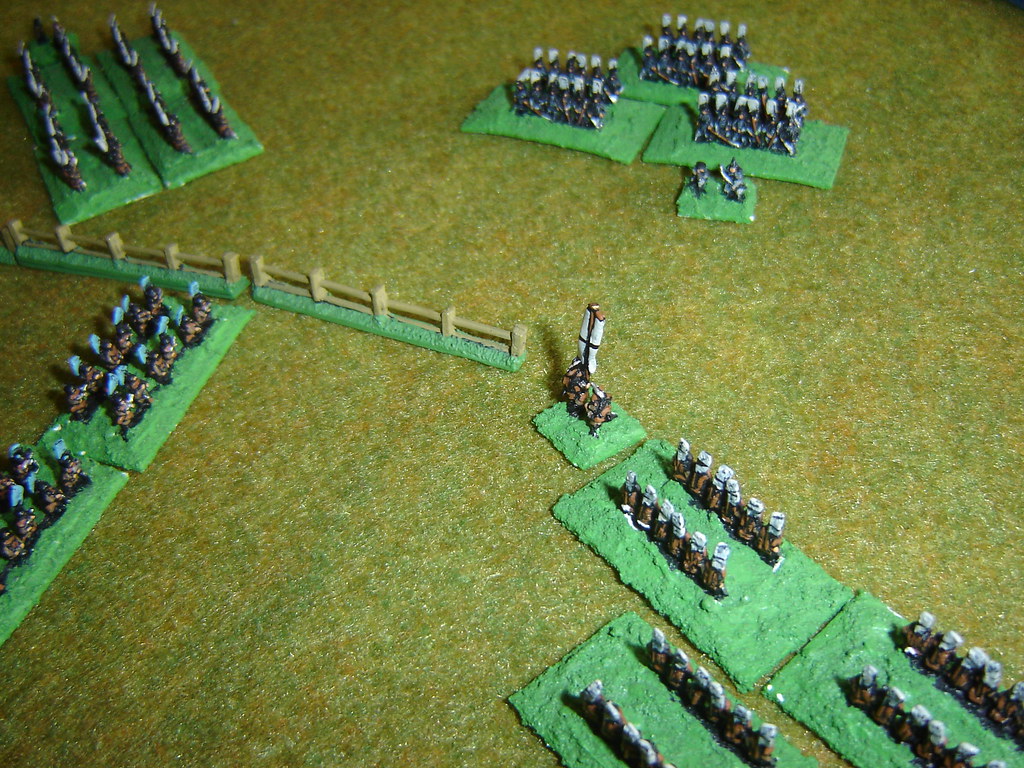
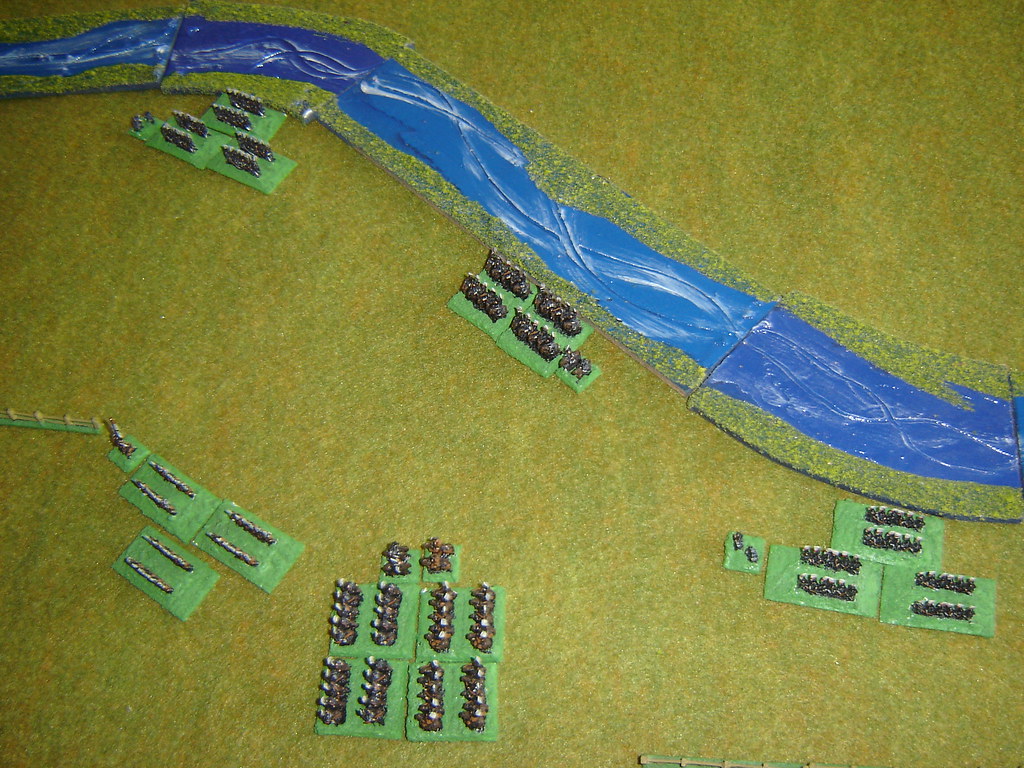
The armies started about 24" apart, with a Class III stream between them. There were some woods and hills but they had no real effect in
the end.
Rain begins to fall, and Takeda's decision to delay battle an extra day looks inspired.
[In the first phase, the Rain & Wet Stratagem turns up. I think - "bad news for the Takeda, they're going to be hard pressed to get
into contact before it stops"]
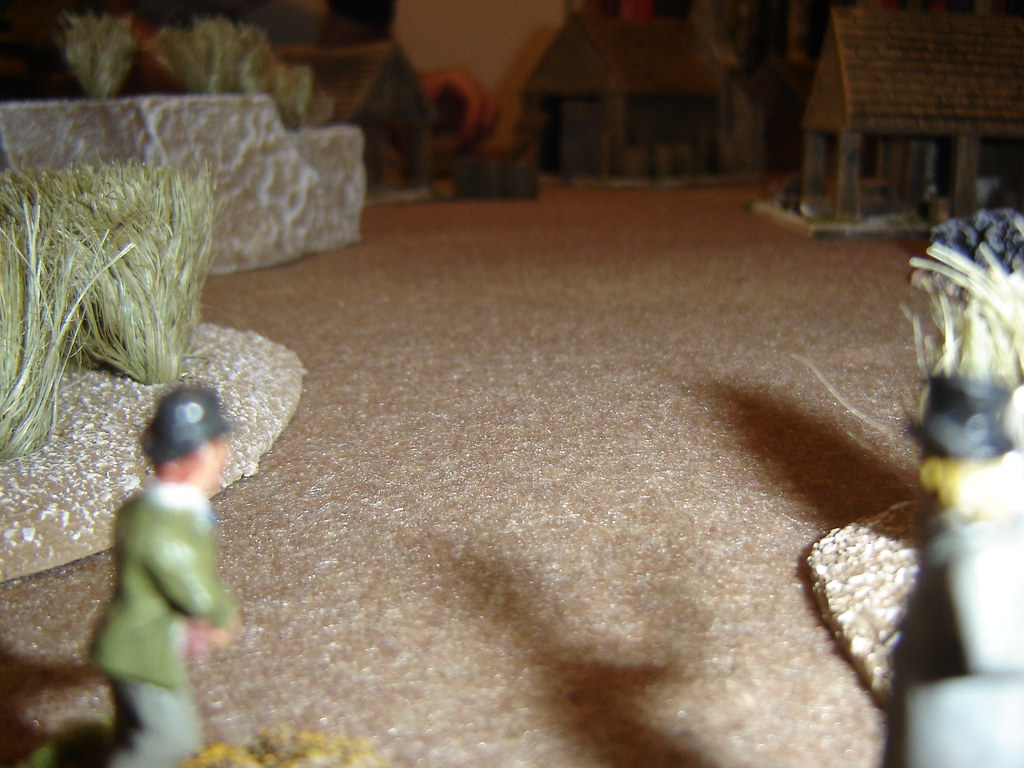
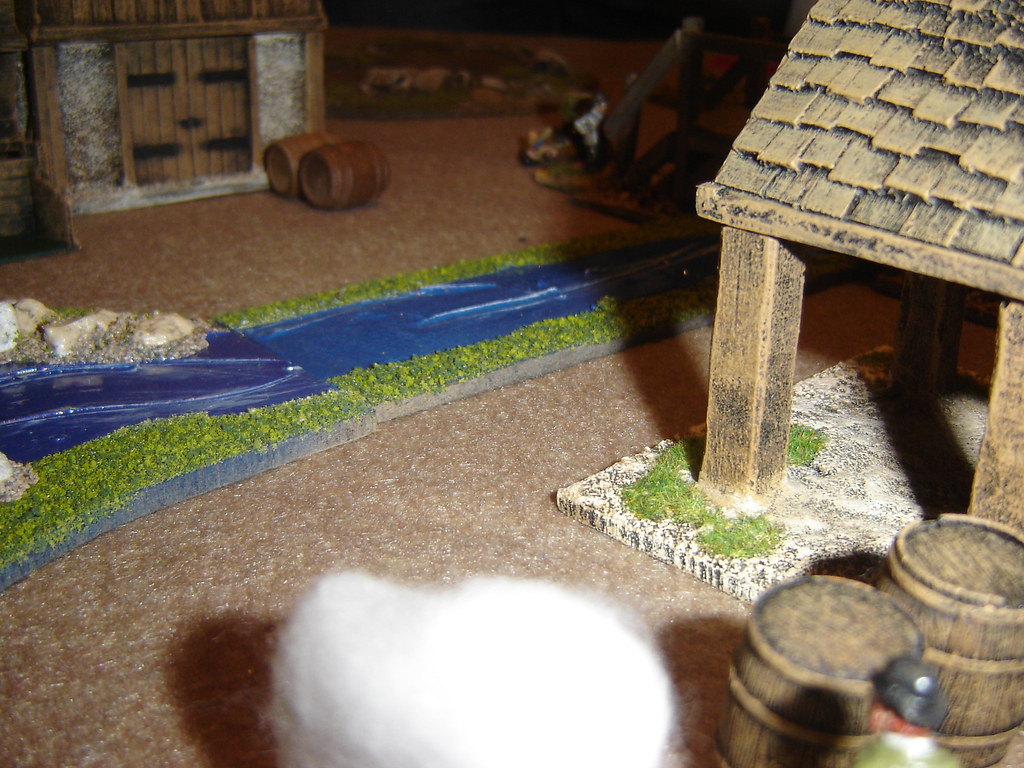
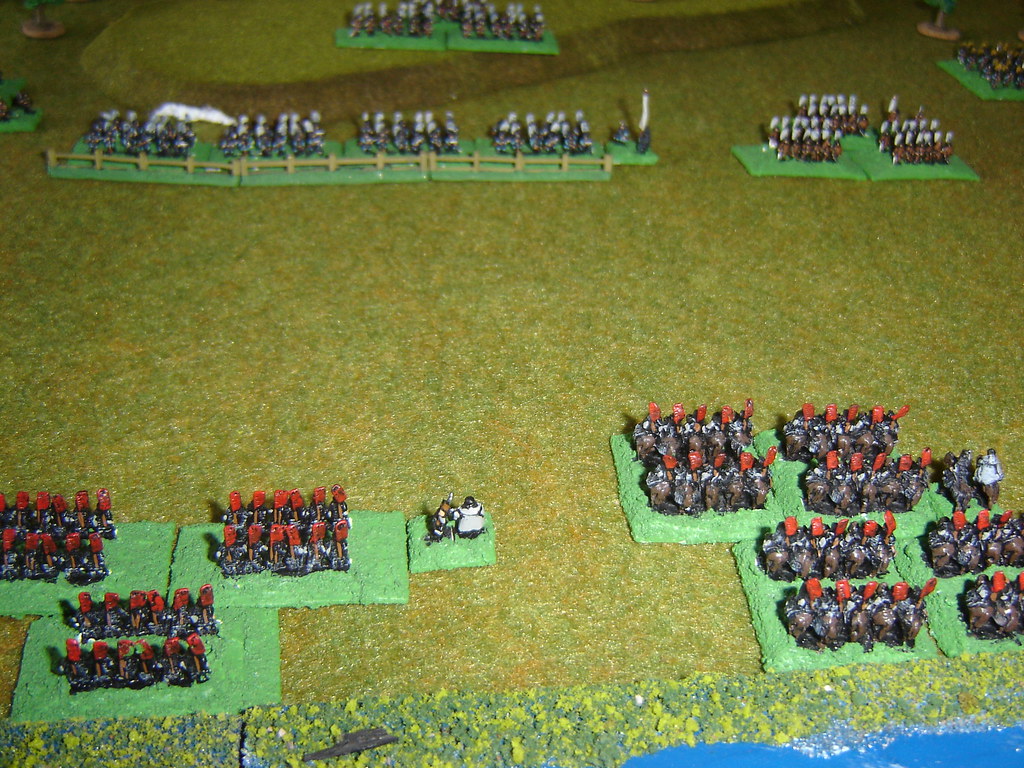
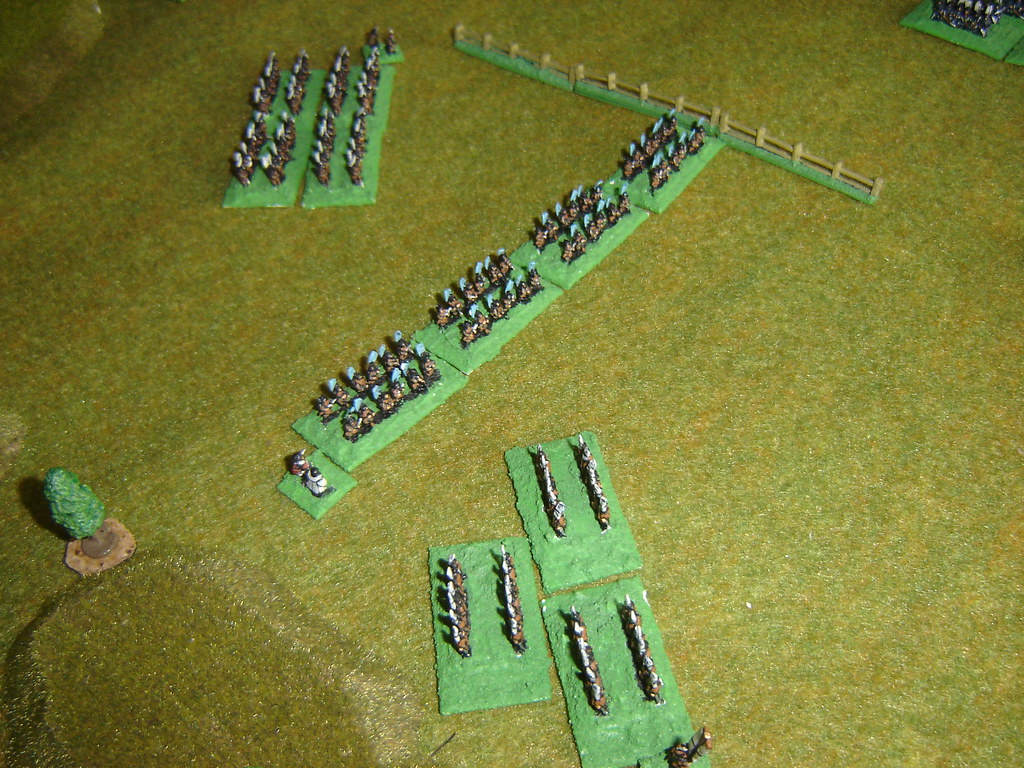
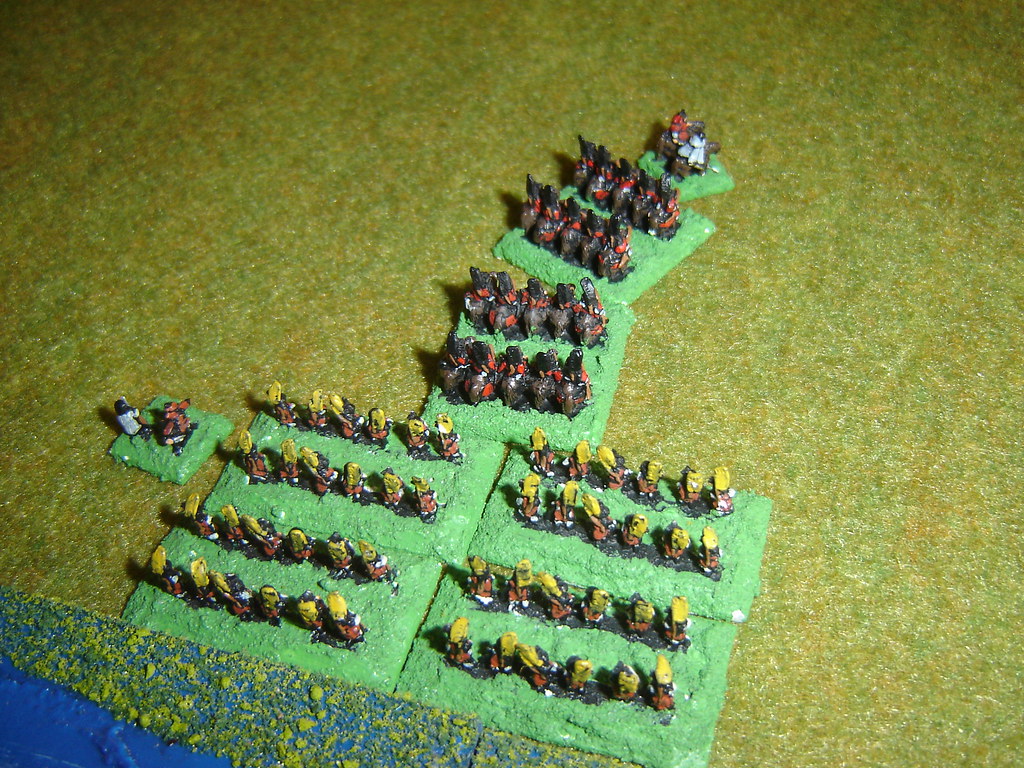
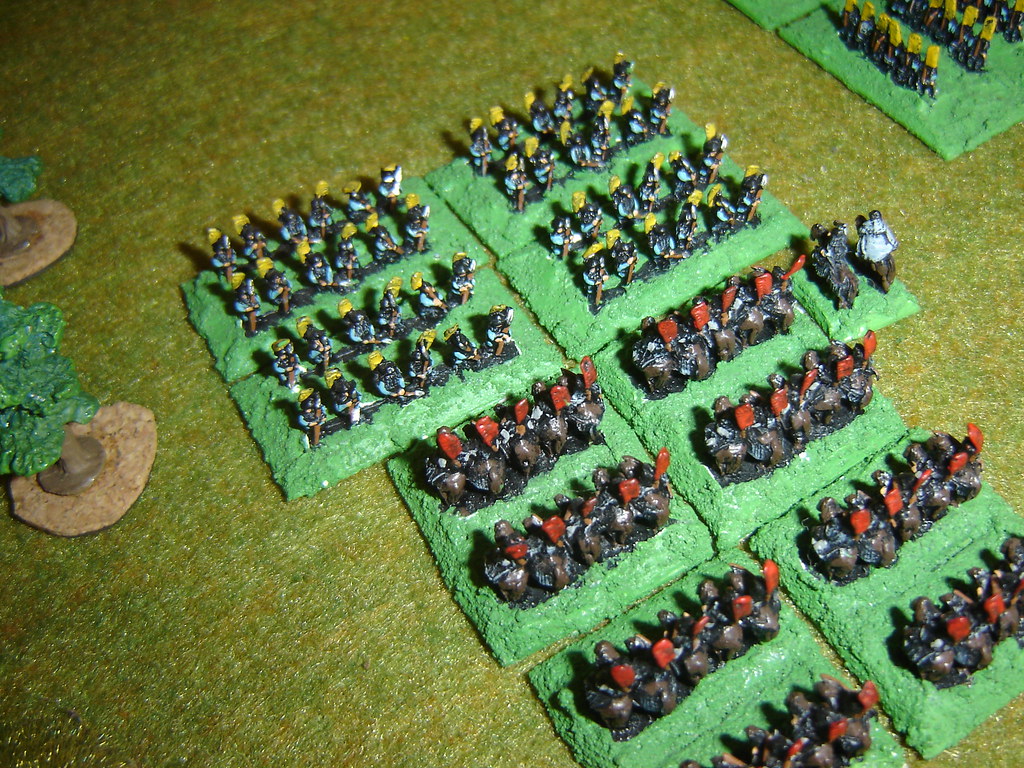
The Takeda cavalry, screened by archers begins to advance towards the stream.
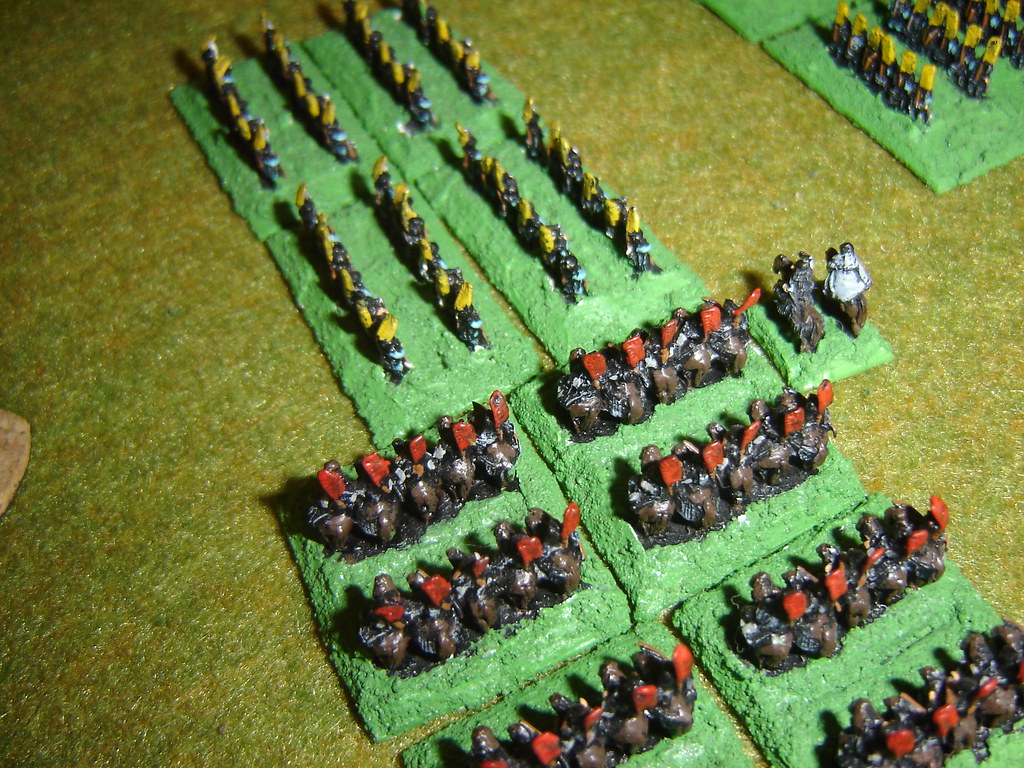
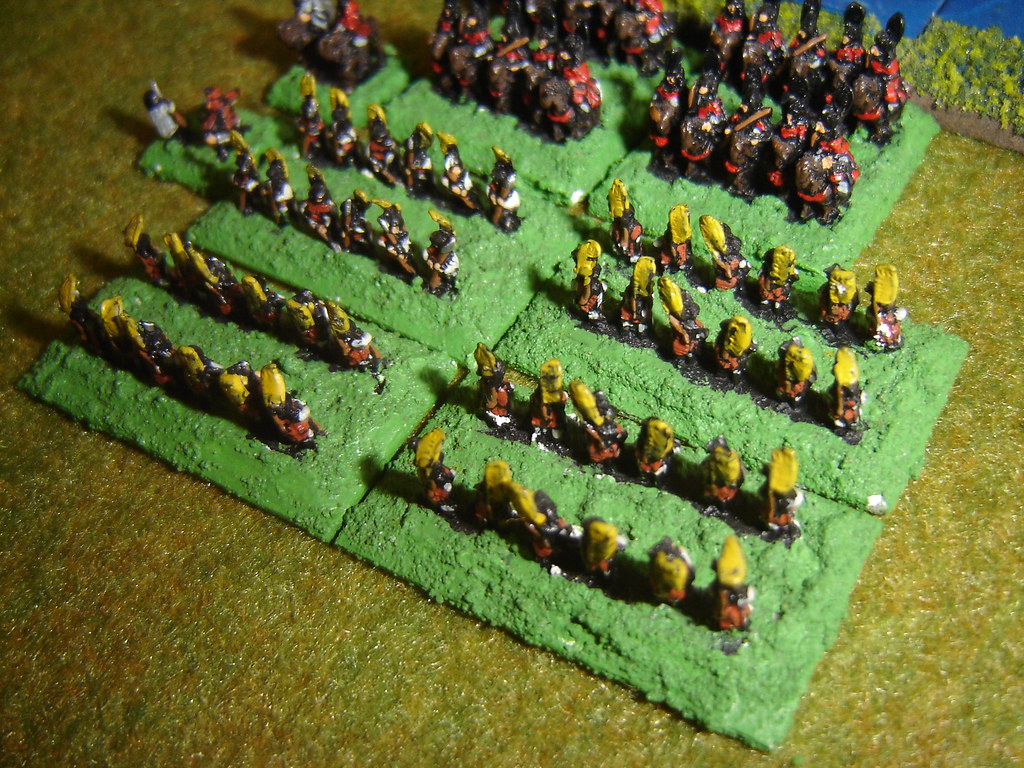
Then the Tokugawa and Honda Commands fan out from their wave deployment, attaining a line deployment at the palisade.
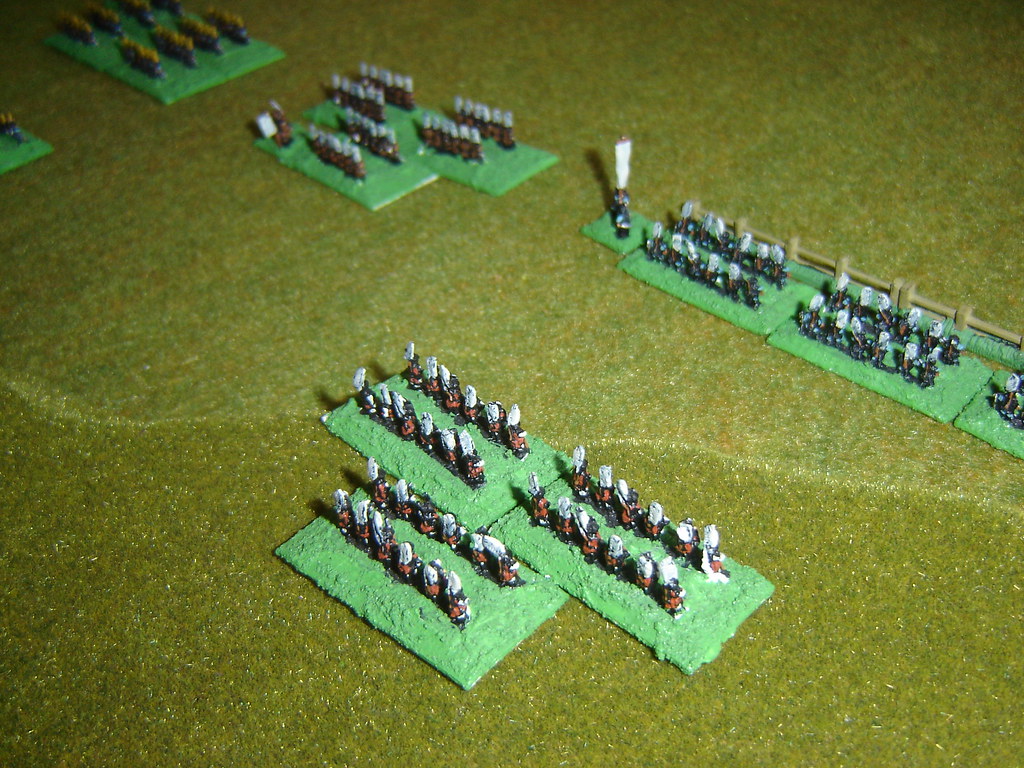
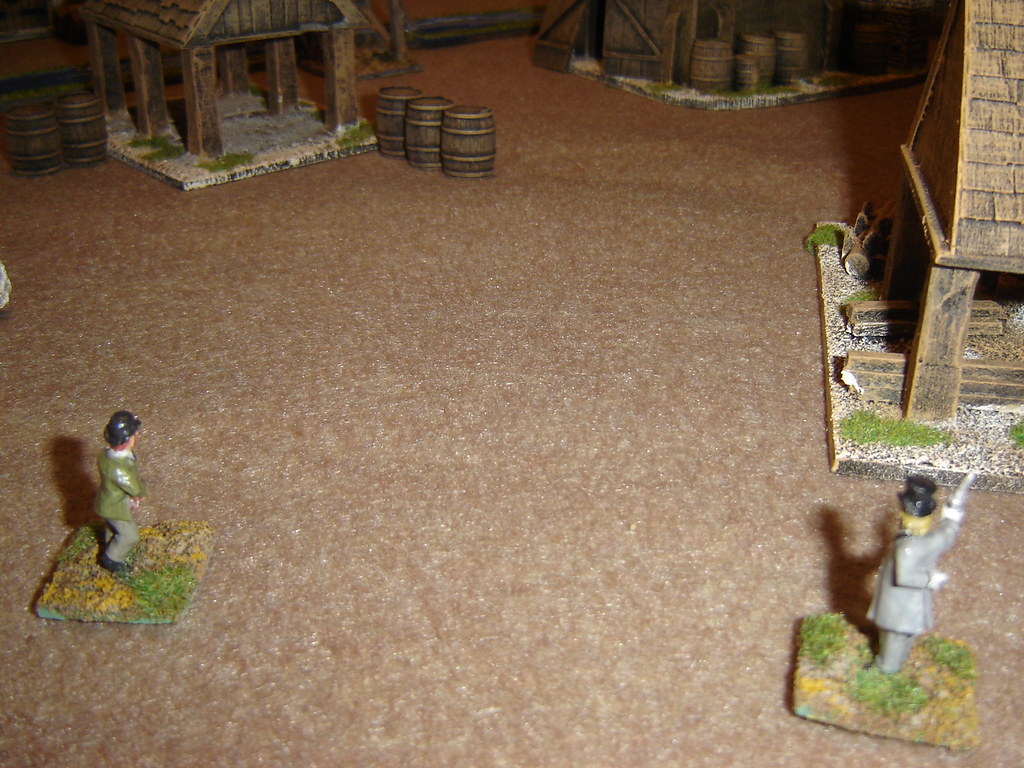
The Oda Command have moved forward, its Elite Ashigaru Infantry coming to within a good range of the stream, where the Takeda Command would cross it.
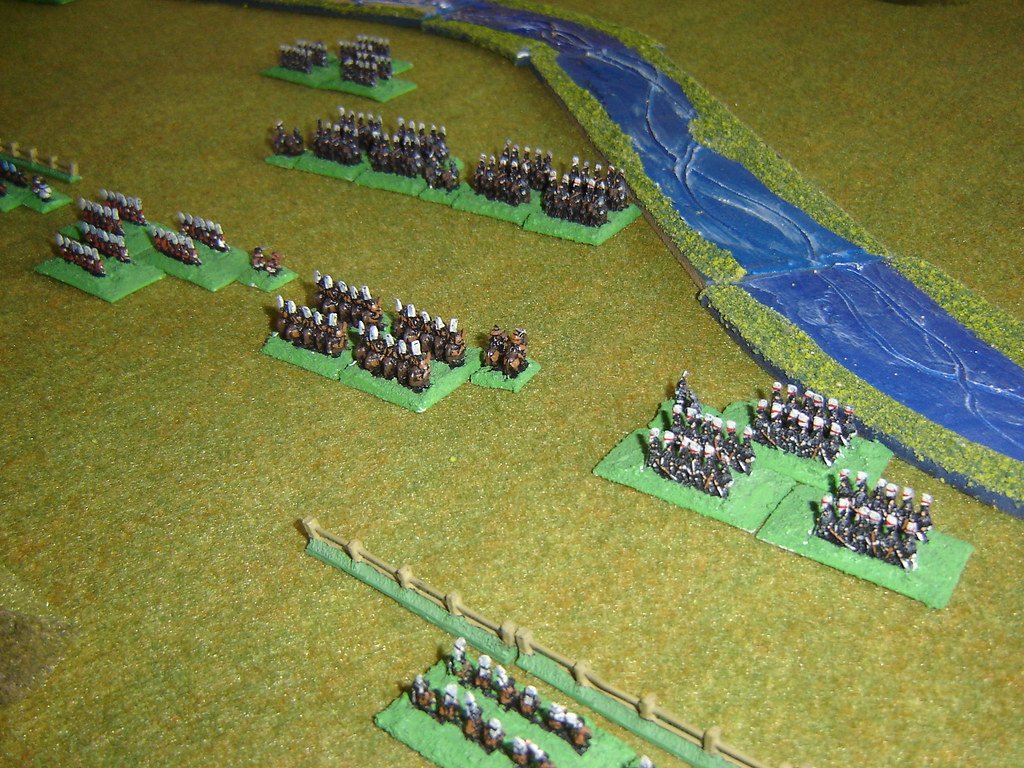
The Naitoh move up to the stream, and the palisade is revealed, directly in front of them.
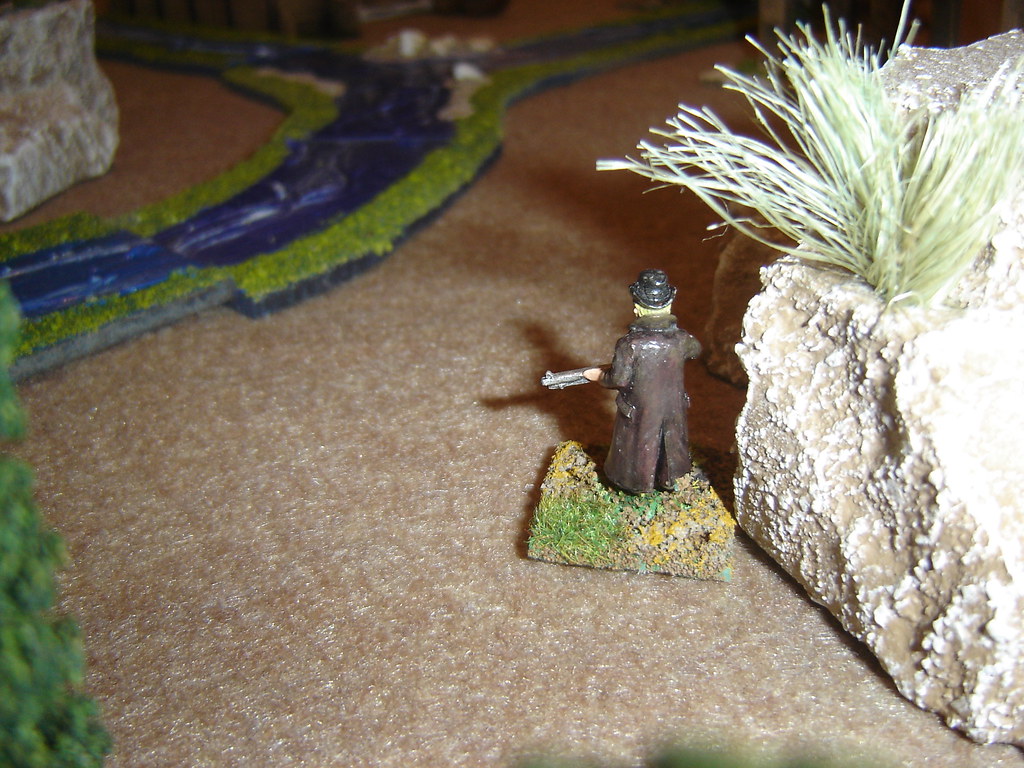
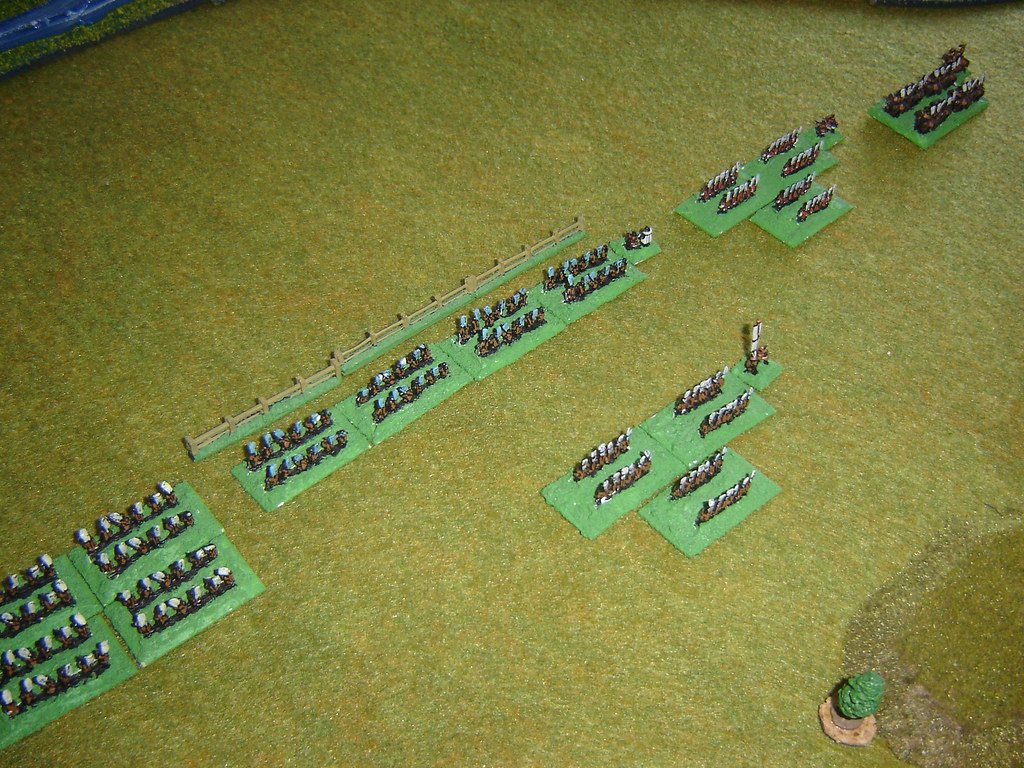
The Takeda move up to the stream, and crosses the stream almost immediately.
The Takeda skirmishers and Ashigaru do not cross the stream with the rest of the Clan's forces.
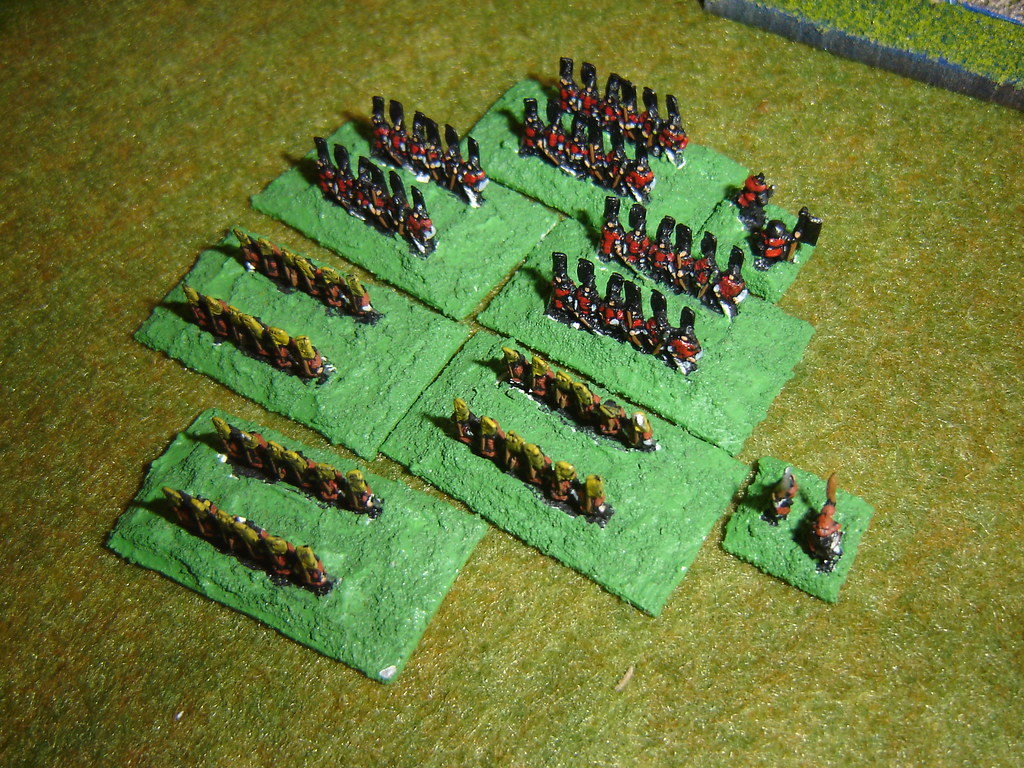
The Tokugawa fill gaps in their line, but the Naitoh are safe, with rain preventing a short range discharge from the elite Honda arquebusiers.
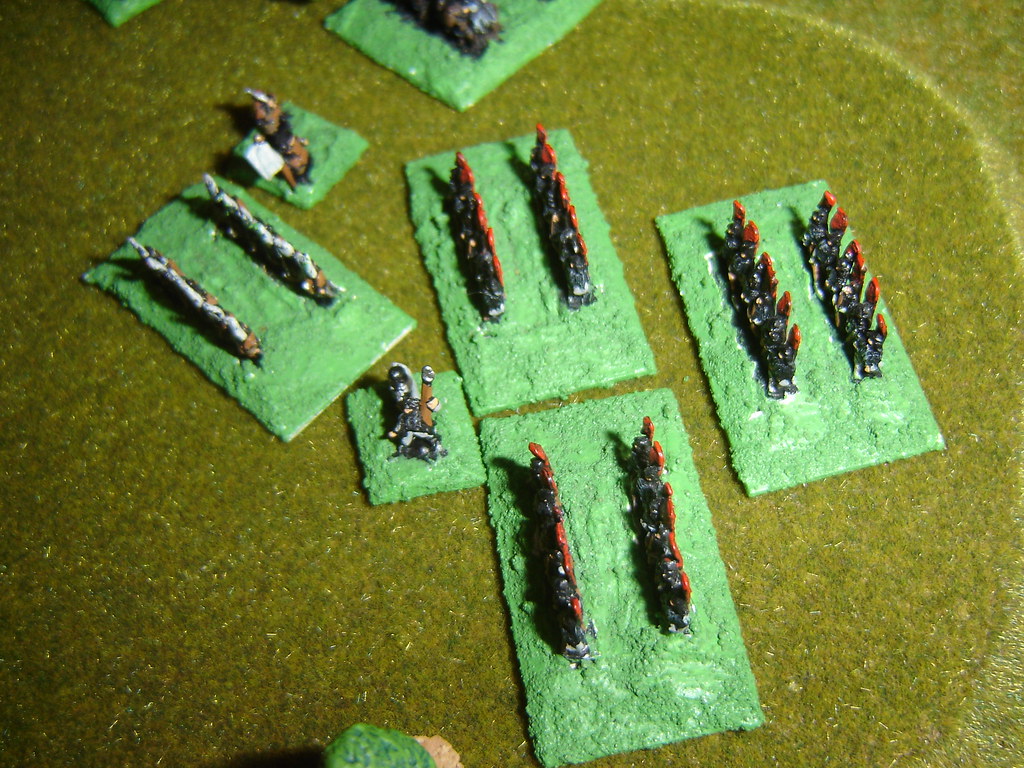
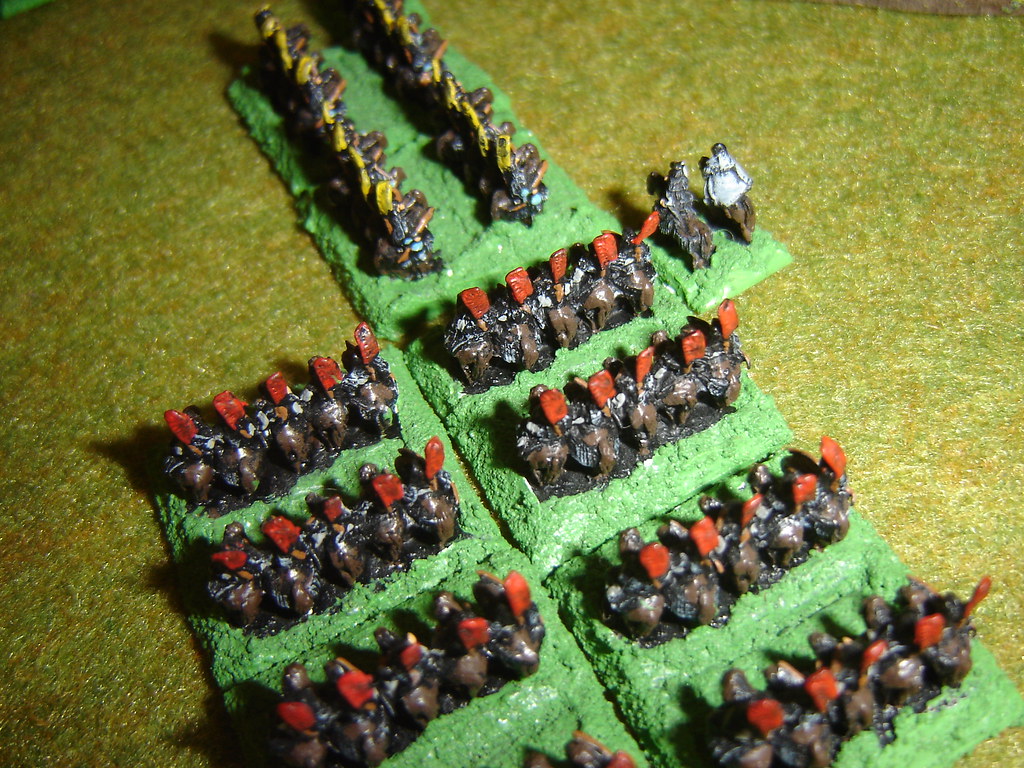
The Naitoh cross the stream, moving obliquely out of the way of the palisade, and the two small cavalry units form up alongside each other.
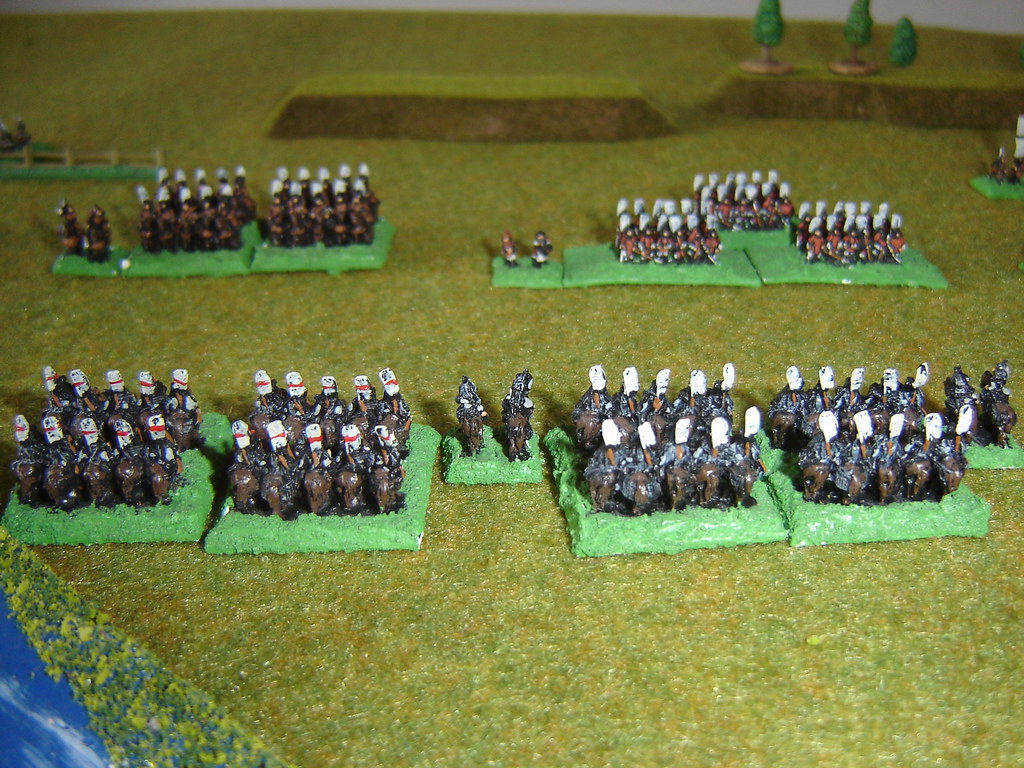
the Takeda charge the Takigawa, both the foot Samurai and mounted Samurai making contact with the Takigawa arquebusiers.
#
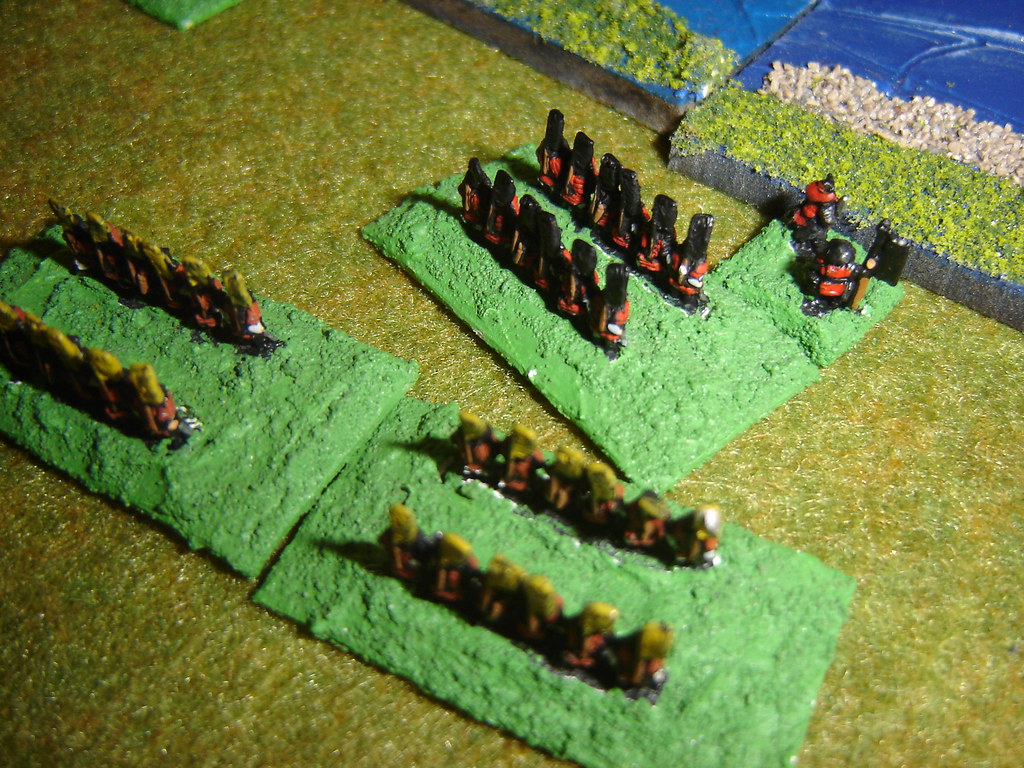
Tbe Naitoh charge the Tokugawa as well, the mounted Samurai making contact with the Tokugawa Samurai and the foot Samurai charging the small unit of Honda arquebusiers.
[A Courage card! The Naitoh and Takeda units in contact with the enemy must make morale checks, and all those units pass, even though some of the Naitoh rolls were very close.]
The rain still pours down despite all observations that it should have ended by now.
The Tokugawa samurai charge the short distance to the Naitoh cavalry but they are riden over and the unit routs. The Naitoh prevent themselves from pursuing.
With that breakthrough and With the possible destruction of the Tokugawa Command, Honda wheels his entire command around 90° towards the Naitoh anchoring its right flank on the palisade.
The Takeda cavalry and their Samurai have ganged up on the Takigawa Arquebusiers. The cavalry attack first and the entire unit is destroyed. The Takeda have broken through the palisade here as well!
Elsewhere on the battlefield the Naitoh Samurai take on the Honda Arquebusiers, this combat results in the speedy destruction of the Honda unit.
the Takeda units charge up the hill at the Takigawa Samurai

The Yamagata, the Takeda's manoeuvre Group on the right flank moves quickly, reaches the stream.
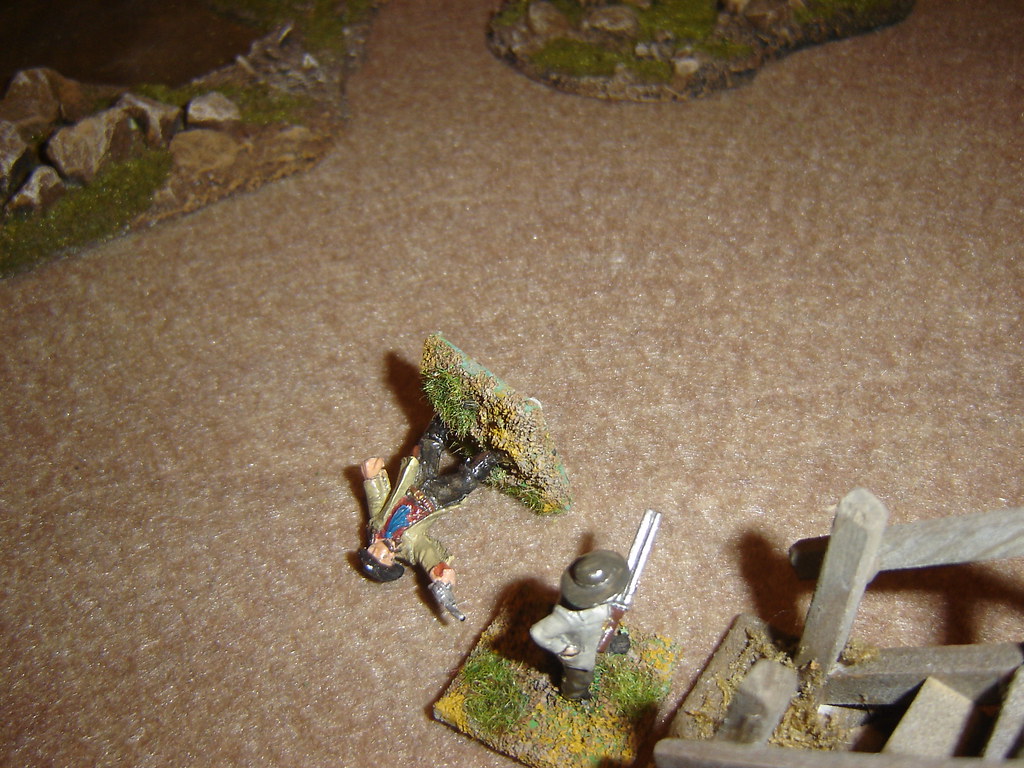
The Takeda cavalry open the melee against the Takigawa on the hill. Although disordered, they still inflict serious damage on the Takigawa. The Takeda Samurai finish off the Takigawa unit, and in so doing the Takeda contact the Takigawa Leader, killing him. The rest of the Takigawa withstands the shock of witnessing the death of their leader unconcerned. The entire Takigawa Clan is out of command.
[The "Rain & Wet" Stratagem Card finally turns up, and units will be able to fire in the next turn, even the arquebusiers on the Oda side, whose powder/fire discipline was extraordinary - Typical! Now that both 4 Stand Elite Arquebusers are destroyed.]
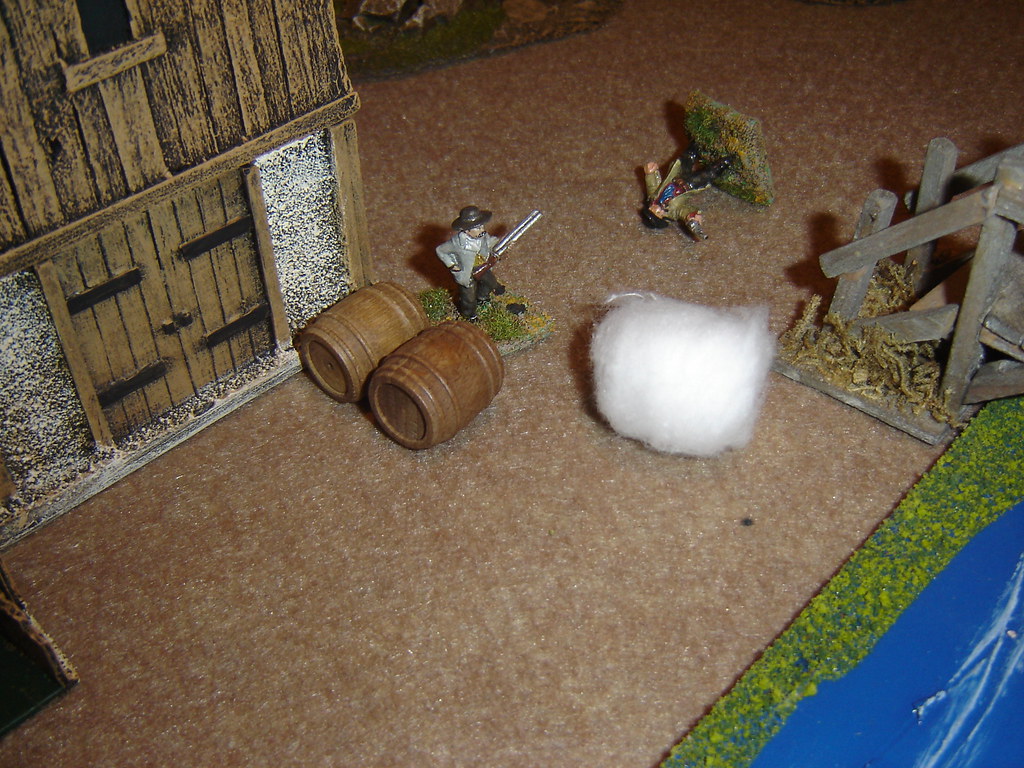
The Toyotomi arquebusiers are routed by an exchange of fire between them and the Yamagata skirmishers.

The Takeda cavalry wheels to face the flank of the nearby Ashigaru units flank.
With the options to manoeuvre open to them the Naitoh cavalry wheels to face the flank of the Tokugawa mounted samurai, and gets ready to charge.
The Takeda cavalry charge the flank of the Ashigaru, taking a grave risk as the unit is still disordered from their previous encounter. But they must strike while the iron is hot!
These are no mere levy and are much harder than anticipated, and with no advantage the combat is close. The fates are kind to the Takeda, as they are victorious once more.
The Toyotomi Ashigaru charge the Yamagata mounted Samurai, who have just crossed the stream. The Toyotomi Samurai also charge the Yamagata Samurai.
The Toyotomi Samurai fight the Yamagata Samurai. The Yamagata lose a lot of men and rout. The Toyotomi prevent pursuit, holding their lines.
[Then the Oda turns an Uncontrolled Charge Card] The Toyotomi Samurai charge the Yamagata Samurai who are crossing the stream in disarray and destroy them in short order. Is this the turning of the tide?
The Yamagata skirmishers target the other unit of Toyotomi arquebusiers and disorder them. Spurred on by this and [with the Oda having turned a Battle Lust! card] reversing their weapons to use as clubs the Toyotomi Arquebusiers charge the Yamagata Bowmen! To their great detriment, as they are destroyed in the combat.
The battle between the Toyotomi Ashigaru charge the Yamagata is very close. The Toyotomi have higher morale and win the combat. Just. The Yamagata cavalry are disordered and in danger of being caught in a pursuit against the stream.
The Tokugawa cavalry wheels to face their Naitoh opponents.
The Honda command moves forward towards the Naitoh Samurai. [Then the Command Indecision Card is drawn! All the hard won Tokugawa initiative is lost]
The Takeda Samurai turns towards the Oda's flank. On the left flank the two Naitoh Samurai units turn towards the Honda Command, now surrounding them front and rear.
The Takeda mounted Samurai, heady with success charge the Oda cavalry in the flank. The combat occurs immediately, but the Oda survive the initial impetus and turn to face the Takeda in disorder.
The Takeda cavalry overcomes this setback and drives through the Oda unit, driving them from the field. The Takigawa Ashigaru, the Toyotomi Samurai and the Toyotomi Ashigaru all retreat at half movement to avoid flanking attacks, enfilading fire and to be in a position to engage the enemy properly.
The Naitoh reel in confused withdrawal going out of command and into disorder and retreating up to the stream. [Wasting the gazillion initiative points it had taken to get them into such a strong position!]
The Takeda Samurai keep moving deep into the Oda lines, and the Takeda cavalry charges into the Oda Samurai's flank.
This combat ends up with the Oda routing off the battlefield. The Takeda prevents pursuit and surveys the battlefield. Is the day won, or can the Honda Clan salvage something on the other flank?

From reading the AAR it looks like the Takeda got an overwhelming amount of initiative – while they did get more than their fair share they used the cards they got better – and the rain really hamstringed the 4 Arquebus units which otherwise would have been playing a lot of the cards.
Having the same initiative split between the two armies hurt as well, and often one of the allied armies would turn over a host of cards without being able to do anything.
The presence of only one Leader Check Card definitely hurt the Takeda, but the presence at a critical juncture of the Rally Again Card followed by that Leader Check Card and a good run of initiative really proved decisive – at that stage the Oda Flank and the Tokugawa could have done some real damage – and this is the run of Takeda initiative that the Tokugawa's Command Indecision started.
All the melees were decisive, even the "handbags at twelve paces" fight between the Yamagata Cavalry and the Toyotomi Levy. Once the Takeda Cavalry had wheeled and began to roll up the Oda Line, it seemed like nothing could stop them - a huge risk on the Takeda's part - for most of that they had been disordered!
The unexpected pace of the Takeda's destruction of the Oda army led to Leaders being left in between units to be gobbled up by the advance. They weren't given the chance to join their units to act as heroes and it would have been interesting to see some Heroic Challenges...