22 September, 2010

Tomorrow's War, Today

The pre-release version of Tomorrow's War is out today.


“If you want a game where you can 'buy' success with your army list, where every weapon you have works as it should all the time, every metal or plastic figure follows his orders exactly, and where the flow of the game is chess-like in its predictability, then there are quite a lot of others out there for you. But if you want a game that makes you feel like you are leading a squad of real soldiers in full NBC gear through the rubble of Beijing, or you’re up to your ass in mud and bugs in the jungles of Exlax V and you know that a Separatist Militia sniper team is out there somewhere, then you want Tomorrow’s War.”

– Jon Tuffley, Ground Zero Games – from his introduction to Tomorrow’s War.

GZG's stuff has been my North Star for science fiction gaming for years, so it really says something that he's given his imprimatur to the rules!

Read the full blurb from Shawn here


I nearly have my scenario (Black Mamba Down) ready for my Novaya Sakha Rebellion background, so I should get that out over the next couple of days once I've given the final version of the rules another once-over.

I'm heading down to Galway this weekend for some BattleTech and possibly Inquisitor action, so you'll probably be seeing a lot of action here next week.

Also, the casualty figures poll is closing tomorrow (on the top-right of the blog) if you still haven't registered your take on the issue. Thanks!

21 September, 2010

The Wounded Beast - Scenario

This is the scenario originally written for last weekend, until we discovered that the T-72 model was a behemoth (probably 1/48 scale). It should be fairly easy to re-fit for a different setting though.
Of course T-72s weren't really in use in Afghanistan (I don't think they made it off the airfield!) either, so we were going to use the T-62 stats.
Available as a pdf here


Mission Brief

A punitive column has been sent deep into Qandahar by the Soviets. A T-62 is with them, in order to test how it can cope with the green zone.

It’s thrown a track when making a tight turn inside a village, and due to a command oversight, the T-62 was left behind. A single BMP carrying an engineer team has been sent back to get it moving again.


Soviet Mission Objective

Repair the T-62 and get it back to the main column as soon as possible.

Mujahideen Mission Objective

Destroy the tank or prevent anyone from repairing and moving it away; it will be helpless once night falls.

Table Set Up

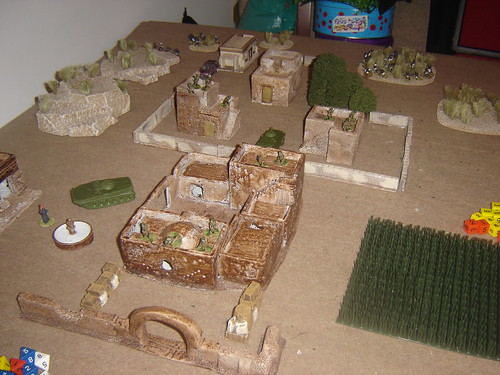
A small village with outlying walls. The two main buildings form a rough square while the outlying buildings are separated by open ground. Surrounding the village are several poppy fields.

To the south of the village is a wadi, overlooked by broken steep banks. A rough road crosses it at a small ford.

A small copse of trees lies to the east, and to the west lies some broken rocky ground.


Deployment

Deploy the Soviet T-62 at the main corner and the recovery team at the ford.

Deploy one Mujahideen group near each hotspot.

Soviet Force Composition

Soviet forces are well supplied and are confidant (TQ D8/ Morale D8)

The Beast

1xT-62
1 Fireteam (3xAK-74s, 1xRPK)
Marksman (1xDragunov)

Recovery Team

1xBMP-1
1 Squad of two four-man fireteams (3xAK-74s, 1xRPK) & (3xAK-74s, 1xRPG)
1 Machine Gun Team (1xPKM, 1xAK-74)
2 Engineers (2xAK-74s)

Mujahideen Force Composition

The Mujahideen have normal supply and high confidence (TQ D6 Morale D8)

Leader & Group of 6 (5xAKs, 1xRPK)
Leader & Group of 5 (4xAKs, 1xRPG)
Group of 6 (5xAKs, 1xRPG)
Group of 6 (5xAKs, 1xRPK)
RPG Group (1xAT RPG, 1xAK)

Reinforcements Table

Roll Reinforcement Unit

1 Leader + 1d6xAKs, 1xAT RPG
2 D6xAKs, 1xRPK
3 D6xAKs, 1xRPG
4 D6xAKs, 1xRPK, 1xRPG
5 D6xAKs + Roll Again
6 D6xAKs, 1xRPK
7 D6xAKs, 1xRPG
8 Leader + 2D6xAKs

The Insurgency level is 4 for this scenario and reinforcements appear at the beginning of each turn when a 3 or less is rolled on D6.

Fog of War

Draw new Fog of War cards during reaction tests as normal.

Special Rules

Repairing The Beast’s tracks is going to be a difficult task.

Two successful TQ checks by the Engineers are necessary to get the tank back moving. If the Engineers get a full fire-team of soldiers to help they’ll roll a D10 instead of just a D8.

After the repair any movement at Flank Speed or over difficult terrain may throw the track again. Roll crew’s TQ at 4+ to avoid this.

[I realise that repairing a track isn’t quite so quick or straightforward in real life, but if it bothers you, just pretend it’s a different technical problem!]

Victory Conditions

Soviet

The Beast’s track is repaired +5
The Beast crosses the ford without major damage +5
Each Mujahideen Group Broken or Destroyed +1

Mujahideen

The Beast is destroyed +10
The Beast’s Track is not repaired or it does not make it over the ford by nightfall +4
The BMP-1 is destroyed +5
Each Soviet soldier killed +2

15 September, 2010

Mujahideen Counter-Attack

On Saturday night I ran a follow-up scenario of Ambush Alley. This one saw a depleted Soviet force (although one with a BMP-1 and a BRDM attached) defend the Panshir village against an Afghan counterattack.


Lloyd took advantage of my liberal deployment instructions to place his entire force on the two hotspots at one end of the compound (though it may have been due to the free chair there!)

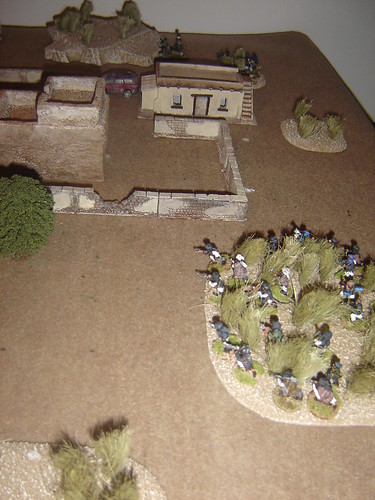
Afghans swarm

Swarming techniques alarm the Soviet commander, as he realises that a fire team and sniper in the other compound will have difficulty engaging, but can't be withdrawn just in case.

How did they get so close

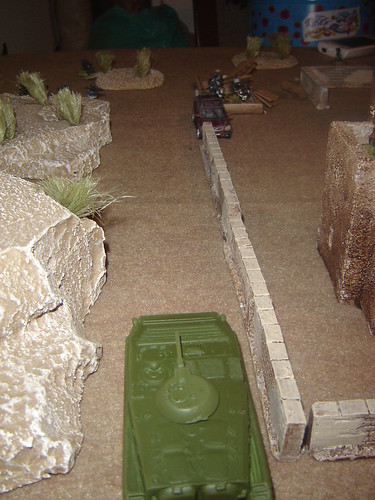
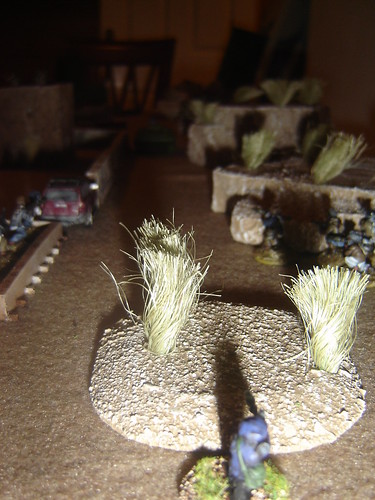
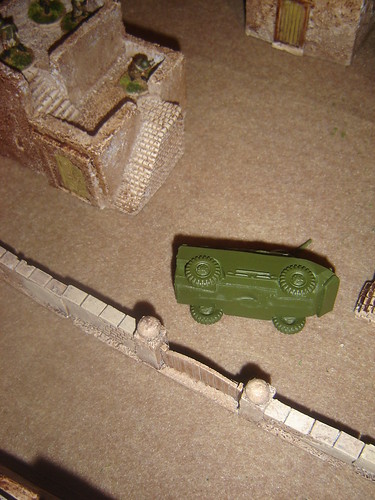
The BMP-1 engages the Mujahideen on the other side of the compound (where all their RPG assets are concentrated). A group of Afghans scurries across the open ground and the BMP turns its main gun on it, bringing it crashing to the ground. Only one Afghan is killed and the rest are unfazed
[Forcing me to look up the rules for heavy weapons attacks on buildings, and damage to troops inside!]

BMP Intervenes

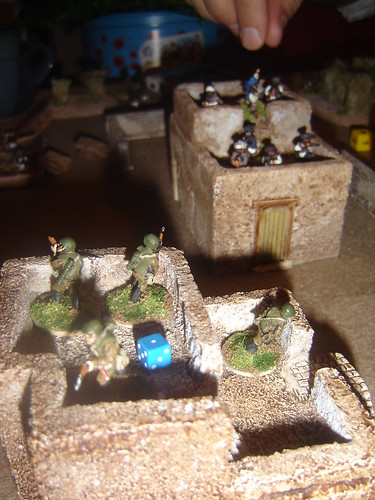
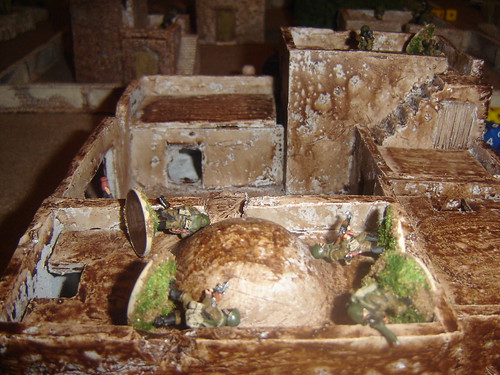
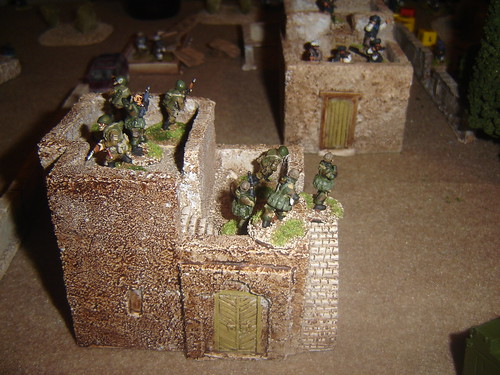
A long-running firefight erupts across the rooftops, with the Afghans pouring men into the building but they are unable to force the Soviet troops out

Firefight across the rooftops

A lone ant-tank RPG gunner sets up to take on the BMP. He survives its machine gun fire and takes out the main gun!

Brave RPG gunner

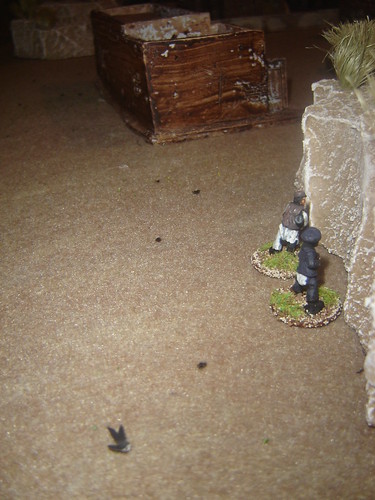
Two Mujahideen show up behind the ridge, and contemplate going over the top...

Lonely reinforcements

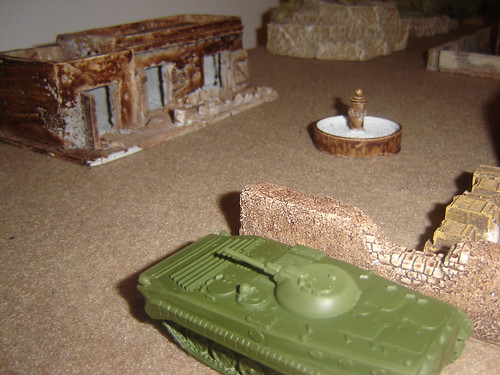
The BMP retreats, having lost its machine gun to RPG fire as well. It avoids an explosive device in the market but the nearby Afghans behind the ridge can't muster up the courage to put their RPG to good use

BMP Retreats (avoiding IED)

Long-range fire takes out the fire-team in the compound nearby. The sniper team has also taken casualties (all Soviet infantry casualties came from this compound, and not the hornets' nest across the way!)
No one's available to keep an eye out for the wounded BMP now, and the lone sniper must drag his spotter across the rooftops to check on his mates (helped by a medic who suddenly appears beside him)

2nd Squad taken out

The BRDM explodes as it takes more fire from the Afghans in the wrecked house

BDRM explodes

Having finished their tea downstairs, a four-man team of Spetsnaz arrive on the scene to lay waste around them, crushing the last vestiges of Afghan strength in the area

Spetsnaz finish tea

A nice follow-up game, touch-and-go again until the end. The Spetsnaz were decisive, but amazingly enough the Soviets hadn't taken any casualties where they were most at risk.
Of course the vehicles didn't come too well out of it!

We also discussed doing a campaign for Steve's new Soviet platoon. I'll be lifting the great campaign structure from Ambush Valley (the Vietnam supplement) wholesale.
Though obviously I need an Afghan with a Stinger to take out the Hind Steve's ordered!

More like this