
Putting the "fighting" into a fighting defence
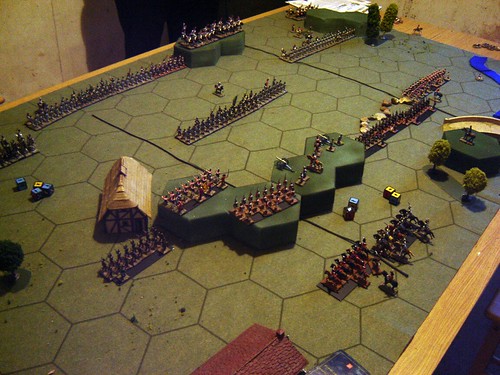
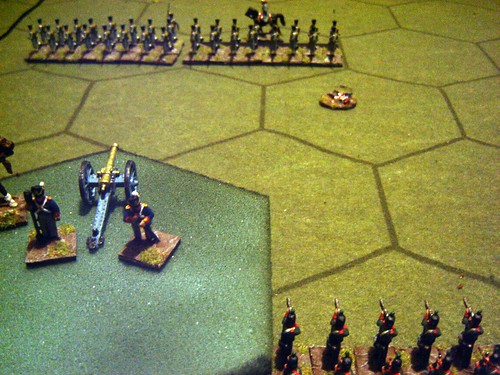
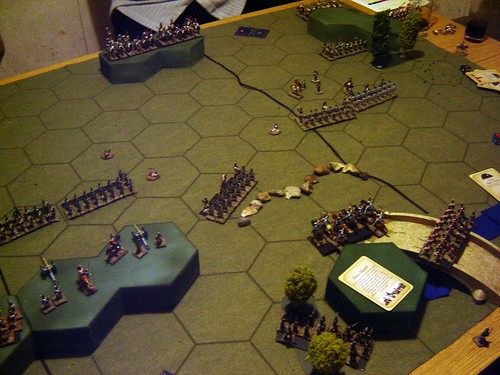
Portuguesse Cacadores hold the redoubts, supported by the Rifles
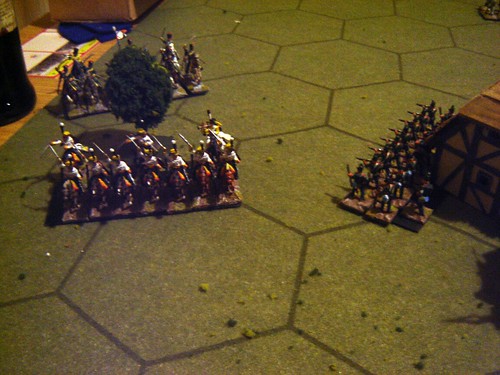
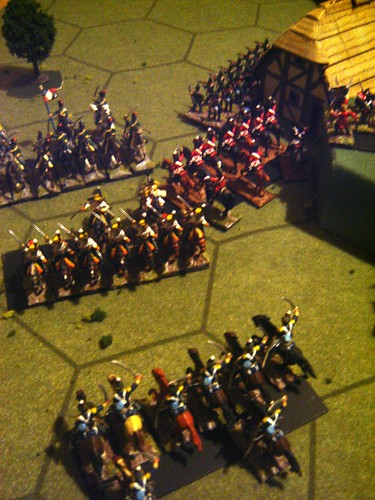
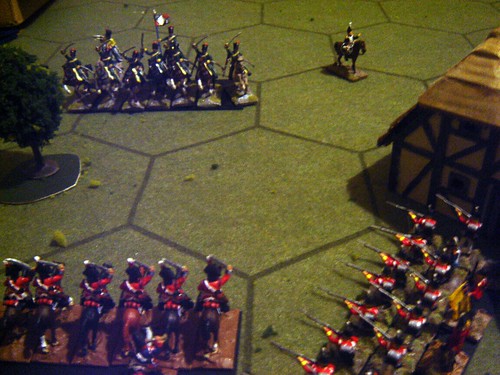
French hussars sweep around the British left flank to attack, the Rifles there have moved forward into the mill
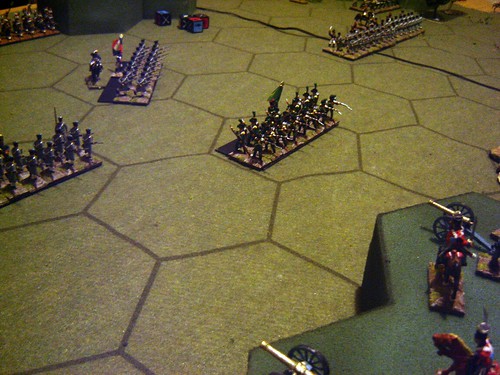
The first French attack in the centre is repulsed, even the presence of Lolson cannot keep the French advancing
The French hussars' further attack seems ill-judged as Anson leads the cavalry forward, supported by the Rifles and artillery fire from Almeida. Somehow they survive the onslaught!
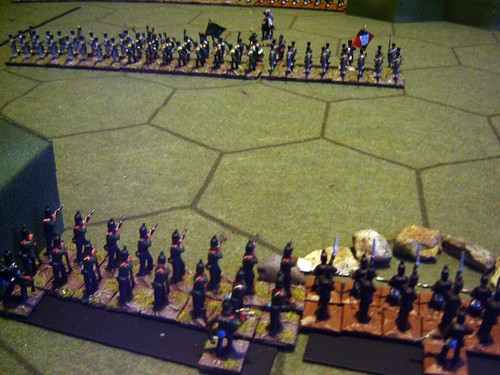
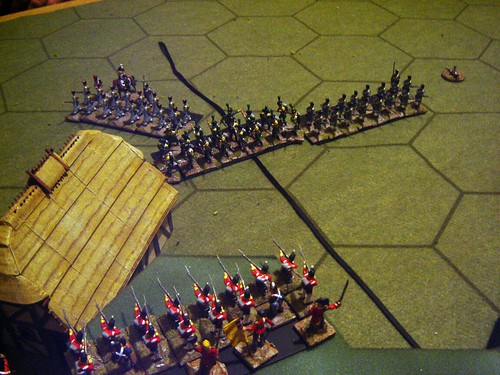
The second wave of the French assault, concentrating on the hill and leaving the redoubts at the bridge to their left flank
Without being broken, this attack is forced back again, with some casualties
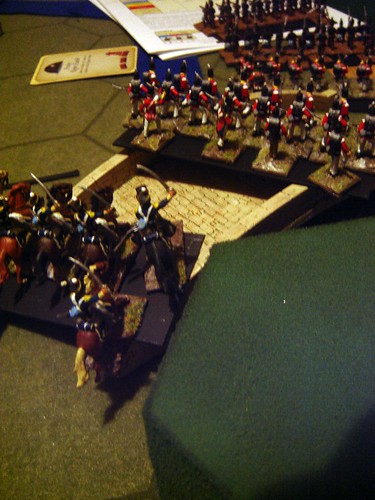
A concentrated effort on the redoubts has little effect, beyond prompting a limited British counter-attack
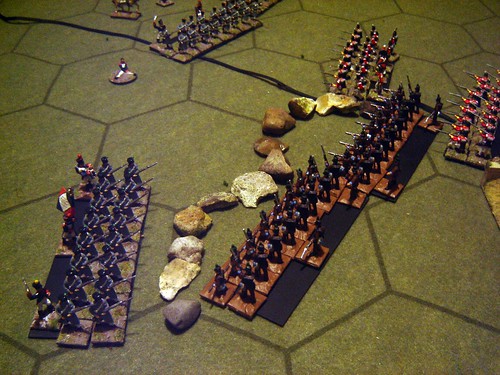
The ruined French army has taken severe losses and the British have begun to pull some units across the bridge
The British counter-attack on the left is a success
The British withdraw in good order, Crauford is lauded in the press!
Counting those units which moved across in the last turn (3) the British won this an amazing 9-0!
Great game (and that's not just the heady victory talking!) - christened Mr. Kinch's new gaming table, good company and some nice wine to wash it all down
Napoleonic british in defence=killing machine, good looking game.
ReplyDeletenice work.
ReplyDeleteI don't have that many blogs I follow. Yours is one of those I do.
So:
You have been nominated by me for the Stylish Blogger Award, too.
Interesting! What rules do you use?
ReplyDeleteHi Carlo,
ReplyDeleteIt's Command & Colours: Napoleonics, the latest offering from Richard Borg, available from GMT Games