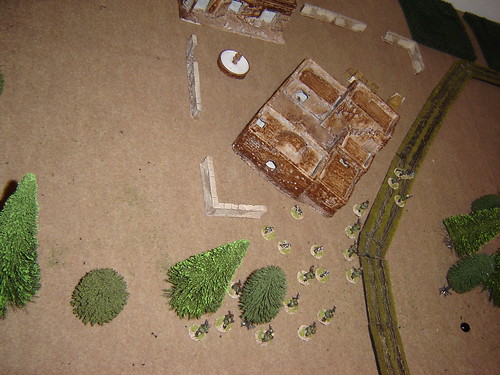
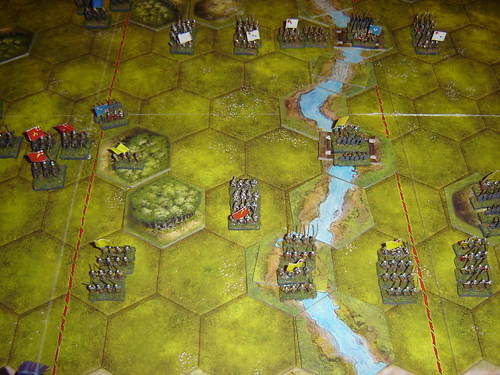
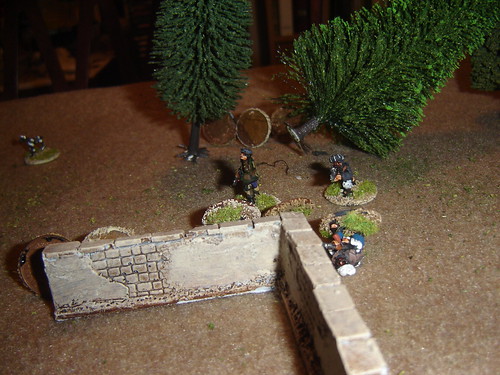
Having pushed the other team in from the wall and into the compound and having wiped out the support team, the fire team in the barn is the only British element overlooking the eastern sector. The Taliban engage them in a firefight, with the rest of their fellows in disorder, but are almost wiped out
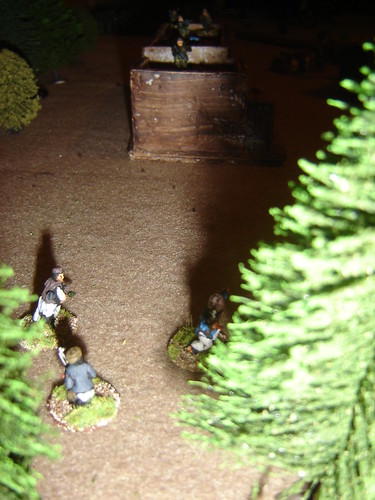
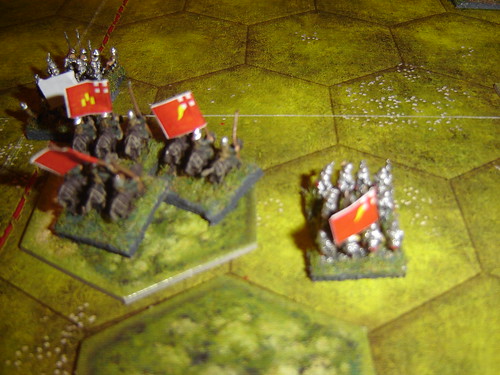
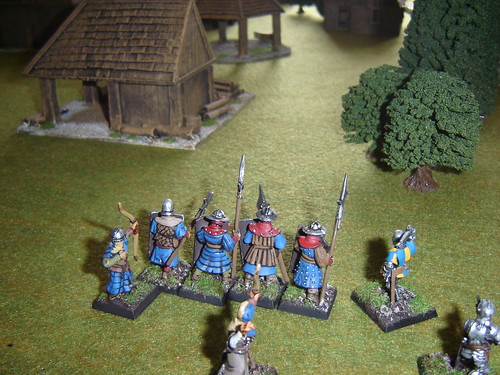
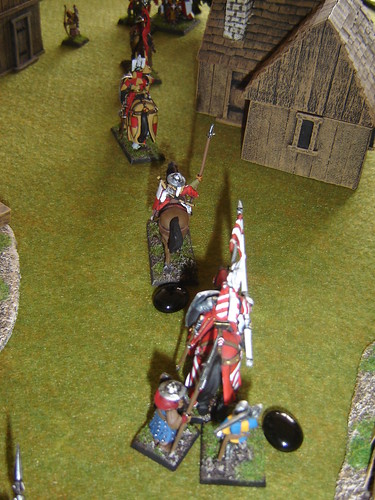
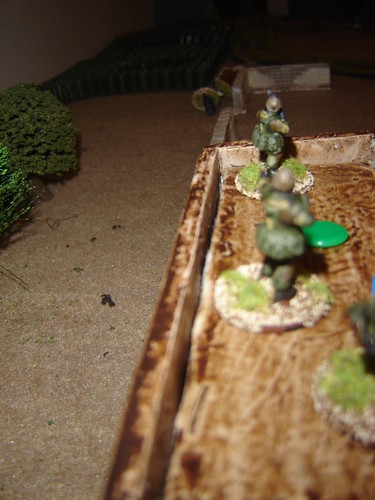
Talbian team skirt battlezone to bring relief to their comrades at the perimeter wall
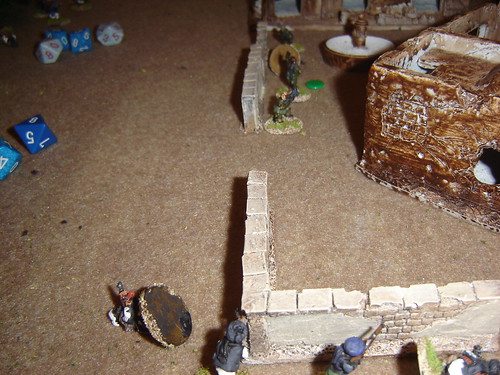
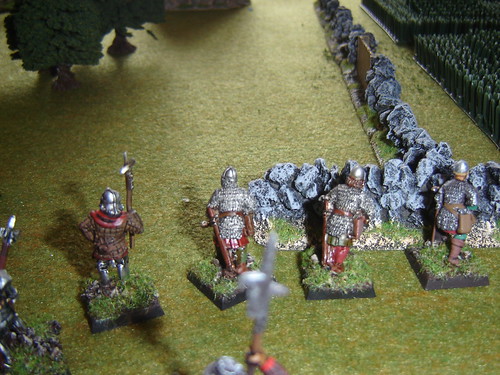
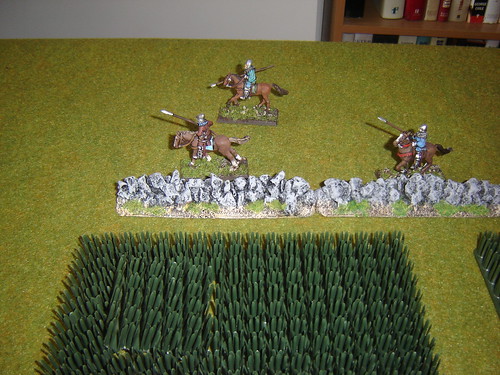
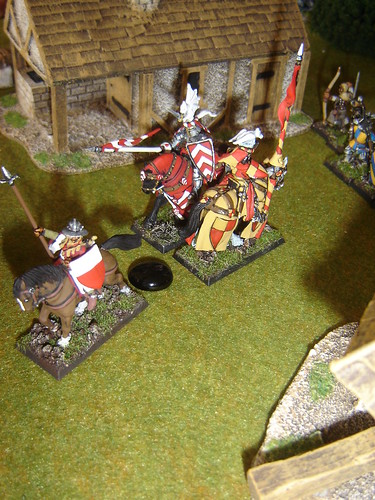
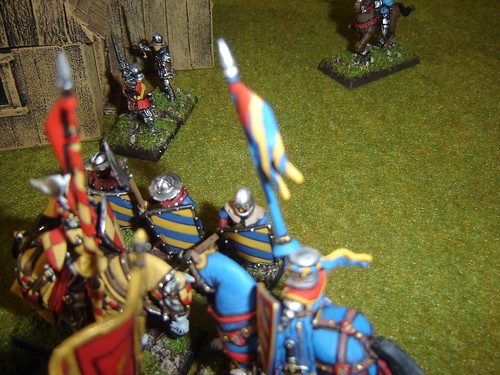
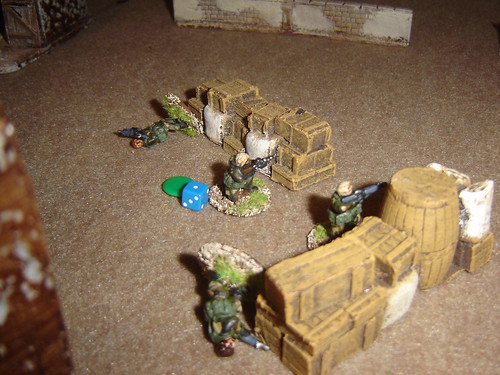
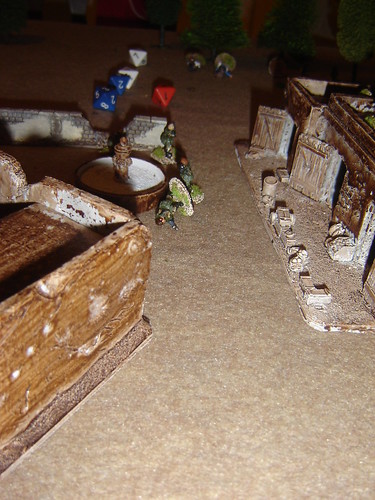
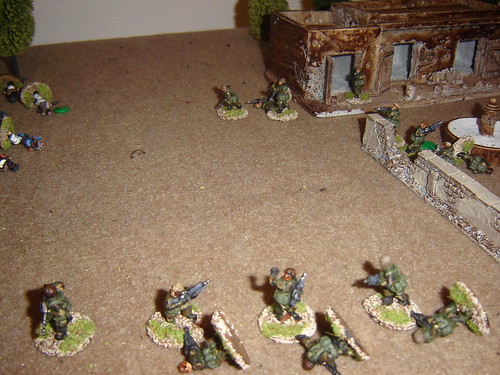
British team at the barricade take fire from farm wall, their return fire has some effect

But the fire team in the barn really put the hurt on them
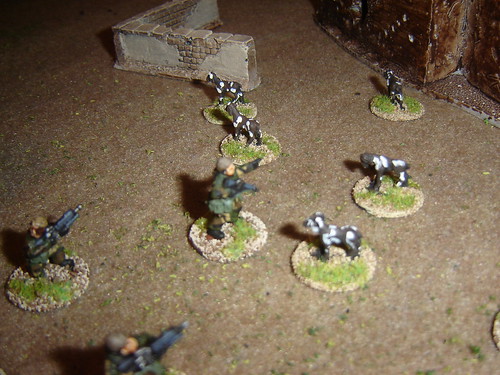
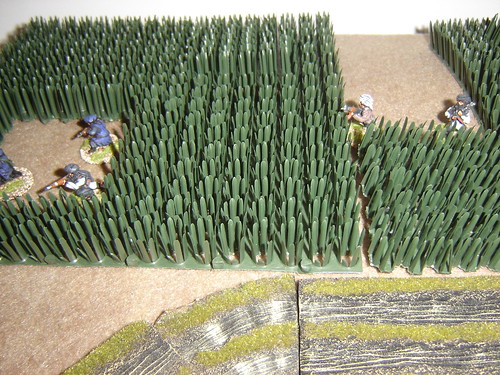
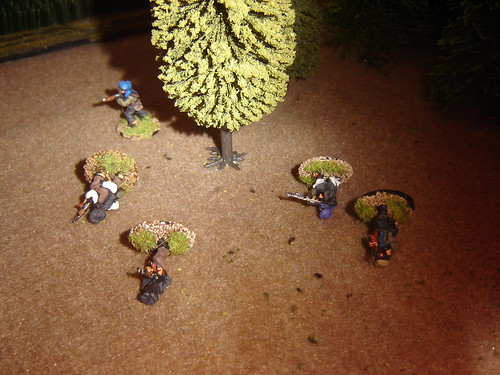
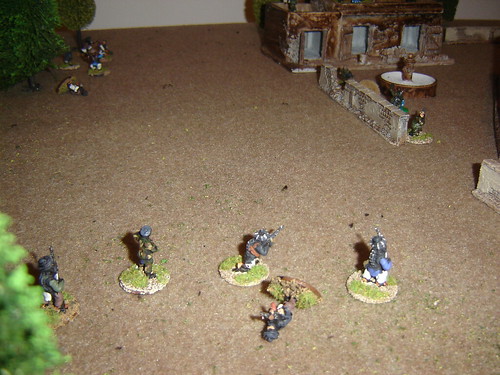
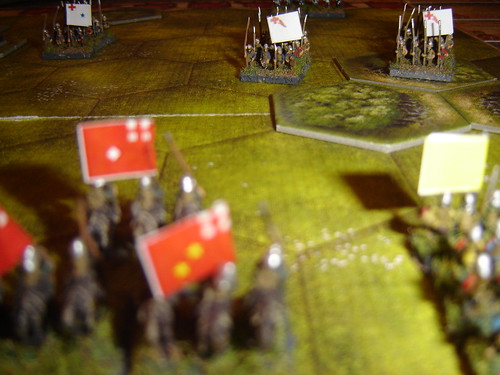
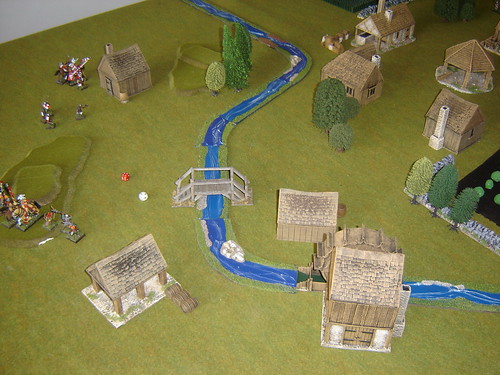
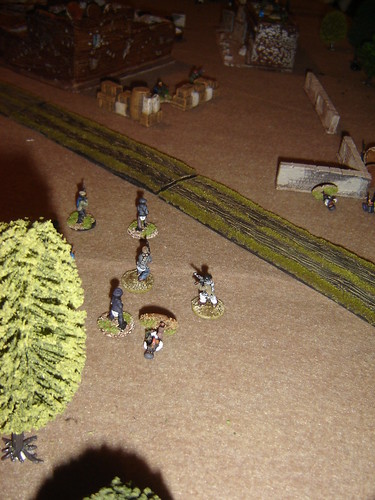
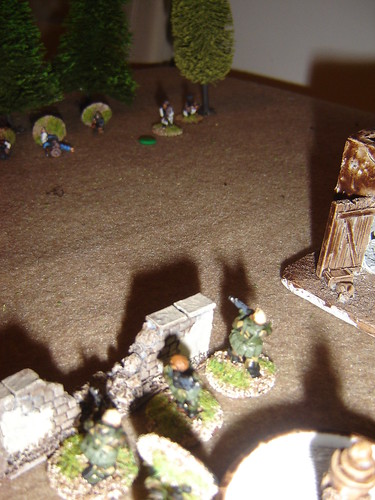
Combined groups in the western sector stage a mass attack across open ground
And they have a significant effect, as the British start to take casualties on the ground. Back inside the compound though, the troop RTO has made contact with 'Grim' and he has plotted an extraction point to the east
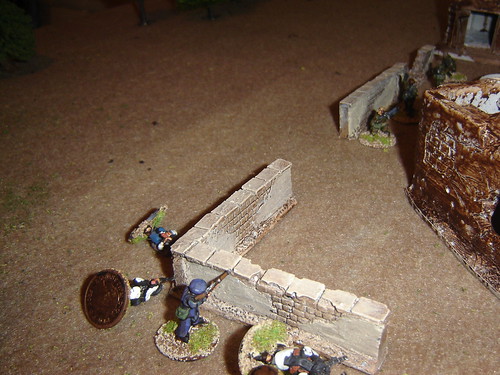
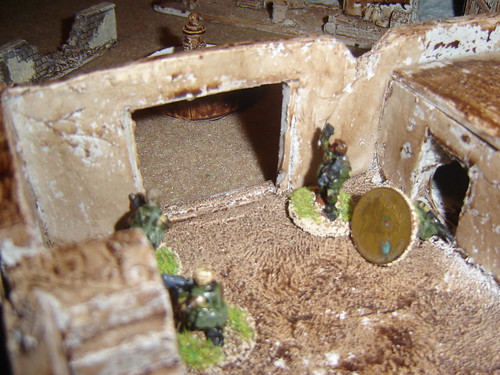
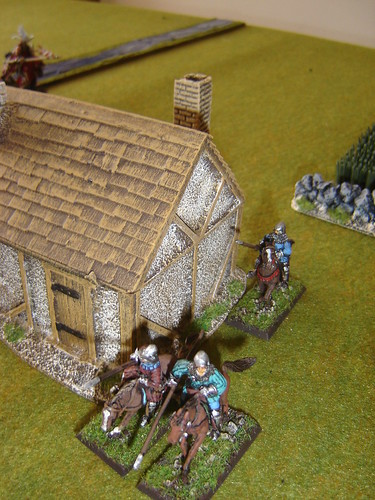
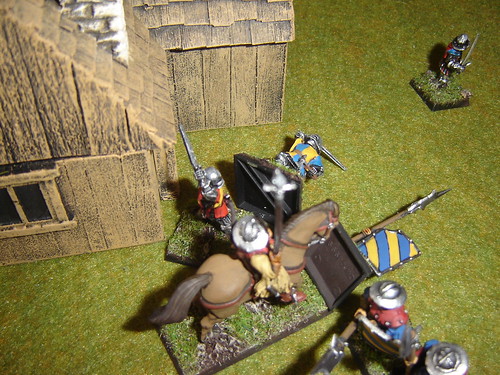
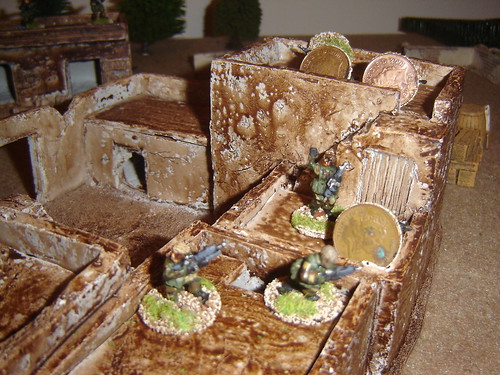
The command team reaches the out-of-action GPMG team, to find two dead and one just dazed - the GPMG gunner (although he was always a bit deaf anyway!). Dragging their casualties through the compound they get ready to move out
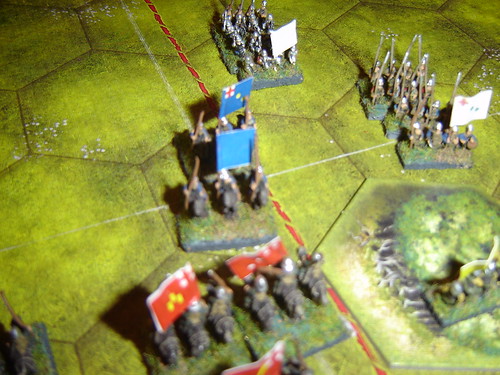
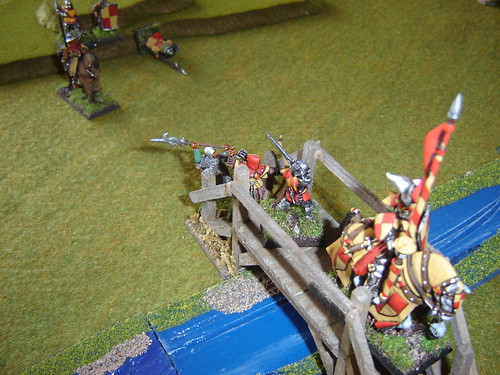
Having wiped out the dangerous attack on the west side, the withdrawal begins, starting with the fire-team at the barricades
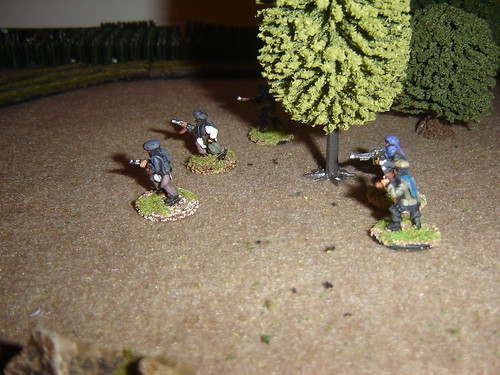
The Taliban come back out into open to count casualties, and they engage the British in a firefight as they do so
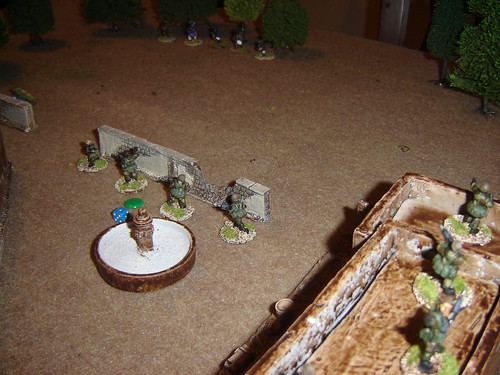
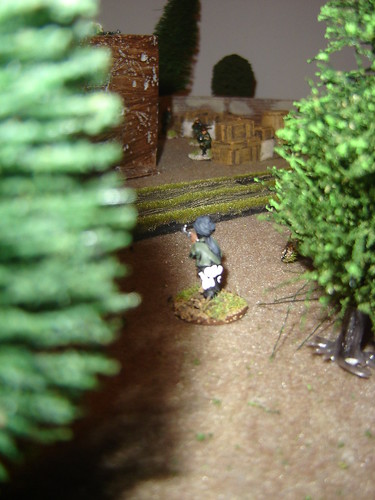
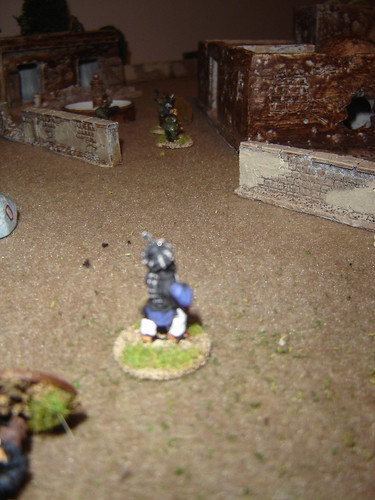
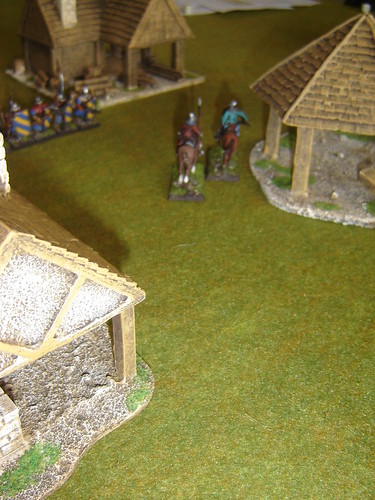
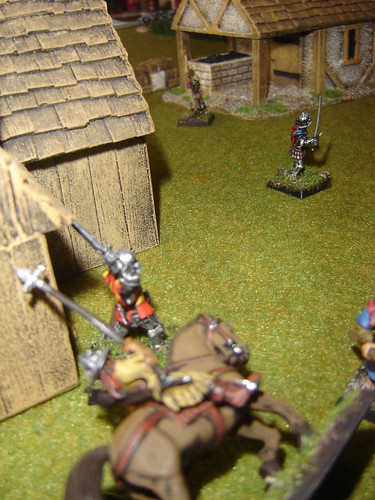
The command team leads the way, with the GPMG gunner on point (everyone else is helping with the casualty evacuation)

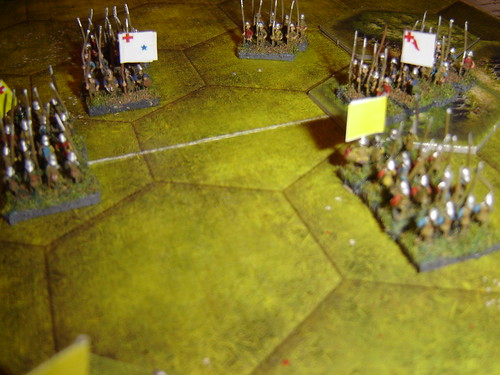
Covering fire from a team at the perimeter wall takes care of the last significant Taliban group
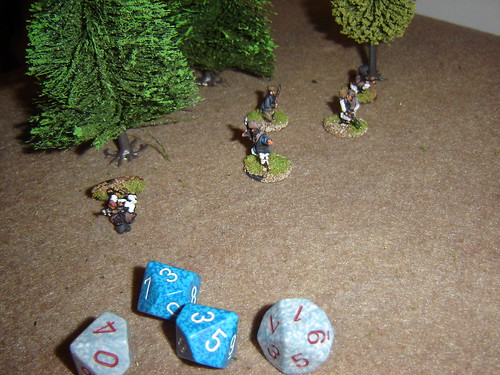
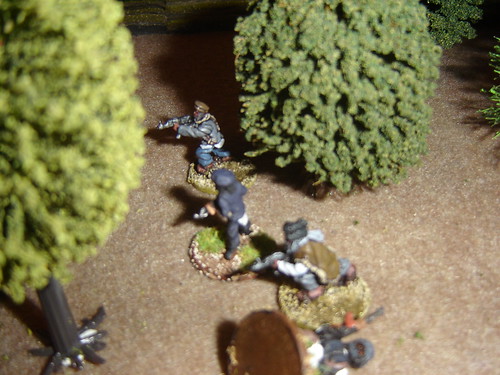
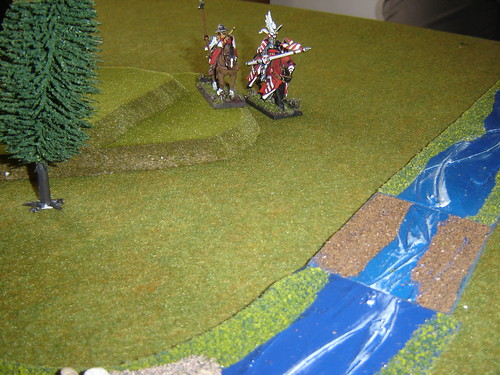
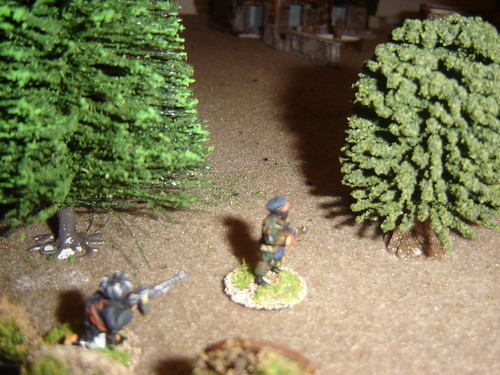
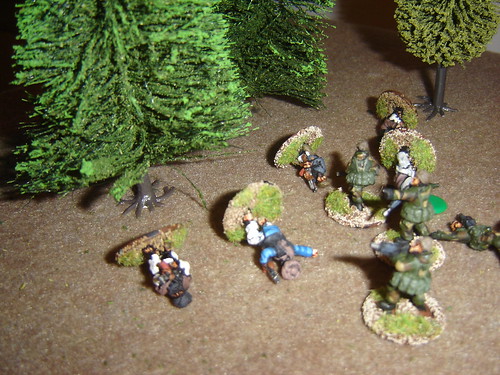
Or so they thought! Fresh reinforcements arrive and the RPK and AKs open up from the trees at the flank of the command team, bringing two of them down
Miraculously, both the troop leader and medic survive with minor abrasions from hitting the dirt (later they reckon that Corporal Williams' dead body took most of the fire
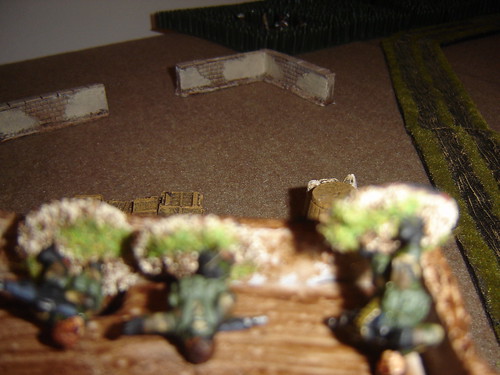
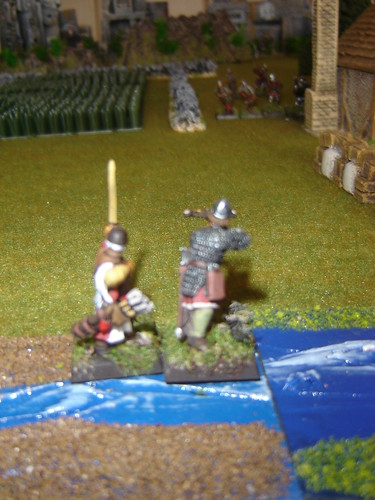
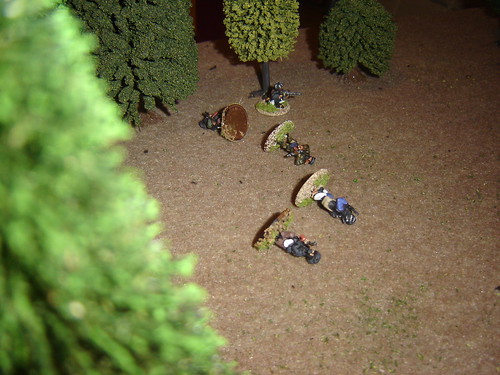
Out last, having provided overwatch fire for the final move to the treeline, this fire team finished off Taliban casualties in their path
Fresh Taliban reinforcements are too late, having just come in on the road from the eastern sector. They'll never reach the British in time.
Total British Losses: 3 KIA, 2 Serious Wounds
Taliban losses estimated as: 5 KIA, 12 serious wounds, 23 undetermined
Post-Mortem:
The Talbian's plan was to attempt to generally engage the British across the battlefield, in order to then overwhelm the GPMG team, which was placed on the highest point of the compound. The first move was to attack the command team (upon which the greatest hopes of extraction lay) but by a group the GPMG team could still intervene against.
This worked very well, and once that happened the command team, without any support on the northern sector was forced to withdraw.
They failed to capitalise on this though, as the team in the barn acquited itself very well indeed, pretty much keeping the entire eastern sector under its mailed fist.
While the Taliban's reinforcements weren't as numerous as they could have been they weren't terribly low, and the RTO still being around at turn 4 meant that the extraction point was set as early as possible.
A big nod to Jim Hunsinger too! A worthy winner of the 'To the Last Round' competition