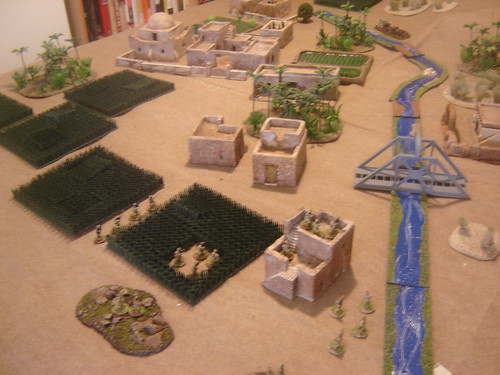
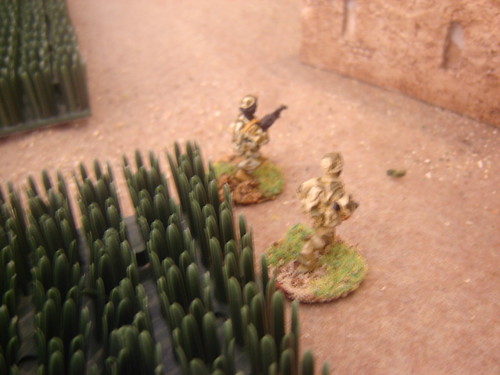
The British move into the outskirts of Deh Adan Khan
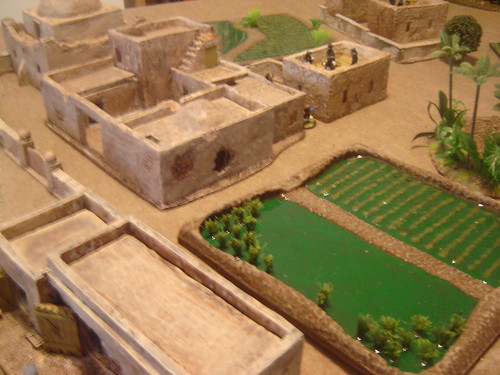
Taliban gather behind the main compound
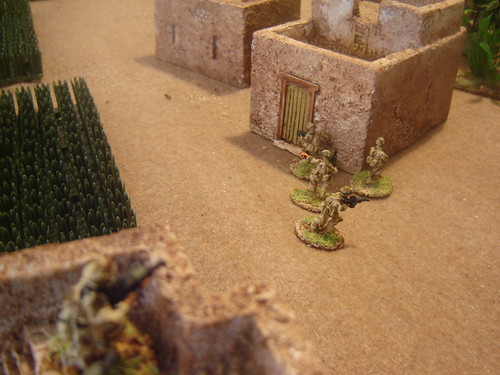
Fireteam stacks up outside Objective 6, being covered by the rest of their section
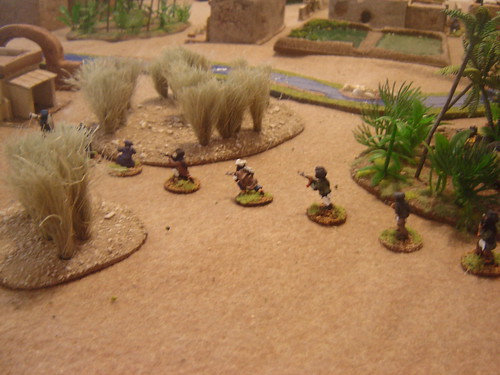
Taliban group moving to an ambush position on the other side of canal
Taking up position inside the main compound
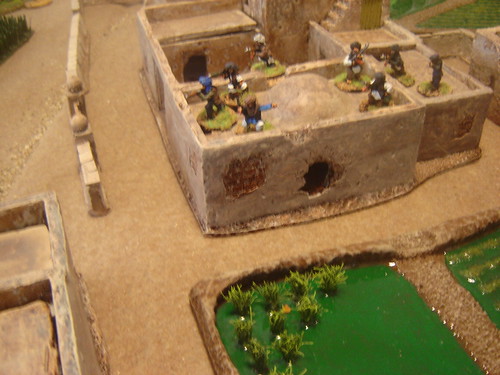
More Taliban reinforcements arrive at the house across the main canal bridge
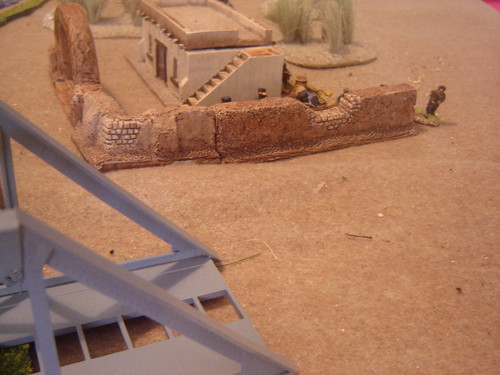
Clearing Objective 6 goes without a hitch, five local Taliban were prepared but not up to the challenge
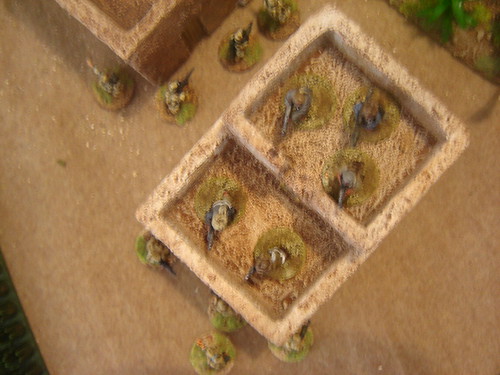
Objective 7 cleared without resistance and with a view on main compound
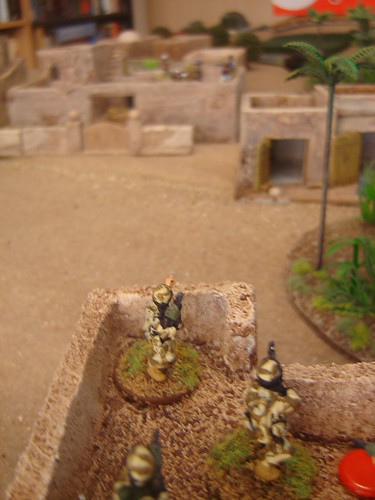
The GPMG team moves up behind the front line
Taliban setting up defensive position to enfilade the British advance
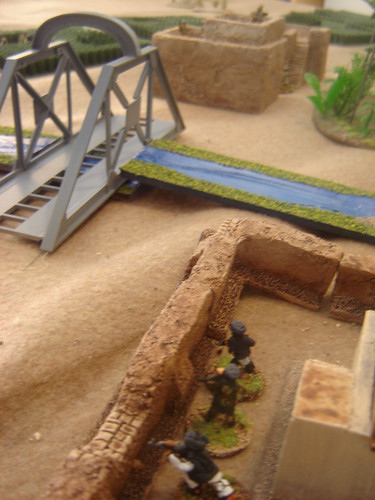
The Taliban groups there join forces after taking a lot of fire from the British
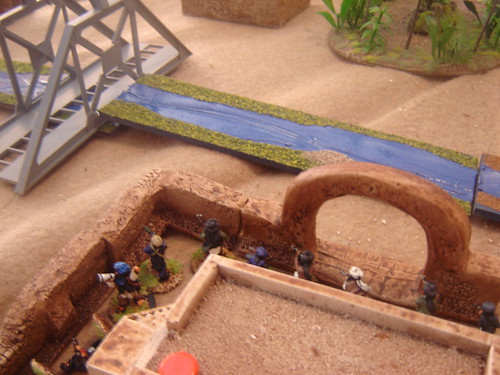
Taliban .50 cal held in reserve behind the main compound
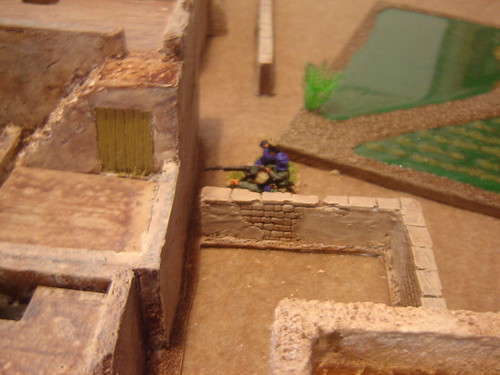
More reinforcements arrive...
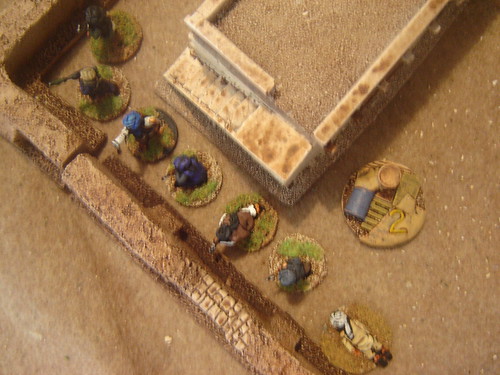
But after getting a lot of attention from the British, those who aren't shot down high-tail it (despite the exhortations of their leader)
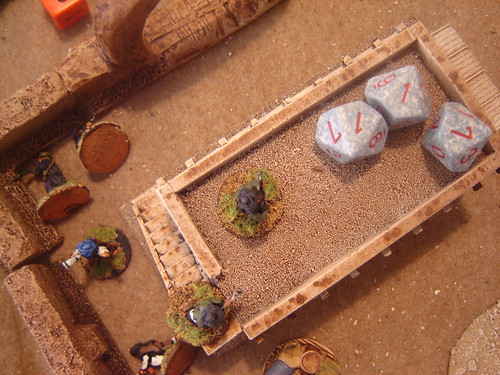
Fireteam moves along buildings towards trees, now that across the canal has been cleared
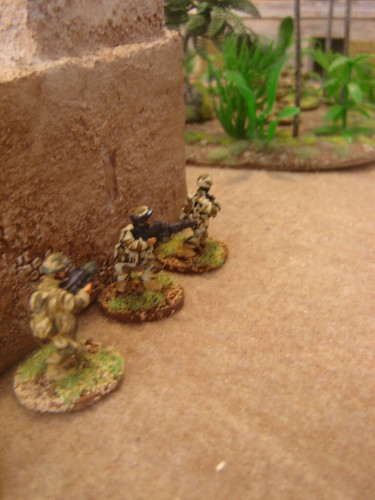
That fireteam approaches Objective 8 under cover
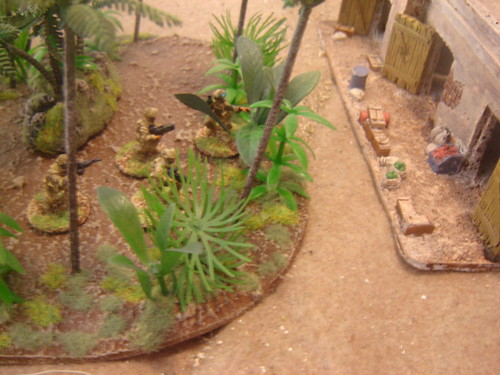
Lone fireteam crosses canal bridge, hoping to secure that area
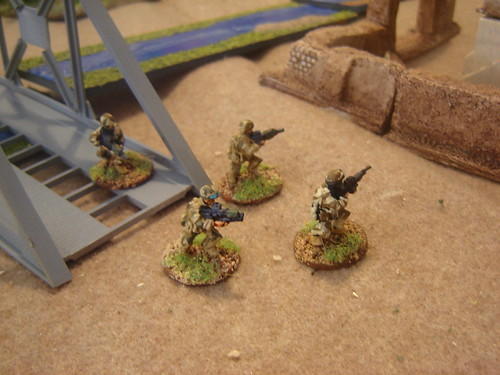
Two fireteams are ready to assault Objective 8 - platoon has an inkling this one might be a live one...
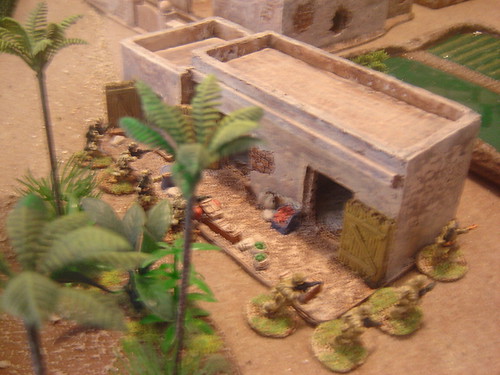
Taking prisoners across the canal - a real find with two foot soldiers and a leader taken alive
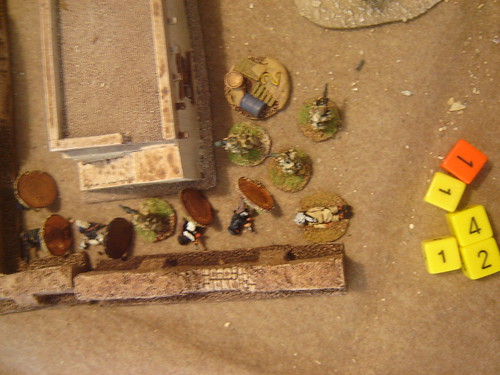
The Viking is called in to pick up the prisoners
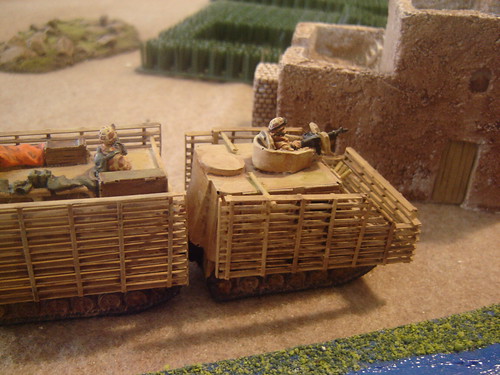
Objective 8 is a real murder house - defended by some serious Tier-1 Taliban. The section clears this, but with some very close calls
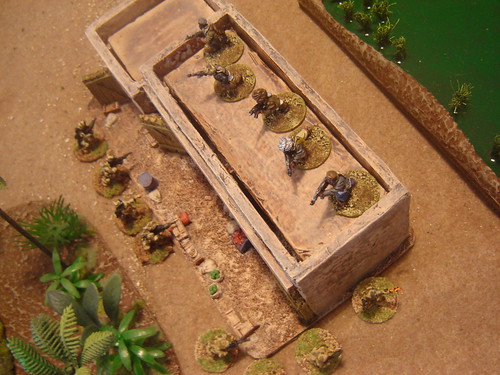
Taliban reserve sets up to defend the main compound
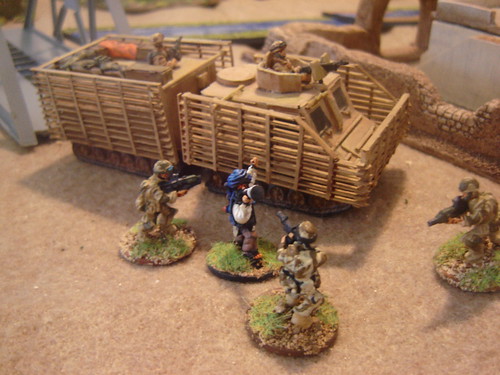
Bundling Taliban leader into the Viking - "We'll talk to you later"
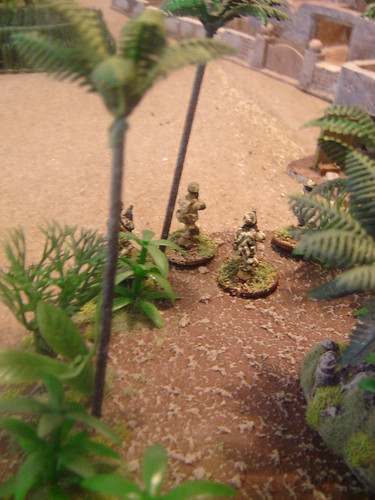
Moving through trees to get a shot on the compound - the British have started to converge on Objective 9
Approaching Objective 9 under fire - this fireteam will be the lead element in the storming on the compound
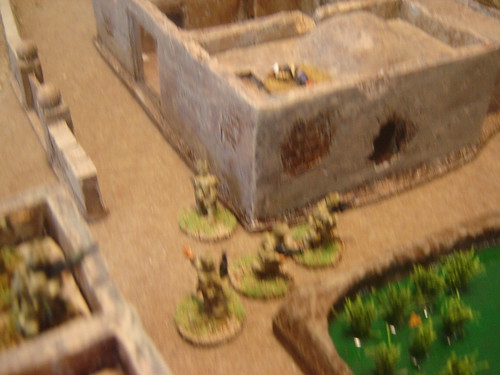
Objective 9 must have ratruns connecting it to rest of Deh Adan Khan - a horde of Taliban appear on the rooftop
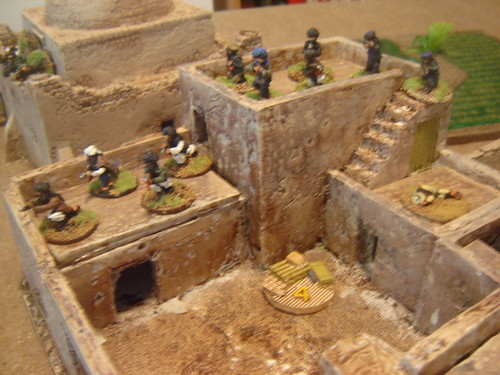
Race to the compound wall to get into cover - the Taliban are now amped up and loaded for Bear!
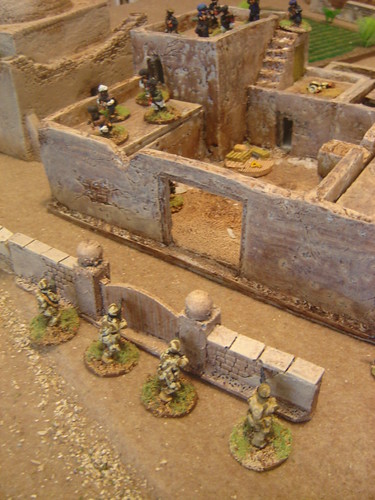
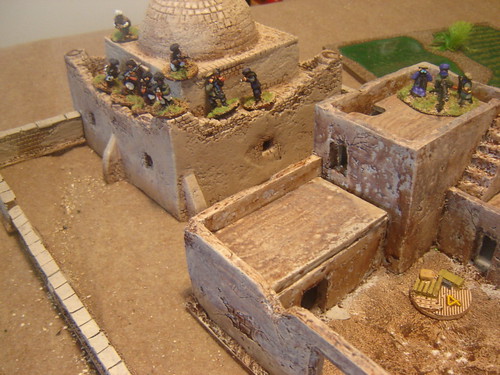
The last redoubt of the Taliban at Objective 11 fills up - they are also covering the rooftops of the main compound
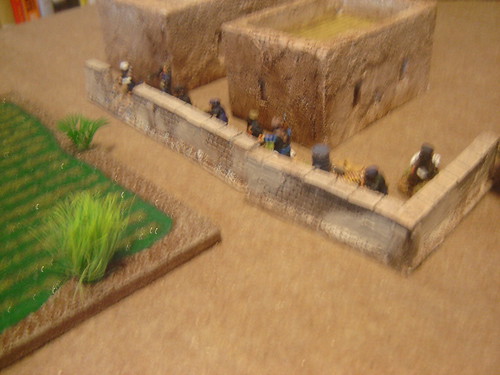
Moving past gap between buildings - narrowly avoiding getting shot up from across the way
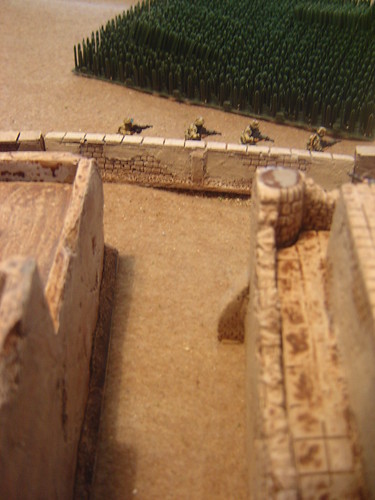
Assaulting remnants of group inside Objective 9 - only two Taliban remain inside after the hail of fire poured into the building
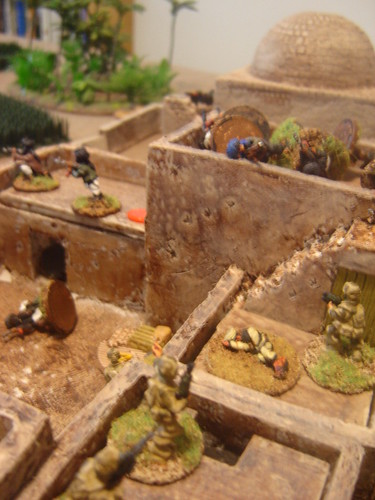
The fireteam clears Objective 9 without a hitch
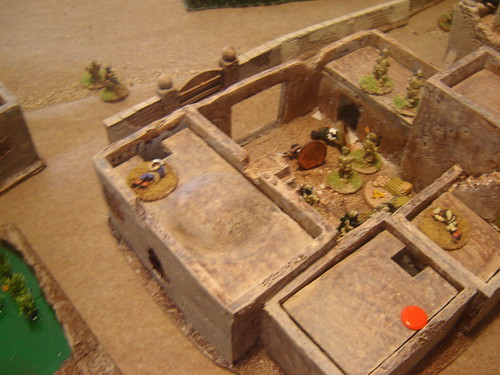
Fireteam readying for assault on Objective 10 is outflanked by new arrivals (or just well-camoflaged?) Taliban in the trees
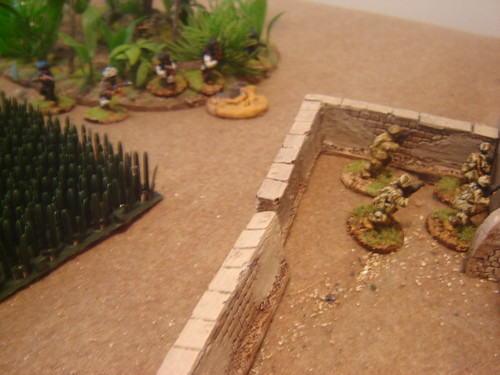
Fireteam putting fire downrange - they are beaten to the punch and two of their number get shot (both KIAs)
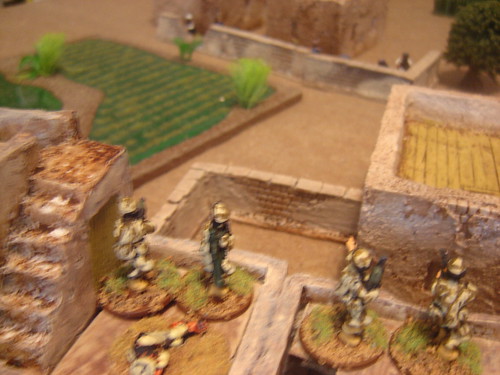
Fireteam trips IED inside Objective 10 - they barely make it out alive, one serious casualty. They said the leader who they were going to tattempt to capture was primed with explosives...
The British win this one 14-9, albeit all those British casualties were in the final turn (possibly due to over-stretching and a mix of good timing and lucky reinforcements for the Taliban)
I was at a bit of a loss of how to represent the high tension-variable intensity fighting involved in this kind of clearing action. Thankfully the guys over at Ambush Alley are coming up with some new building clearance rules for the Fallujah book being released next year. They work really well, and looking forward to doing a bit more testing on them soon.

Nice report and figures. I'm desperately waiting for the Cold War book for FoF to come out so I can kick start my painting! Thanks for the reports.
ReplyDeleteAndy
Awesome report. *clapping*
ReplyDeleteVery nice indeed. I've been playing a fair amount of Jihadistan ( http://6milphil.wordpress.com/2011/06/28/mustafa-battle/ ) and just picked up the FoF rules. Where'd you get the Viking? This is 28mm yes?
ReplyDelete