
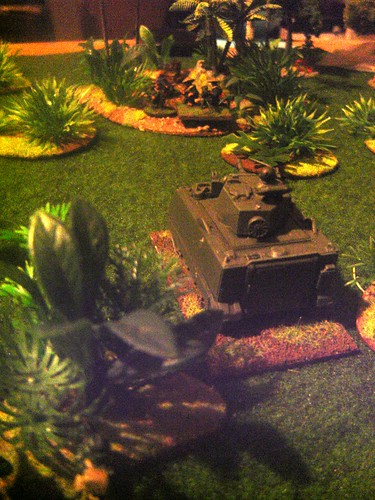
The SAS patrol aren't happy about the presence of the vehicle - it makes their usual modus operandi a bit redundant, but the brass feel that there may be bunkers ahead which will require the heavy firepower.

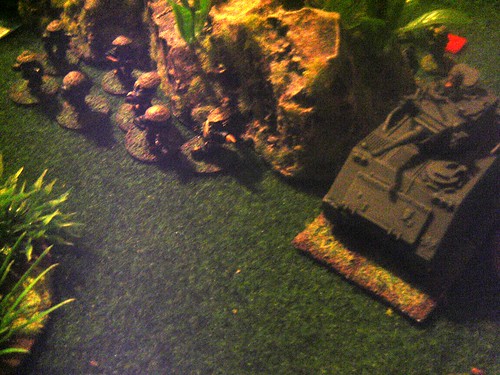
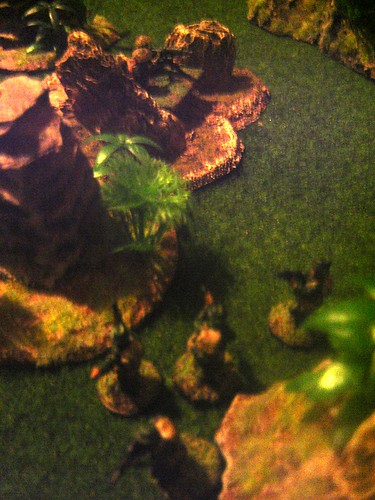
The Viet Cong HQ at the small hamlet signals its men to manoeuvre to oppose the patrol

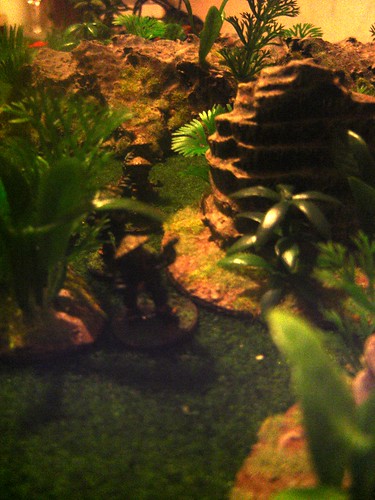
A concelead recoilless rifle on the patrol's right flank target the armour, but doesn't open up on it
One VC cadre is on the move, running from the SAS left flank in towards the central trail they are aiming to clear
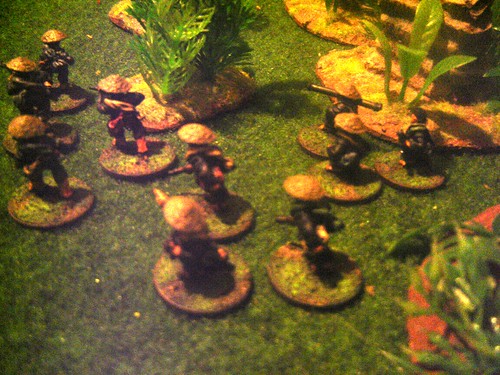
The HQ's security cell moves along cover into the same area
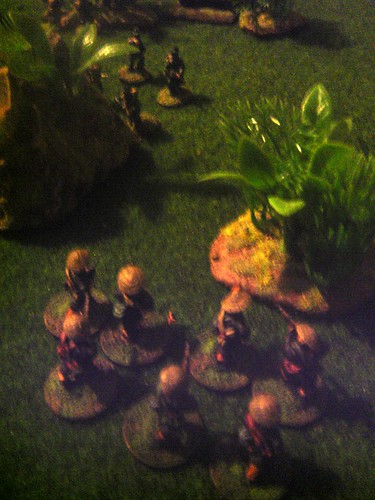
At the rear of the patrol, a group of Viet Cong attack the fireteam, but are driven back
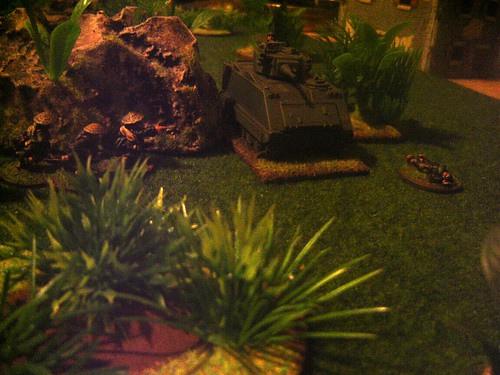
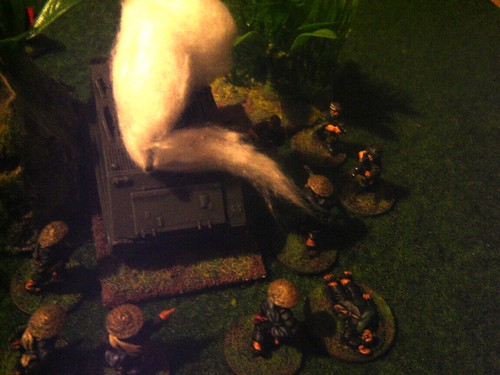
On the other side of the trail the elite security cell move quickly and team up with the recoilless rifle to attack the FSV - they are shot down as they attempt to get in close (and as the concealed heavy weapons fails to act, again!)
With that flank secure, the M113 FSV moves to the other side of the trail but is surprised by this close encounter
It tries to back out of trouble, but cannot resist opening fire on the Viet Cong unit's HQ cell off the side trail
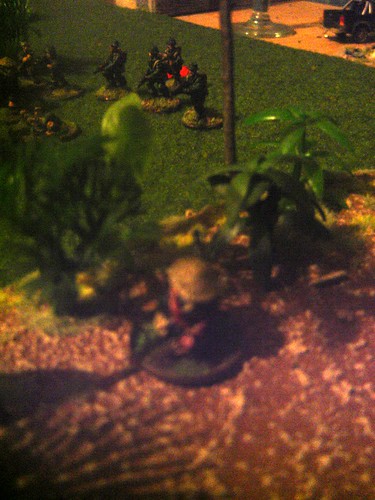
Forcing their way through the central trail the leading SAS fireteam are ambushed by a hidden machine-gun nest
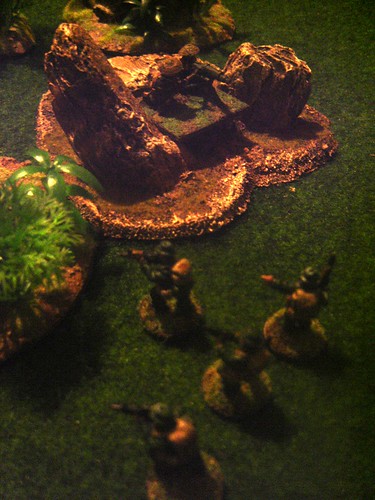
They fire off and suppress the MG team as they continue their planned assault on the lurking Bazooka team (who scarper off into the jungle)
The large group of VC rush the armoured vehicle and the defensive fire isn't in the silghtest bit effective. The VC are surprisingly capable in the use of SMG fire and grenades and knock out the main gun. The crew have had enough and bail out
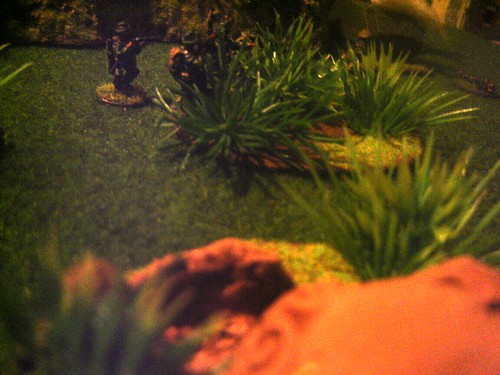
With the rearguard fireteam rushing to their aid things seem to be turning even worse for the Australians as a previously unseen light machine gun in the jungle opens up. The SAS men are caught off guard and all four go down
Rather than get back into their vehicle (which must seem safer now) the crew give first aid to the striken fireteam, getting one back on his feet (who lays about to fearsome effect with his M60!)
The other fireteam, despite being ambushed on the way come to their comrades aid, and while they've safeguarded their position and virtually wiped out the Viet Cong in the area they must withdraw with the mission a failure.
Great AAR, Donogh. It was a pretty tough mission for the Aussies. I liked the night-time pictures as well. Great stuff as ever!
ReplyDeleteNice AAR! Like your terrain too.
ReplyDelete